
-
-
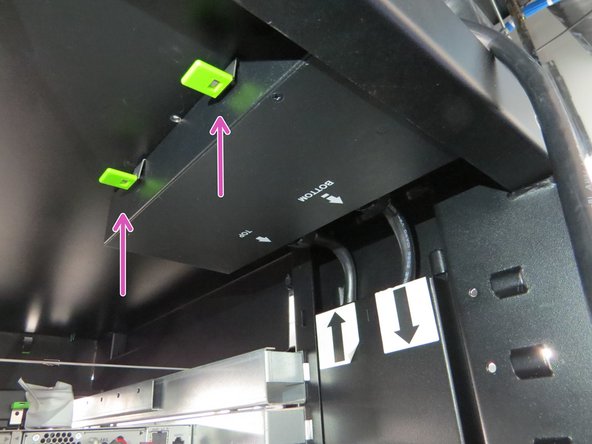
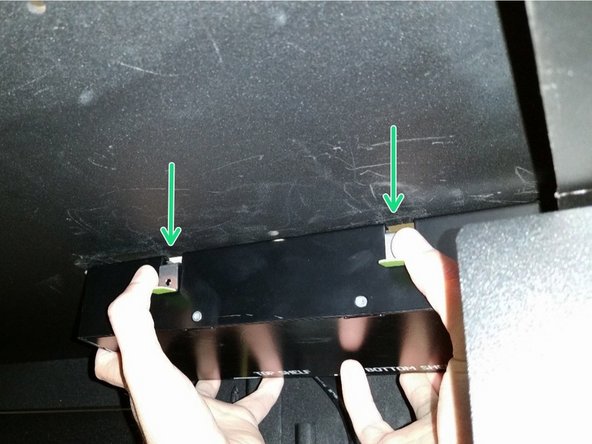
Unseat all of the Battery Backup Units (BBUs) in both power shelves . There are three in each shelf and six total per rack. This reduces the risk of electric shock.
-
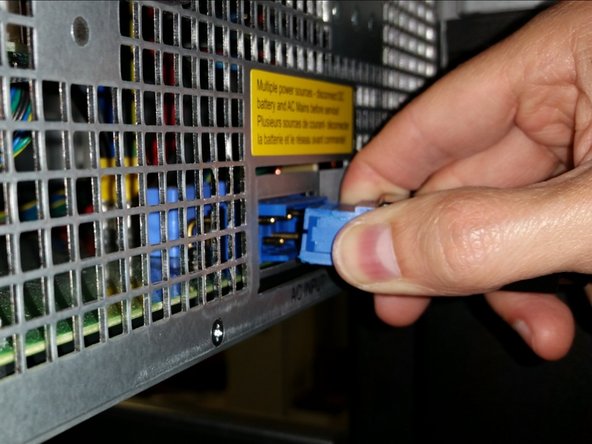
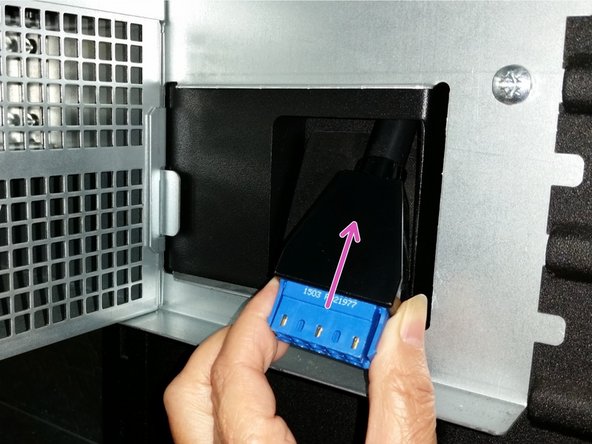
Unseat all the PSUs from the shelf.
-
-
-
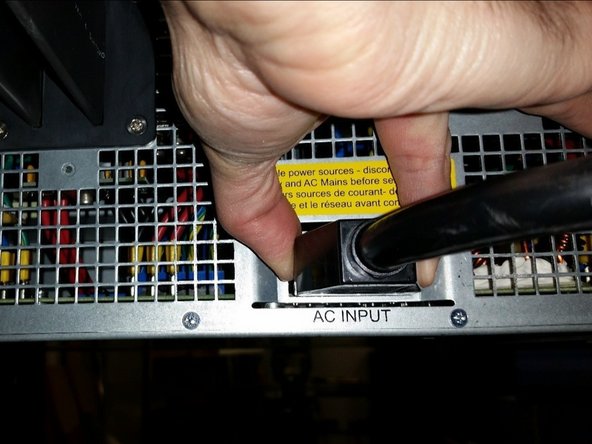
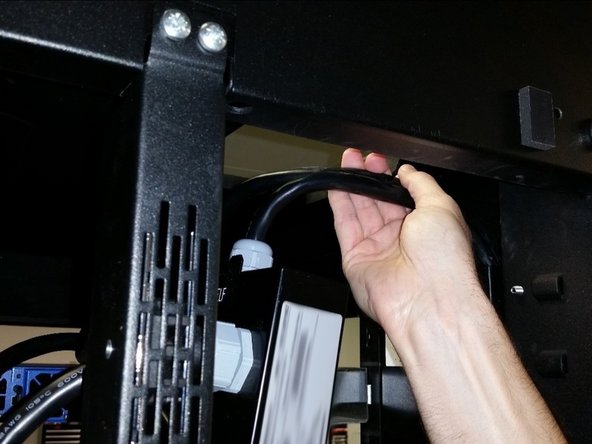
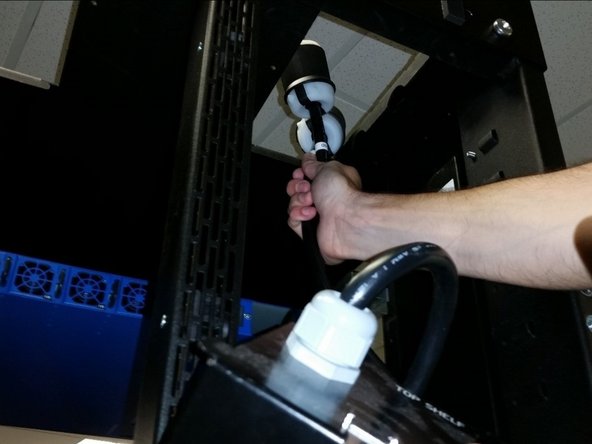
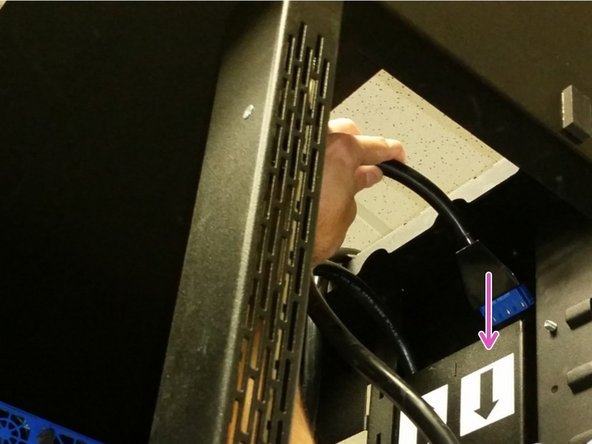
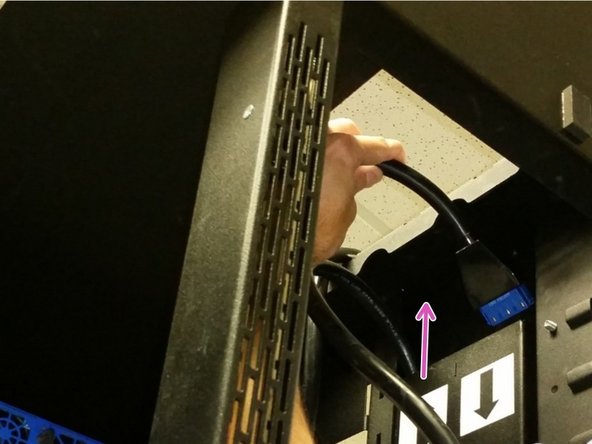
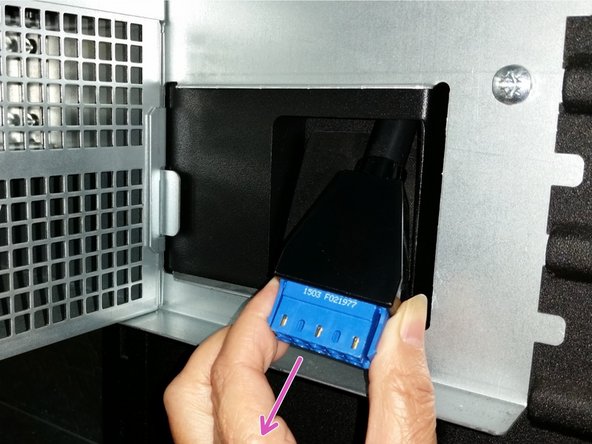
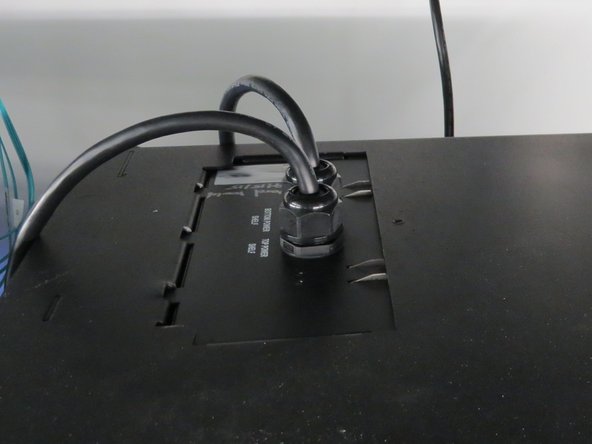
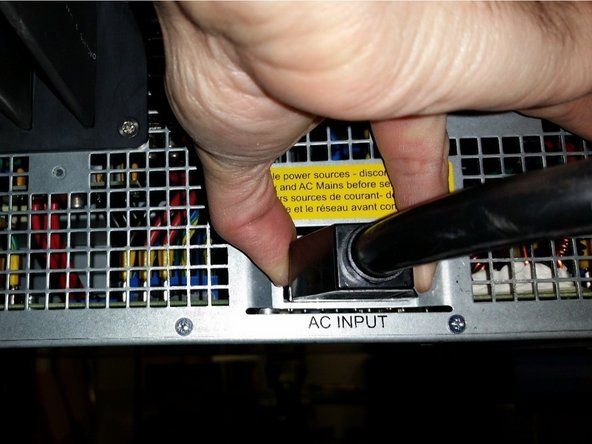
From inside the rack, send the 3-phase AC input plugs that connect to the tap box through the PDU opening from inside the rack to outside the rack so the plug lies on the rack roof or dangles along the side of the rack.
-


Almost done!
This work is licensed under a Creative Commons Attribution 4.0 International License.
Conclusion
This work is licensed under a Creative Commons Attribution 4.0 International License.
