-
-
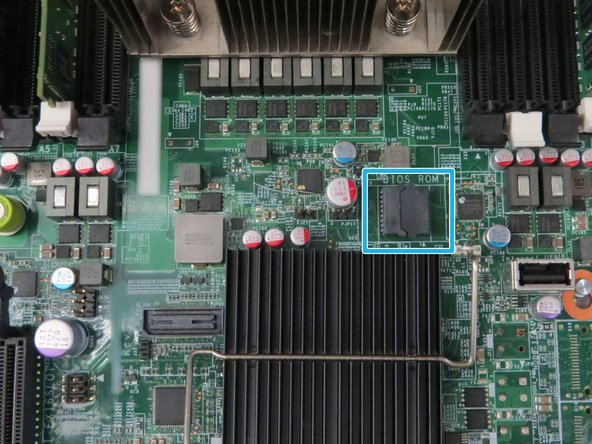
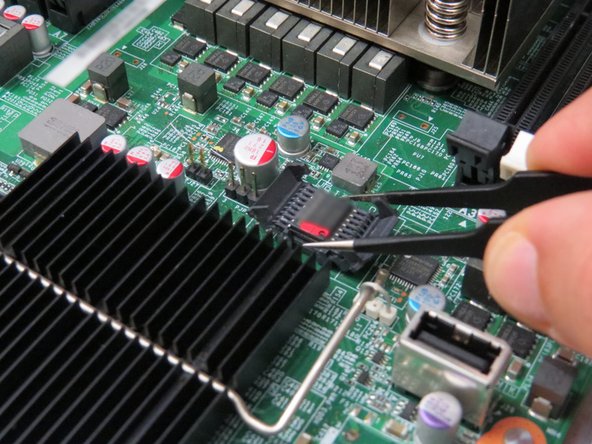
Locate and identify the BIOS ROM chip on the system motherboard.
-
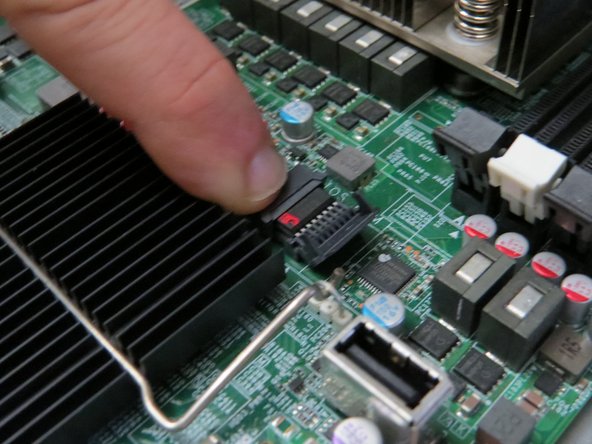
The BIOS ROM chip is located just below the CPU 0 heatsink.
BIOS ROMis printed next on the BIOS ROM chip socket on the motherboard. -
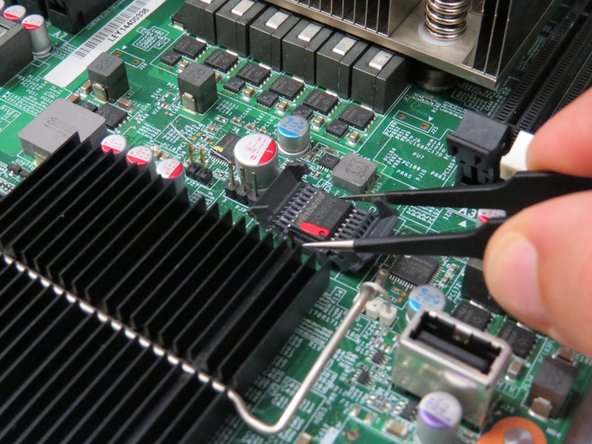
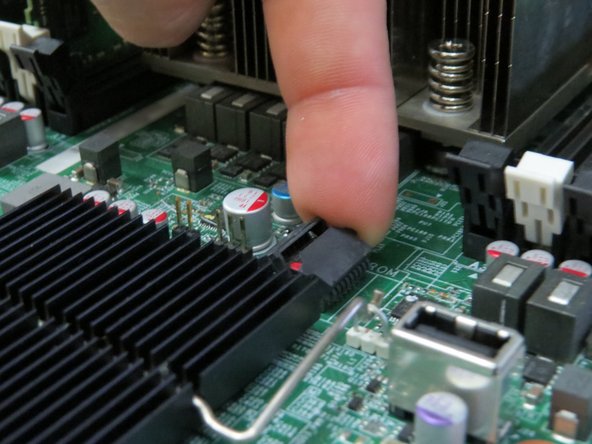
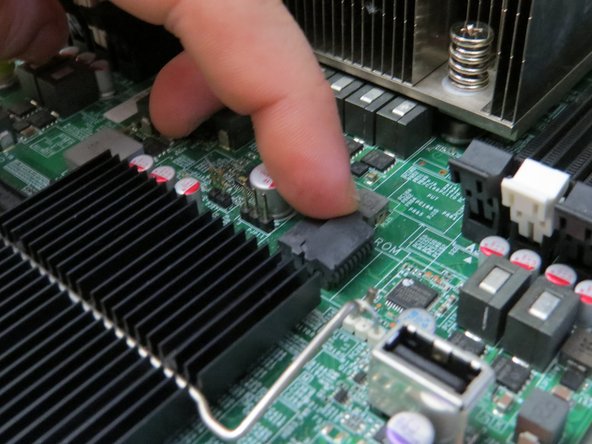
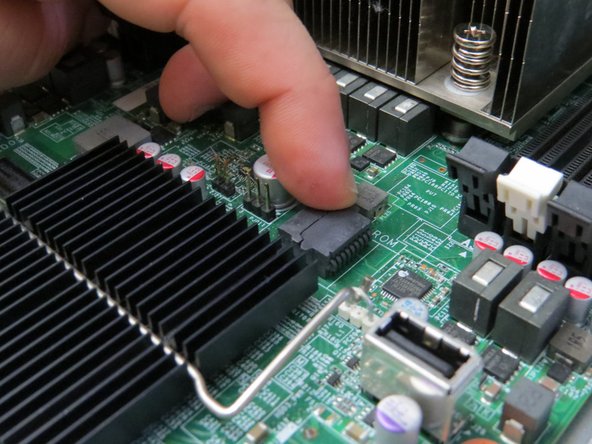
Lift the BIOS ROM chip cover.
-
-
-
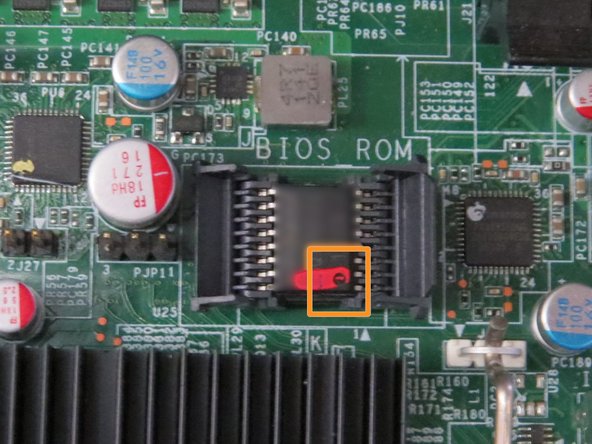
Note the orientation of the BIOS ROM chip.
-
Important: A small orientation mark is printed near PIN 1 on the BIOS ROM chip. Note this orientation as the new BIOS chip will need to be installed in the same way.
-
You may also use the motherboard's silkscreen to determine the BIOS ROM chip's PIN 1 position.
-
-
-
Obtain a new BIOS ROM chip.
-
Place the BIOS ROM chip in the BIOS ROM chip socket.
-
Make sure the BIOS chip has properly seated in the BIOS socket. The BIOS chip should be firmly seated, and not loose.
-
Important: Ensure the orientation of the new BIOS chip reflects the old orientation (based on the circle polarity indicator).
-
Close the BIOS ROM chip cover.
-
This work is licensed under a Creative Commons Attribution 4.0 International License.
This work is licensed under a Creative Commons Attribution 4.0 International License.
