Introduction

Overview

This guide demonstrates how to replace a boot hard disk drive on an Open Compute V3 server. == Acronyms and Terms == * SATA - Serial ATA; a type of computer bus interface * SFP+ - Enhanced Small Form-factor Pluggable; a type of hot-plug transceiver

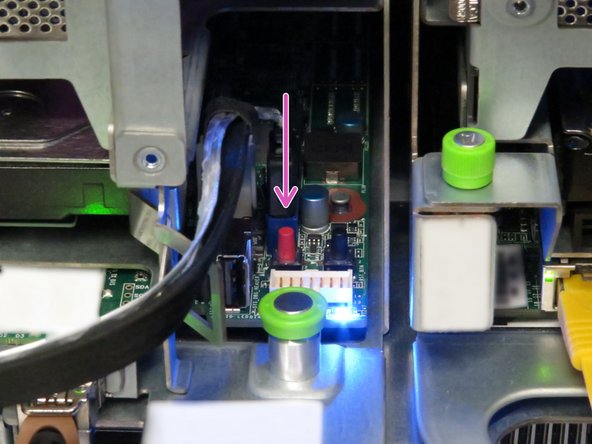
  1. The server can be powered off remotely or on the hardware itself.
    • The server can be powered off remotely or on the hardware itself.

    • Remote Power Down: Login to the server to power it off.

    • shutdown -h now;exit

    • Hardware Power Down: Press and hold the power switch for at least three seconds, as annotated.

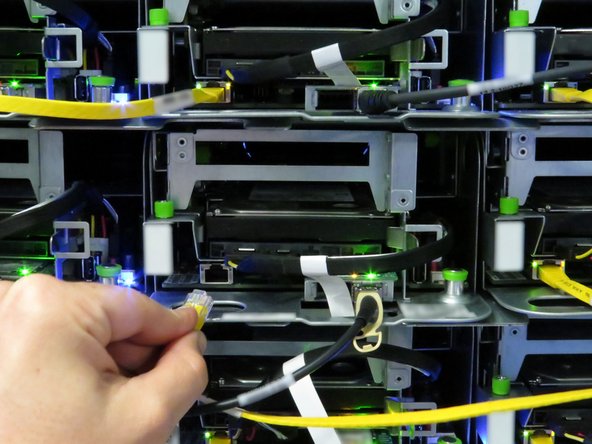
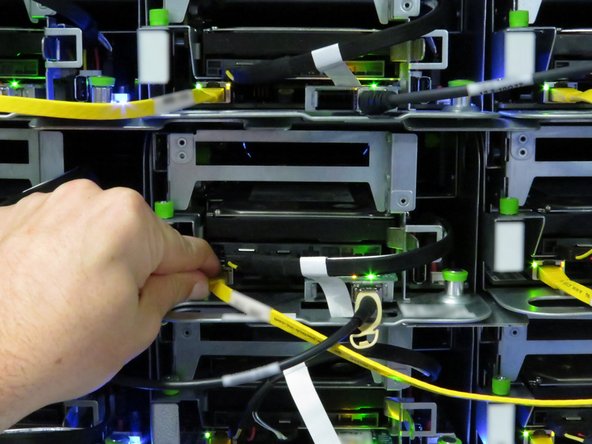
  2. Disconnect the Ethernet cable from the server. Press the tab on the end of the cable to release it. Press the tab on the end of the cable to release it.
    • Disconnect the Ethernet cable from the server.

    • Press the tab on the end of the cable to release it.

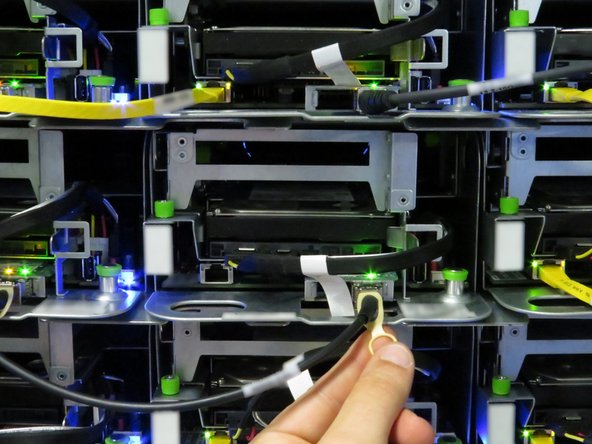
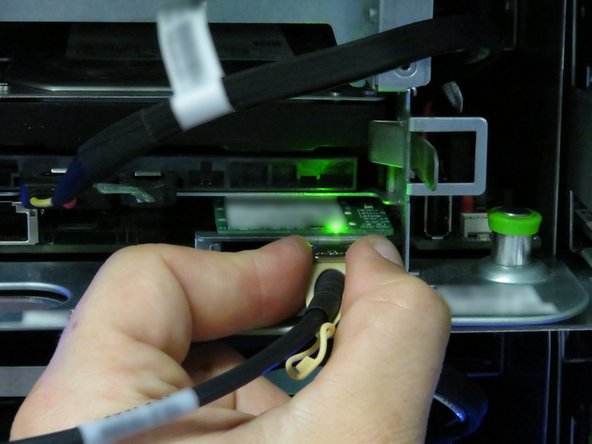
  3. Disconnect the 10G SFP+ cable from the network interface controller. Use the pull-tab to disconnect the cable.
    • Disconnect the 10G SFP+ cable from the network interface controller.

    • Use the pull-tab to disconnect the cable.

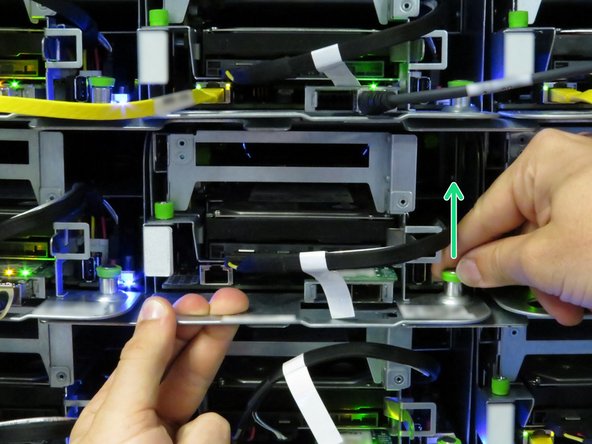
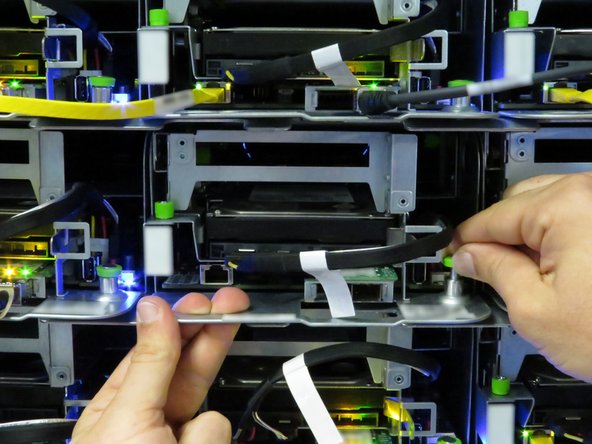
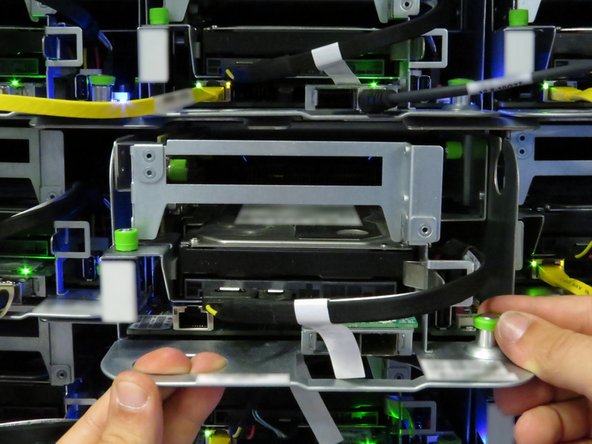
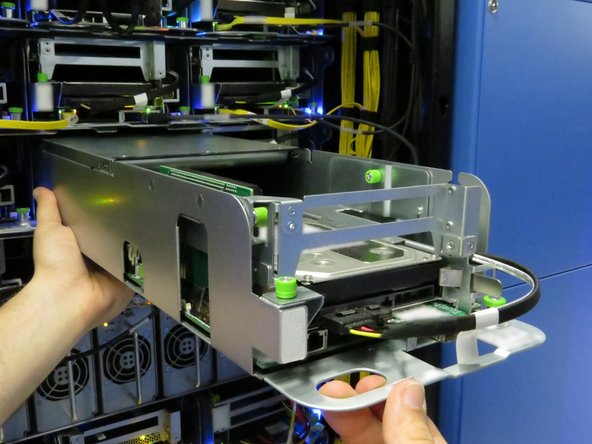
  4. Grasp the server as shown. Pull the retention plunger upwards. Begin sliding the server out of the rack.
    • Grasp the server as shown.

    • Pull the retention plunger upwards.

    • Begin sliding the server out of the rack.

  5. Counter the weight of the server, as shown.
    • Counter the weight of the server, as shown.

    • Completely remove the server from the rack.

  6. Disconnect the power cable. Press the metal retention tab to release the cable. Press the metal retention tab to release the cable.
    • Disconnect the power cable.

    • Press the metal retention tab to release the cable.

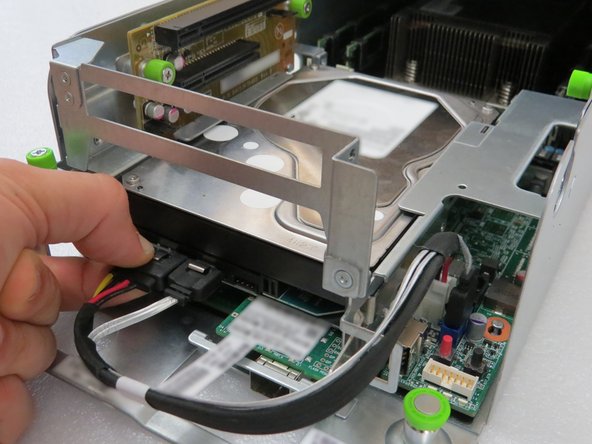
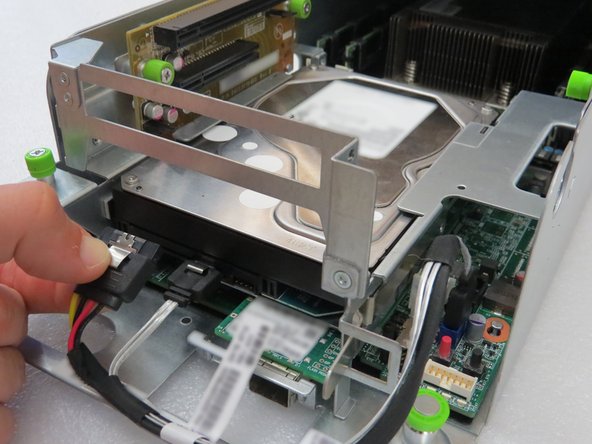
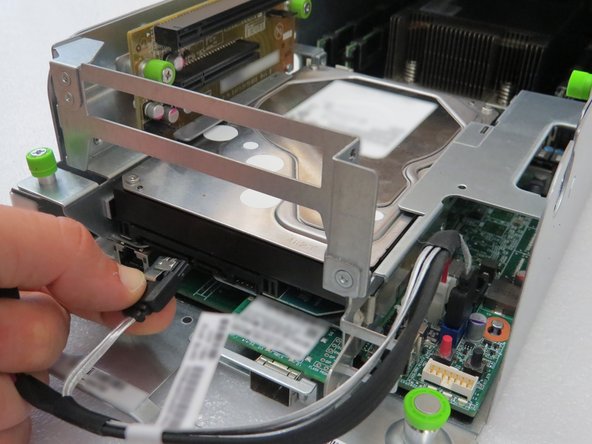
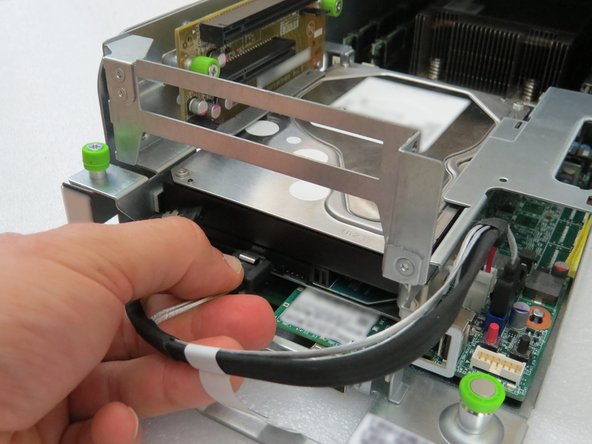
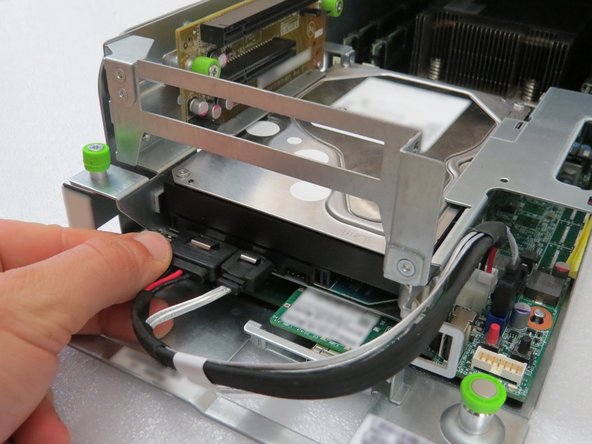
  7. Disconnect the SATA cable. Press the metal retention tab to release the cable.
    • Disconnect the SATA cable.

    • Press the metal retention tab to release the cable.

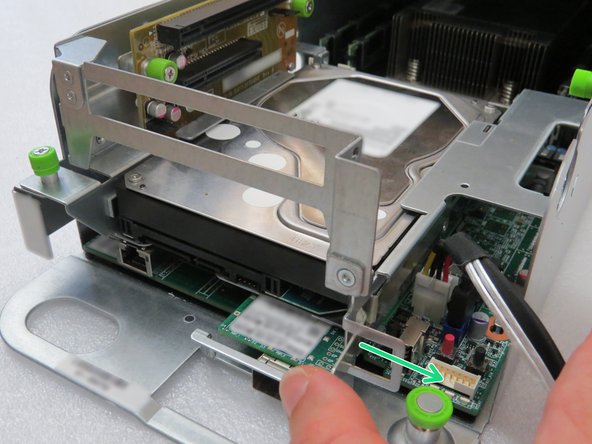
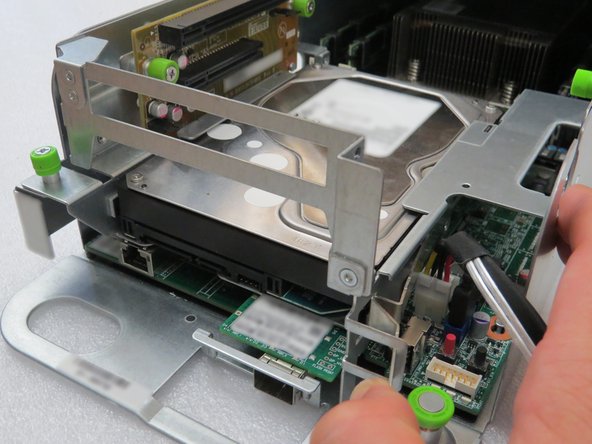
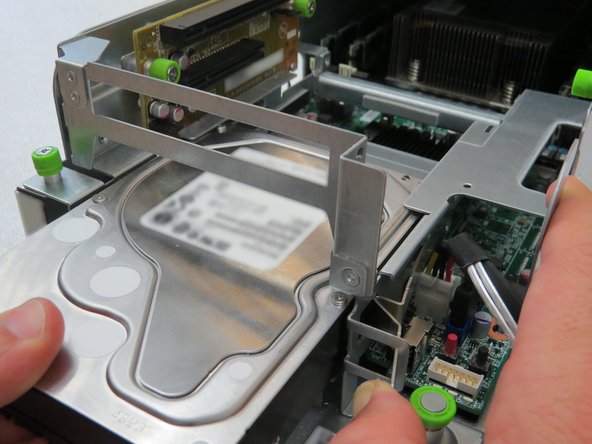
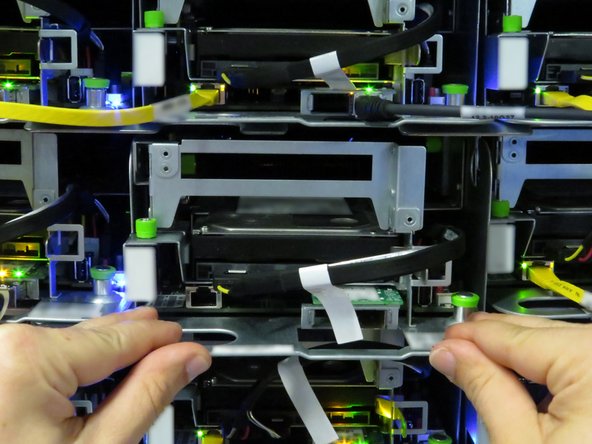
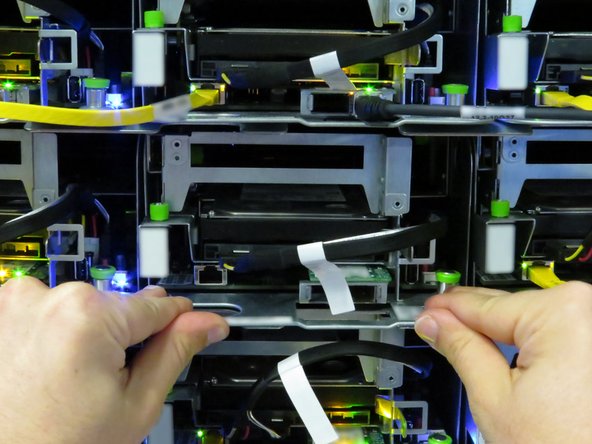
  8. Press the hard disk drive retention bracket towards the right. Press the hard disk drive retention bracket towards the right.
    • Press the hard disk drive retention bracket towards the right.

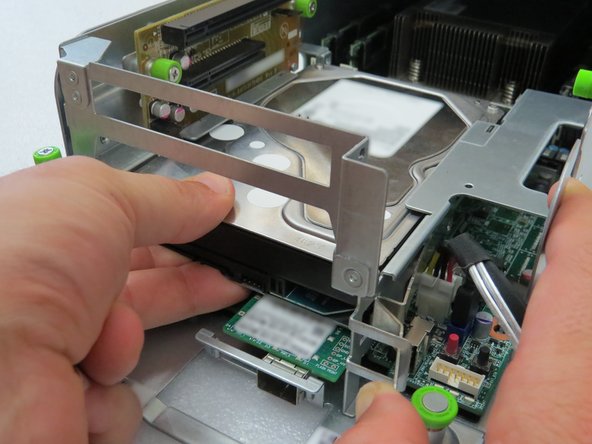
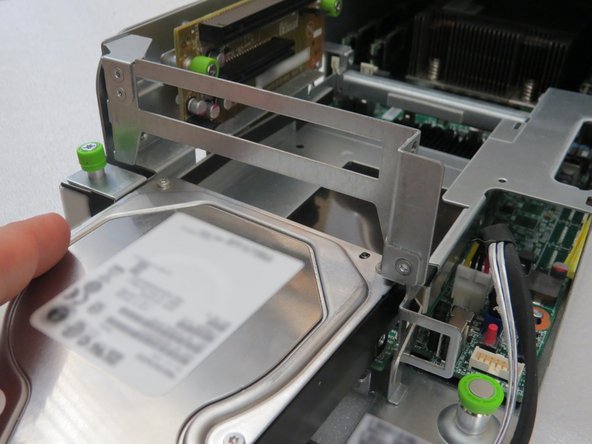
  9. Remove the boot hard disk drive. Remove the boot hard disk drive.
    • Remove the boot hard disk drive.

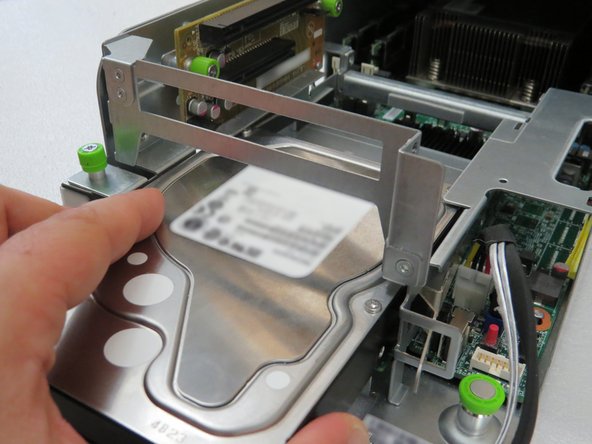
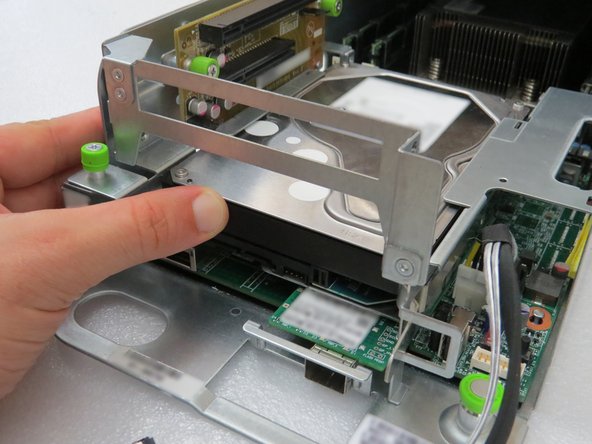
  10. Push the HDD back into the riser cage assembly. Retention tab will 'click' when the HDD has seated properly. Retention tab will 'click' when the HDD has seated properly.
    • Push the HDD back into the riser cage assembly.

    • Retention tab will 'click' when the HDD has seated properly.

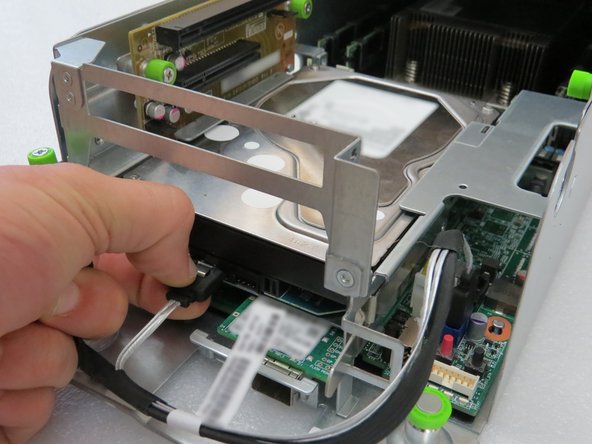
  11. Connect the SATA / power cable to the hard disk drive. Connect the SATA / power cable to the hard disk drive.
    • Connect the SATA / power cable to the hard disk drive.

  12. Slide the server into the rack. The retention plunger does not need to be pulled upward during installation.
    • Slide the server into the rack.

    • The retention plunger does not need to be pulled upward during installation.

    • The server is secure when the retention plunger snaps shut.

  13. Connect the 10G SFP+ cable into the network interface controller. Connect the 10G SFP+ cable into the network interface controller.
    • Connect the 10G SFP+ cable into the network interface controller.

  14. Connect the Ethernet cable to the server. Connect the Ethernet cable to the server.
    • Connect the Ethernet cable to the server.

  15. Press the power button.
    • Press the power button.

Conclusion

Dozuki System

Member since: 09/24/2009

1 Reputation

142 Guides authored

0 Comments

Add Comment

View Statistics:

Past 24 Hours: 0

Past 7 Days: 0

Past 30 Days: 3

All Time: 154