Introduction

Overview

This guide demonstrates how to replace the SATA / power (150mm) cable in an Open Compute Server v2. == Acronyms and Terms == * HDD - Hard Disk Drive * SATA - Serial Advanced Technology Attachment

  1. The server can be powered off remotely or on the hardware itself.
    • The server can be powered off remotely or on the hardware itself.

    • Remote Power Down: Login to the server to power it off.

    • shutdown -h now;exit

    • Hardware Power Down: Press and hold the power switch for at least three seconds, as annotated.

  2. Press the button on the server sled release lever and pull the lever. This unlocks the sled from the chassis. This unlocks the sled from the chassis.
    • Press the button on the server sled release lever and pull the lever.

    • This unlocks the sled from the chassis.

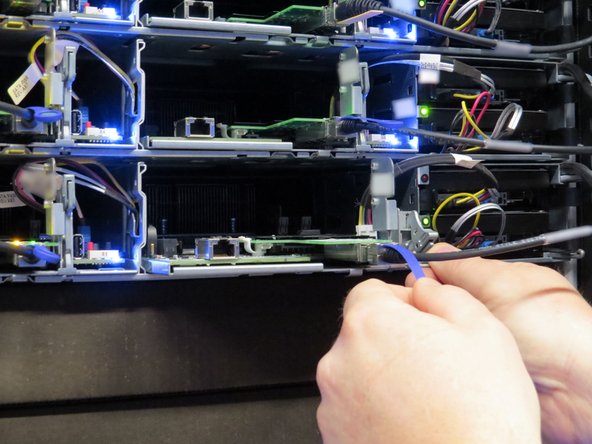
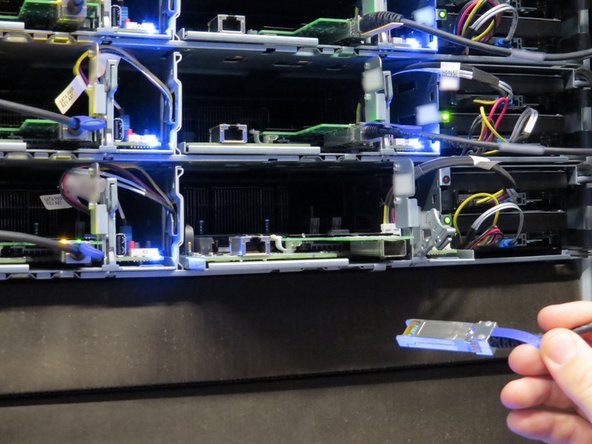
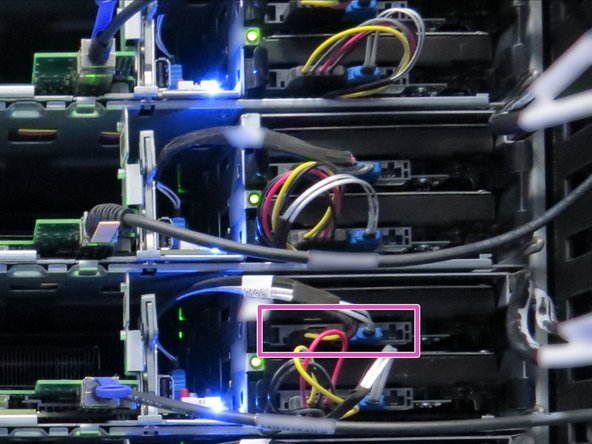
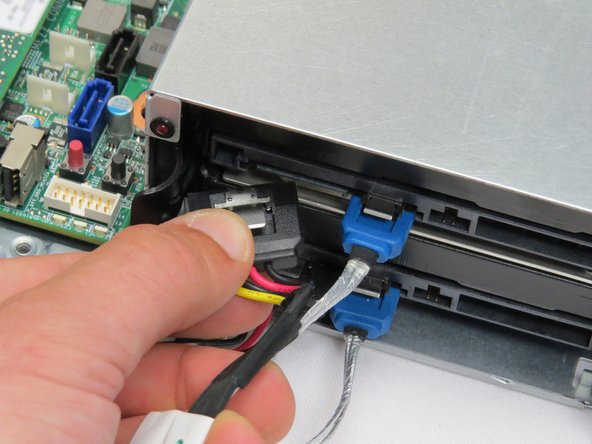
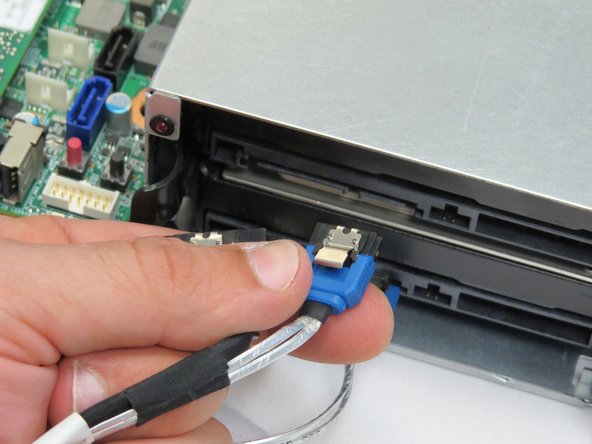
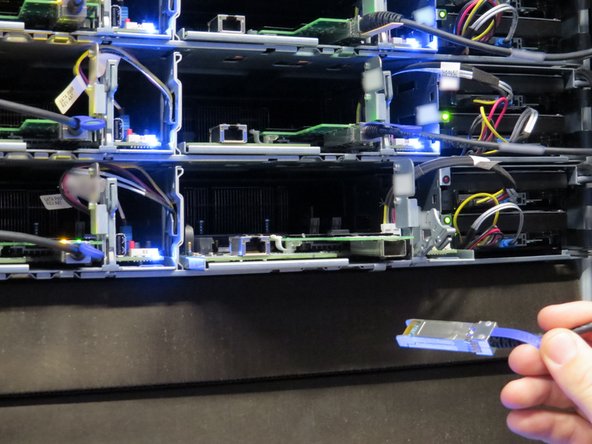
  3. Disconnect the 10G SFP+ cable from the network interface controller. Disconnect the SATA / power cables connected to the boot hard disk drive. Node 1 (right-most sled) boot drive is the top drive in the chassis. Node 0 (left-most sled) boot drive is the bottom drive in the chassis.
    • Disconnect the 10G SFP+ cable from the network interface controller.

    • Disconnect the SATA / power cables connected to the boot hard disk drive.

    • Node 1 (right-most sled) boot drive is the top drive in the chassis. Node 0 (left-most sled) boot drive is the bottom drive in the chassis.

    • Disconnecting the SATA / power cable can be performed on either the motherboard or HDD end of server node 1 . However, the SATA / power cable must be disconnected from the motherboard end on node 0.

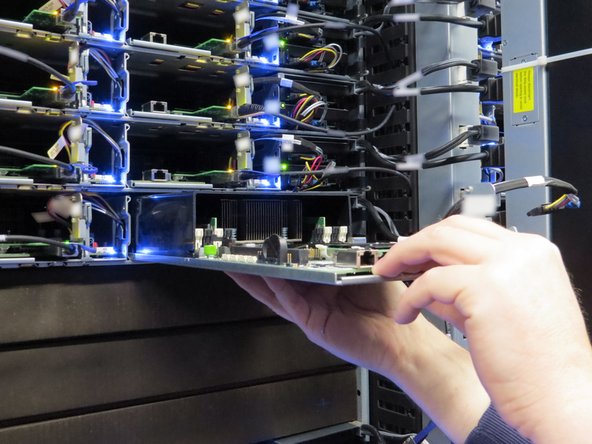
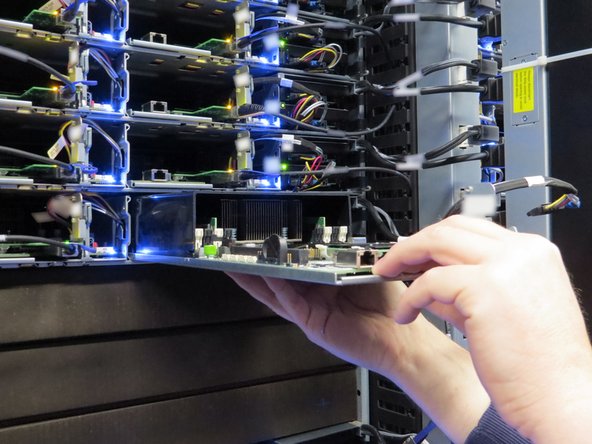
  4. Pull the server sled from the chassis.
    • Pull the server sled from the chassis.

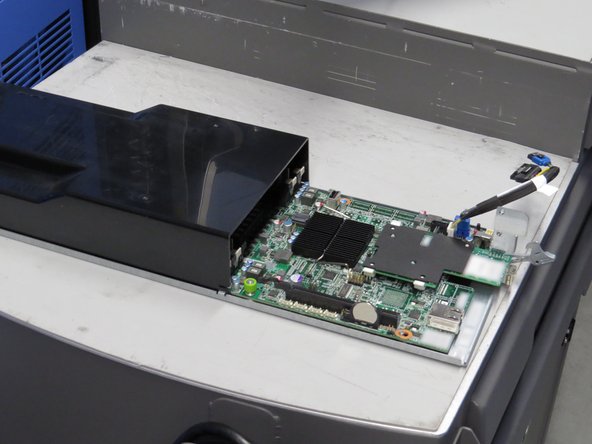
  5. Place the server sled on a work surface.
    • Place the server sled on a work surface.

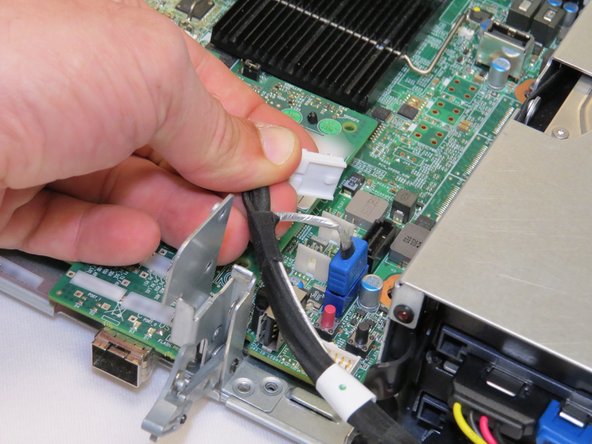
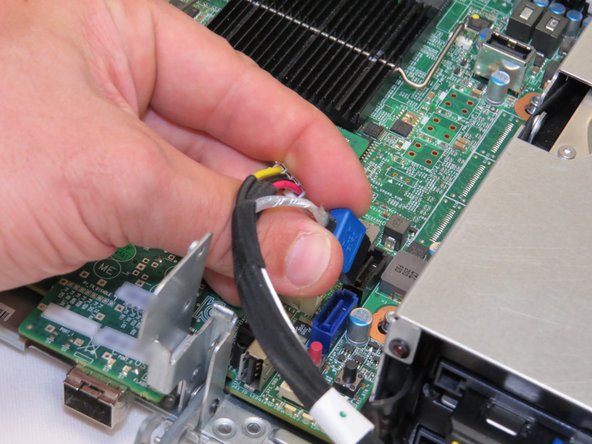
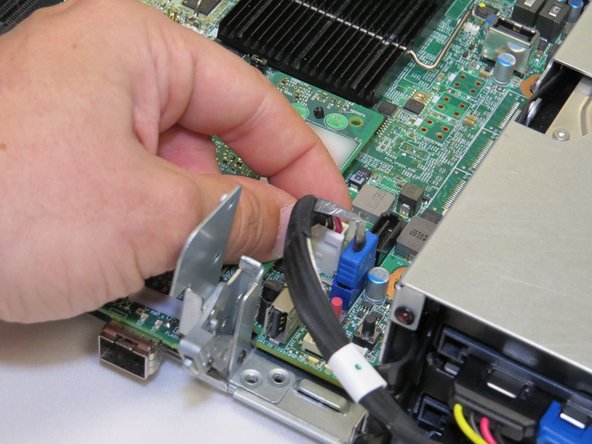
  6. Disconnect the power connector from the server motherboard. Disconnect the SATA connector from the server motherboard. The SATA connector has a metal tab that must be depressed to release the cable.
    • Disconnect the power connector from the server motherboard.

    • Disconnect the SATA connector from the server motherboard.

    • The SATA connector has a metal tab that must be depressed to release the cable.

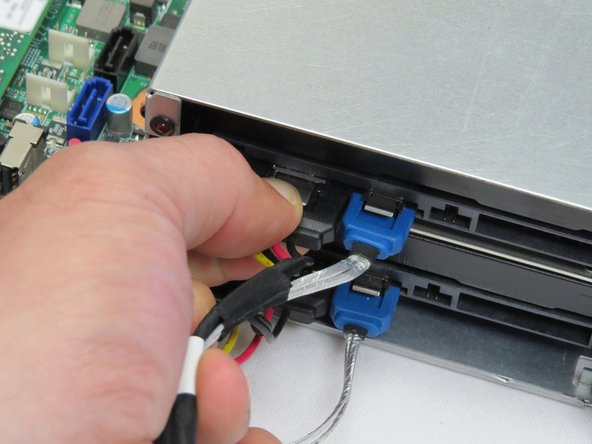
  7. Disconnect the power and SATA connectors from the HDD. Disconnect the power and SATA connectors from the HDD. Disconnect the power and SATA connectors from the HDD.
    • Disconnect the power and SATA connectors from the HDD.

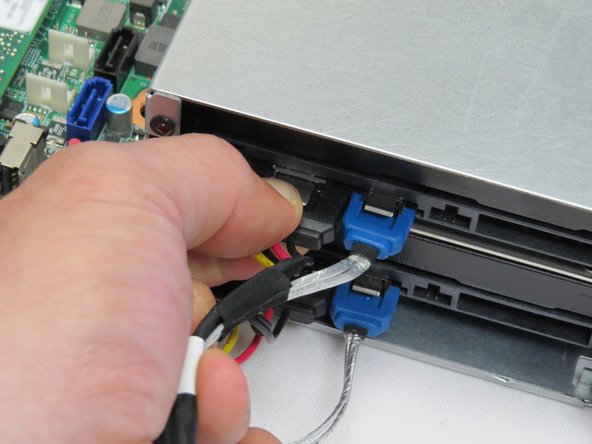
  8. Connect the new SATA / power cable to the HDD.
    • Connect the new SATA / power cable to the HDD.

  9. Connect the SATA / power cable to the server motherboard.
    • Connect the SATA / power cable to the server motherboard.

  10. Slide the server back into the rack. Connect the peripheral cables (SATA / power and networking) that were previously disconnected.
    • Slide the server back into the rack.

    • Connect the peripheral cables (SATA / power and networking) that were previously disconnected.

  11. Power on the server.
    • Power on the server.

Conclusion

Dozuki System

Member since: 09/24/2009

1 Reputation

142 Guides authored

0 Comments

Add Comment

View Statistics:

Past 24 Hours: 0

Past 7 Days: 0

Past 30 Days: 3

All Time: 234