
-
-
Perform a warm shut down on the server. Run:
-
ssh -l root <hostname> shutdown -h now
-
-
-
Disconnect the 10G cable NIC.
-
-
-
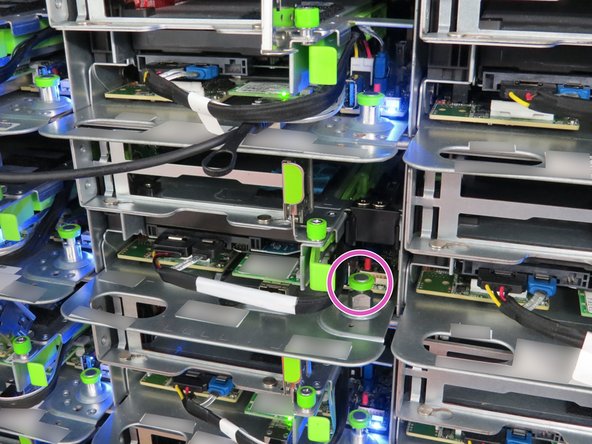
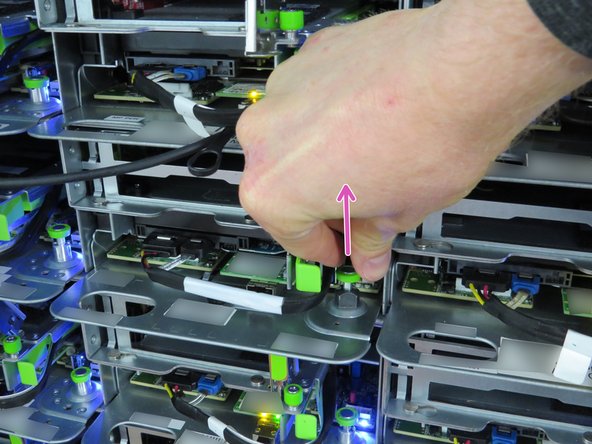
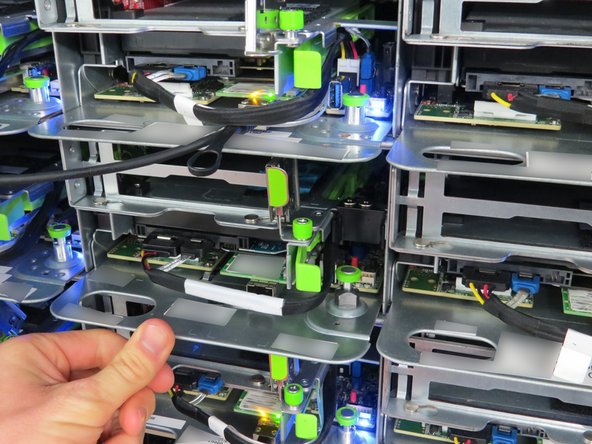
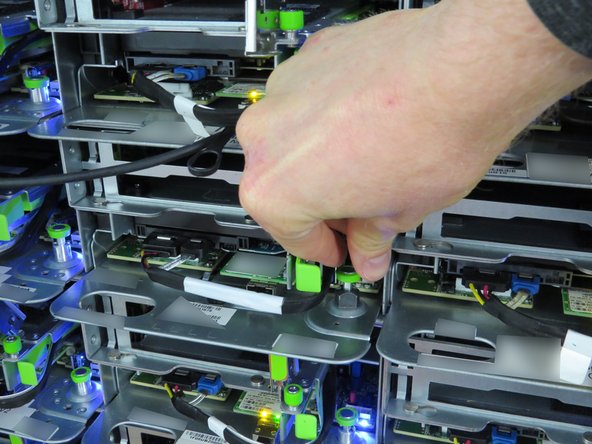
Pull the green retention plunger upwards and twist 90 degrees to lock in the upright position.
-
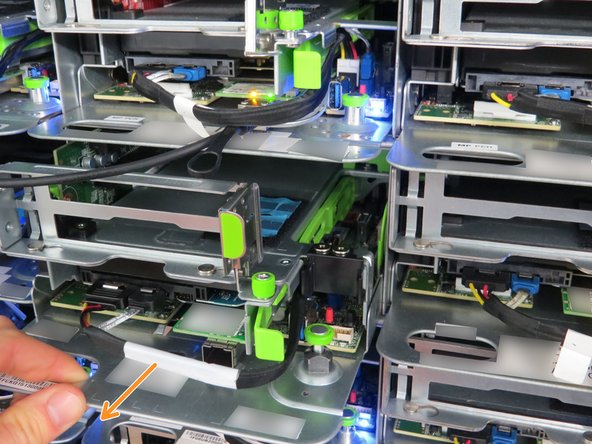
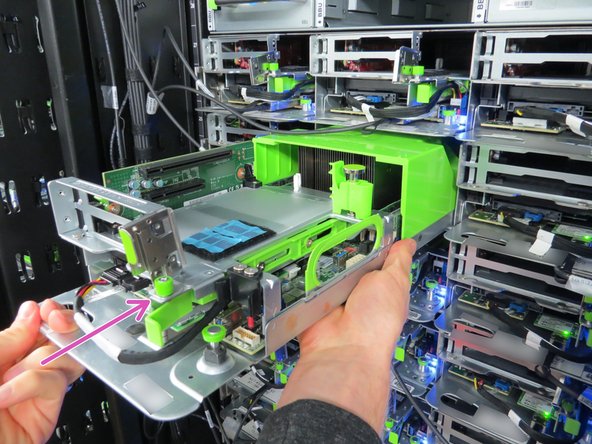
Using the handle located at the left side of the server sled, pull the sled outwards.
-
-
-
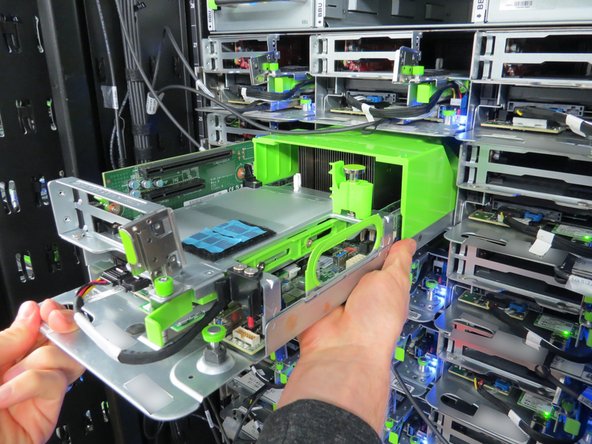
Remove the server sled and place it onto a crash cart or work bench for service.
-
-
-
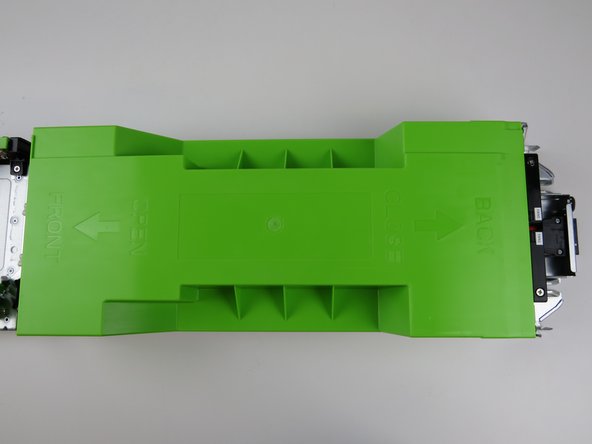
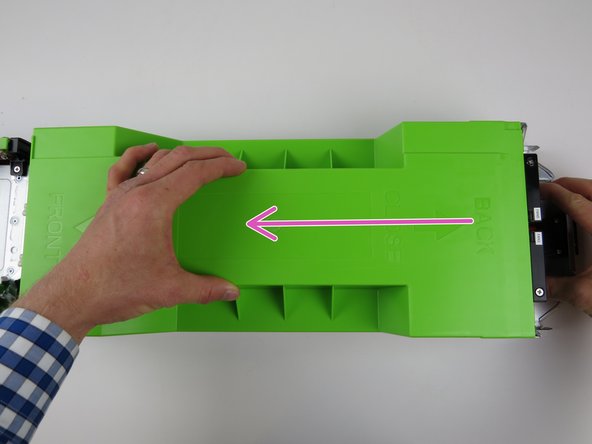
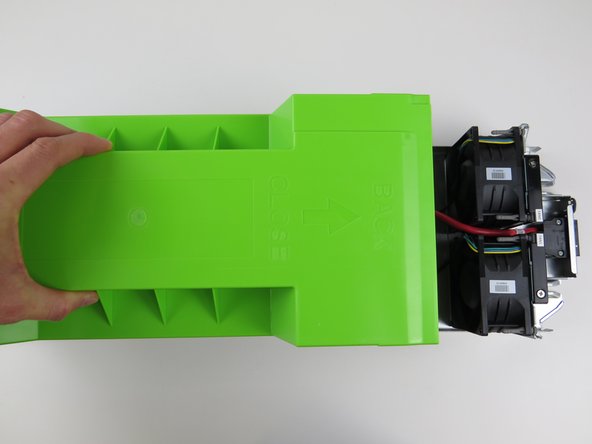
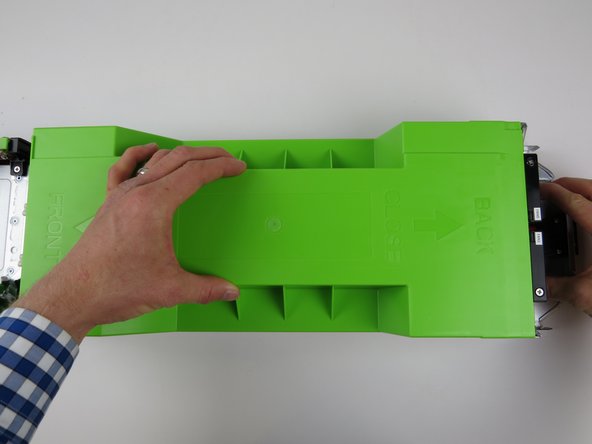
Grab the center portion of the chassis lid as shown.
-
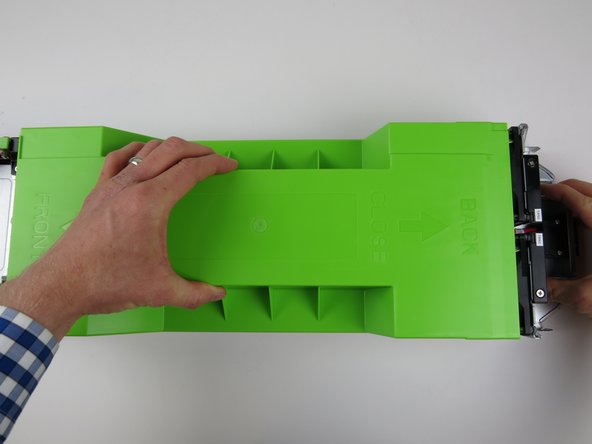
Firmly pull towards the front of the server chassis to release the lid.
-
Lift the lid and remove
-
-
-
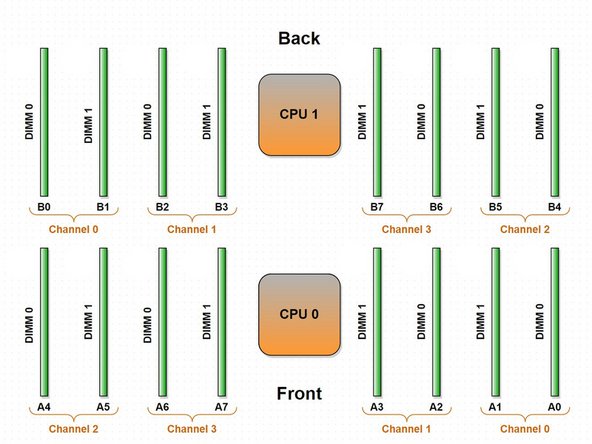
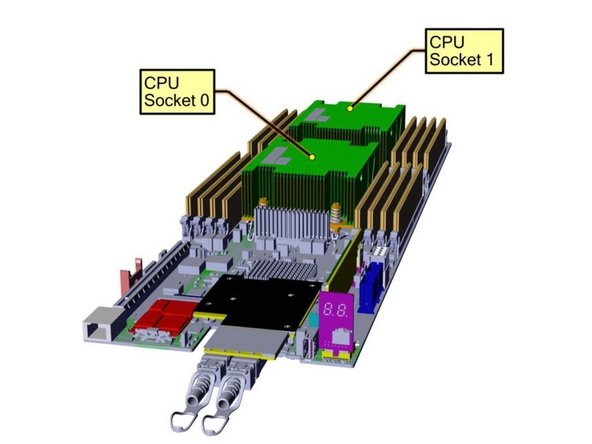
DIMM slots and CPU locations are as shown.
-
-
-
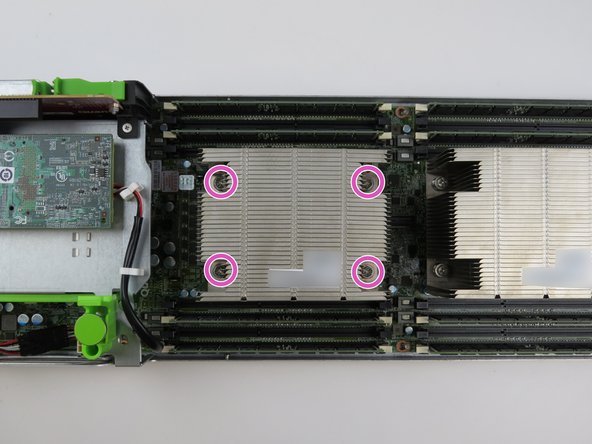
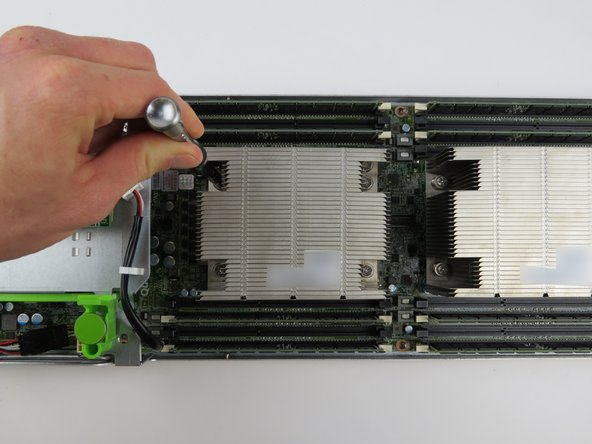
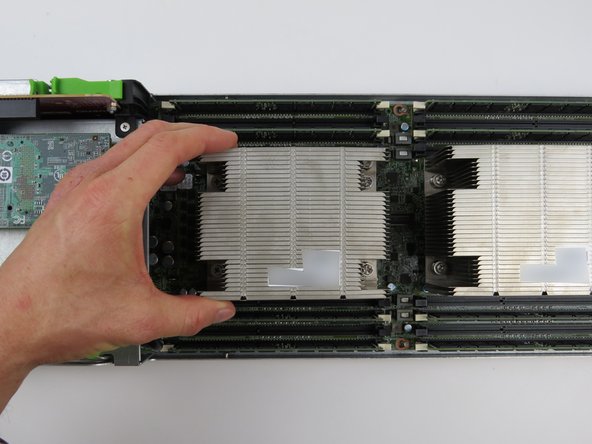
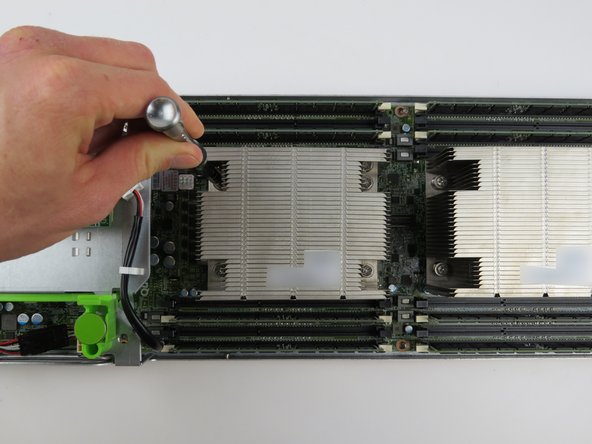
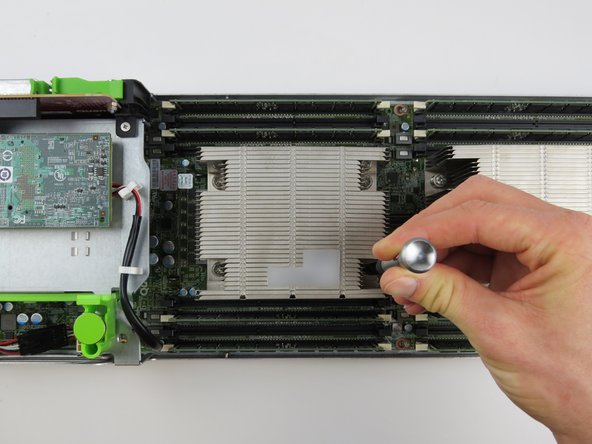
Loosen (4) torque screws with a Phillips #2 screwdriver.
-
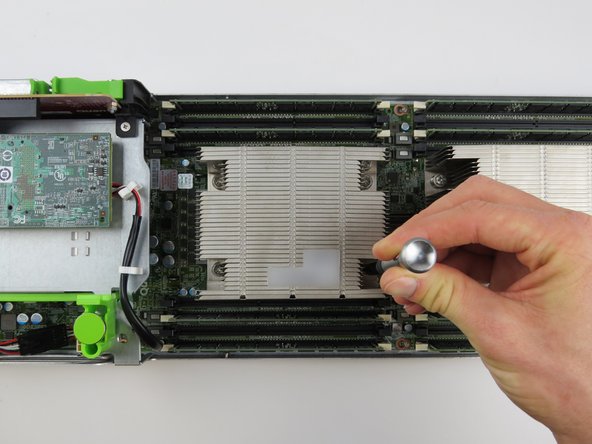
Loosen screws in a diagonal sequence.
-
Loosen each screw halfway first (about two driver rotations). Proceed loosening the screws completely.
-
Use your hand to apply pressure to the corner nearest the screw being loosened.
-
-
-
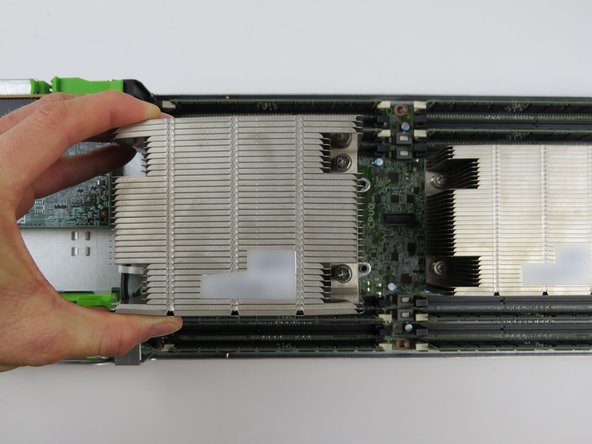
Lift the heatsink from the CPU socket.
-
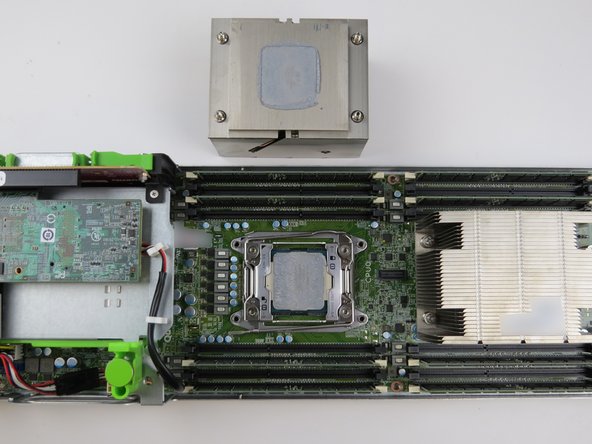
Place the heatsink to the side of the server chassis, near its respective CPU socket.
-
Enure the heatsink is facing downwards (with the thermal compound exposed).
-
-
-
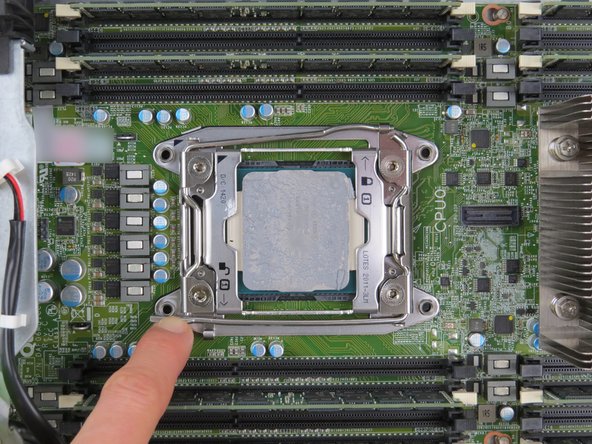
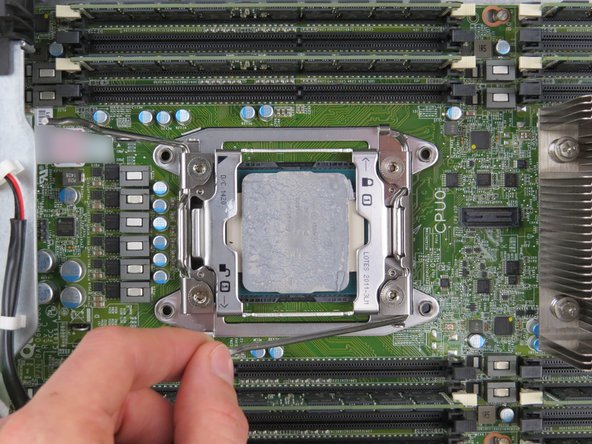
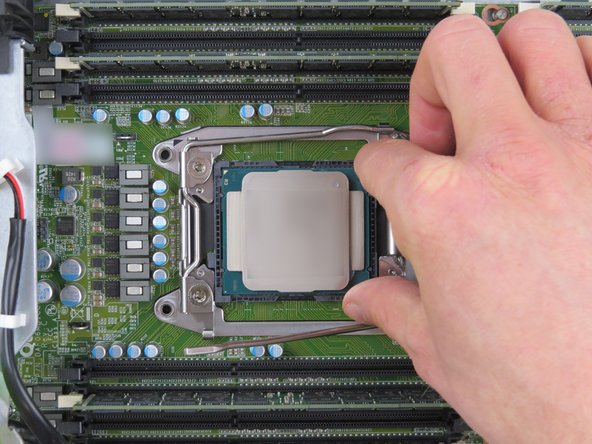
Unlatch the 'unlock' retention lock first, by simultaneously pushing down and inward on the lever as shown.
-
-
-
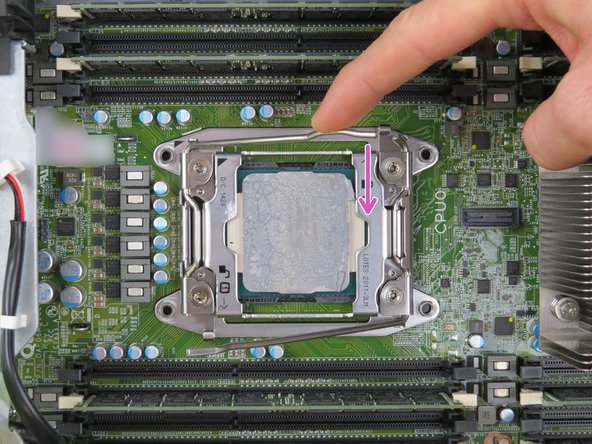
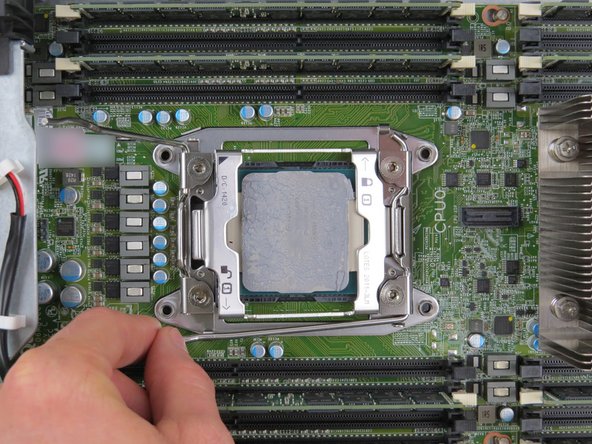
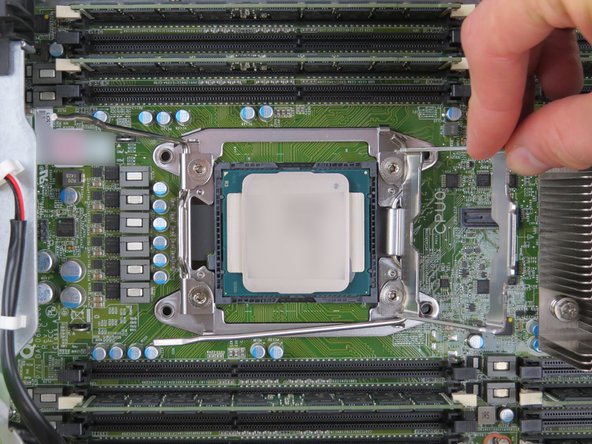
Unlatch the 'lock' retention lock second, by simultaneously pushing down and inward on the lever as shown.
-
Fully extend the second 'lock' lever.
-
-
-
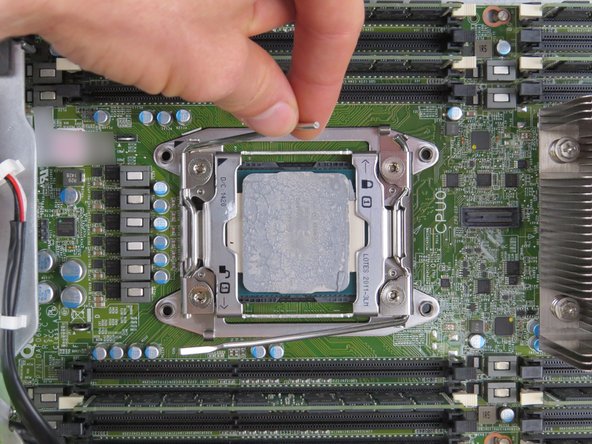
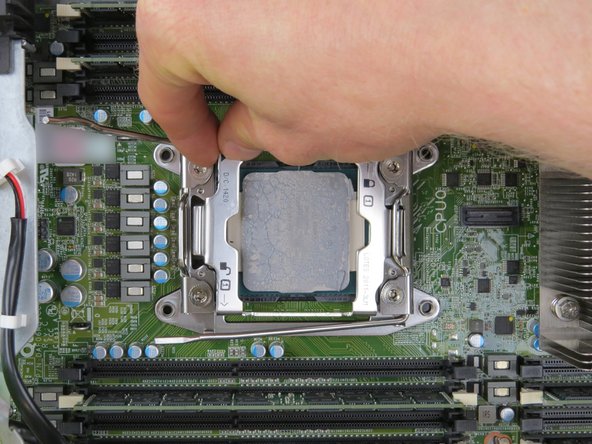
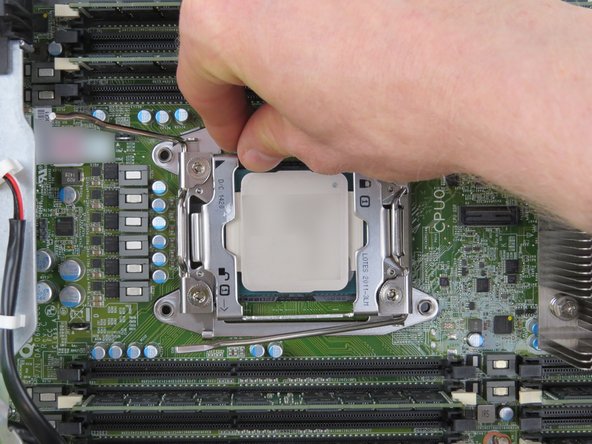
Press the first 'unlock' retention lever down towards the CPU to allow the CPU retention bracket to lift.
-
-
-
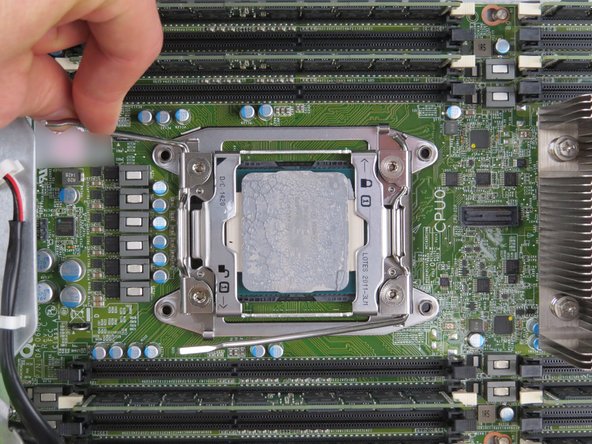
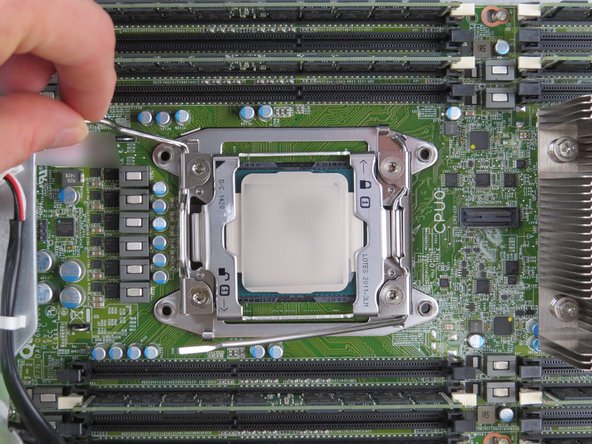
Lift the CPU retention bracket.Allow the CPU retention bracket to pivot, and let stand vertically.
-
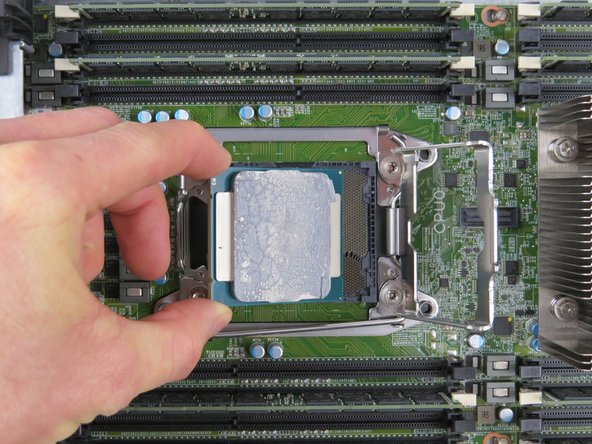
Grasp the CPU by its sides and remove.
-
-
-
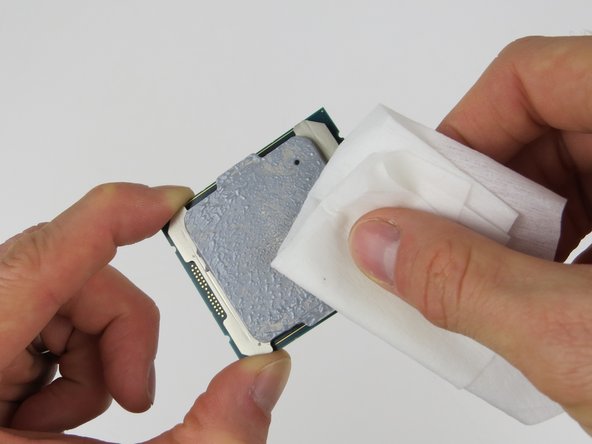
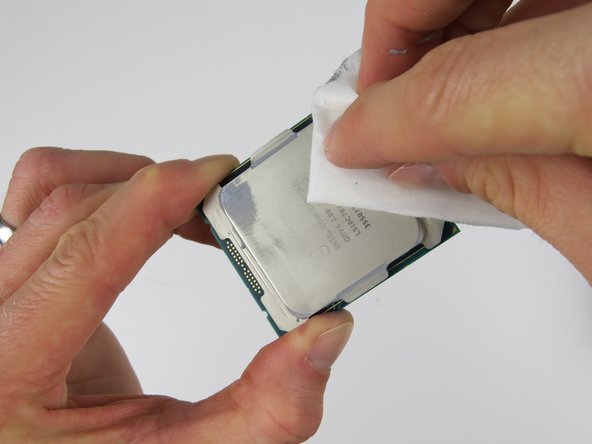
Wipe the top of the CPU with an ispropyl alcohol pad to remove the thermal compound residue.
-
Multiple passes may be needed. Continue until all the thermal compound residue has been removed.
-
-
-
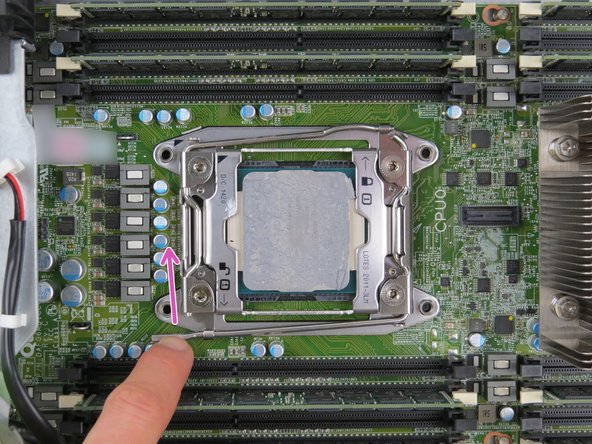
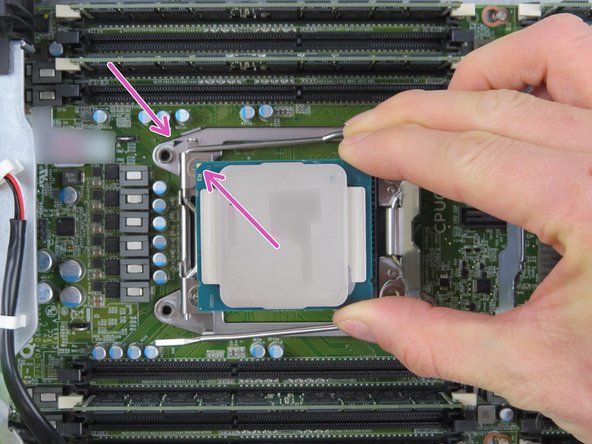
Orientate the CPU so that the arrow printed on the CPU aligns with the arrow printed on the CPU retention housing, as shown.
-
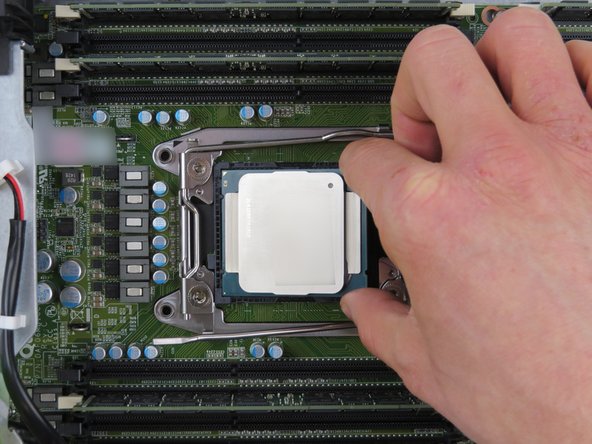
Lower the CPU directly onto its socket, as shown.
-
-
-
Close the CPU retention gate.
-
Ensure the 'lock' CPU retention lever is on top of the CPU retention gate lip.
-
-
-
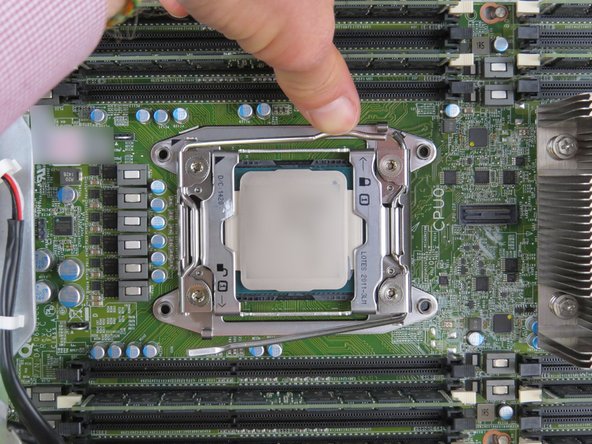
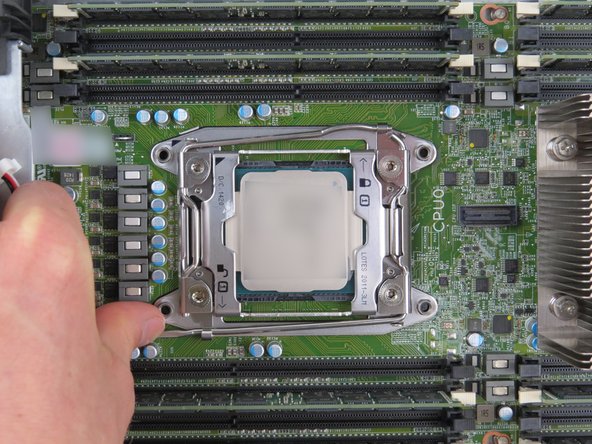
Close both retention levers.
-
Close the 'lock retention lever first, then the 'unlock' retention lever.
-
-
-
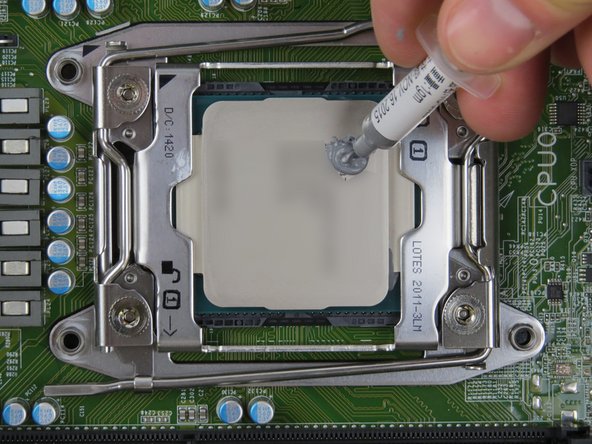
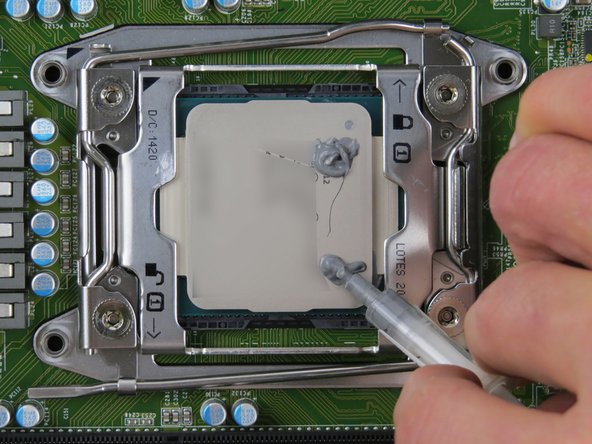
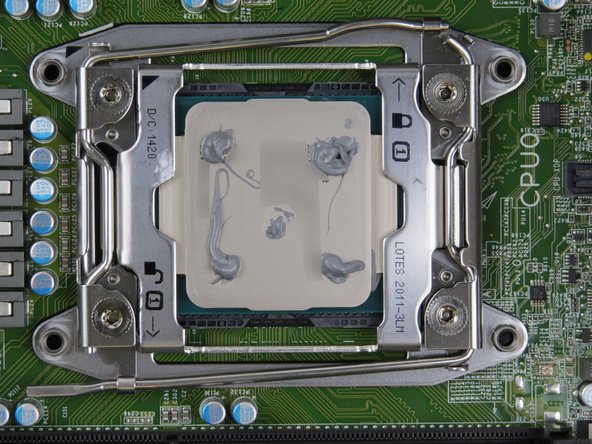
Apply thermal compound to the top of the CPU using the 5-dot method.
-
Place 0.2 grams of thermal compound on each CPU corner. Drag residue towards the center of the CPU.
-
Place 0.2 grams of thermal compound on the center of the CPU.
-
0.2 grams is 'about' 1 hash mark tick on the 1 gram CPU thermal compound syringe.
-
-
-
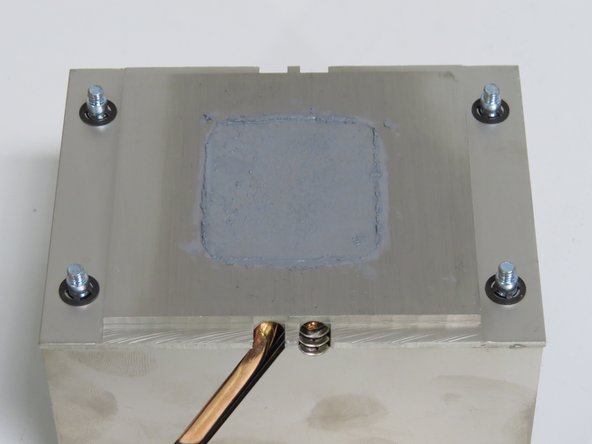
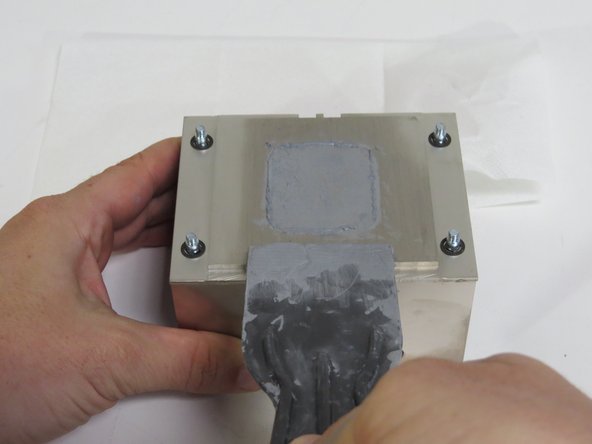
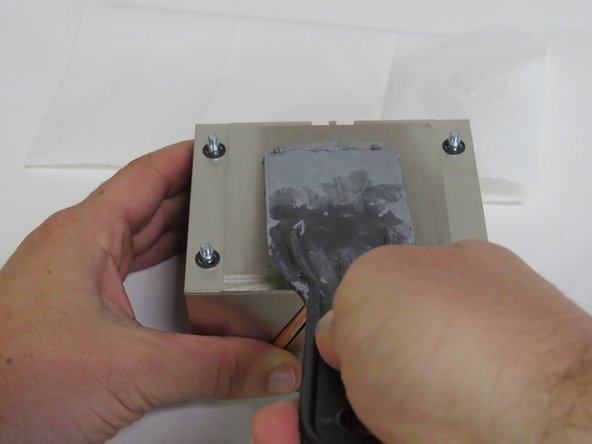
Scrape the thermal compound application from the heatsink using a plastic putty knife.
-
Scrape the thermal compound parallel to the machined grain, as shown.
-
-
-
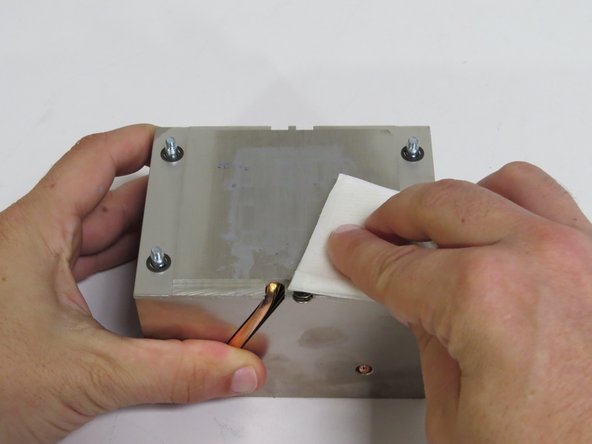
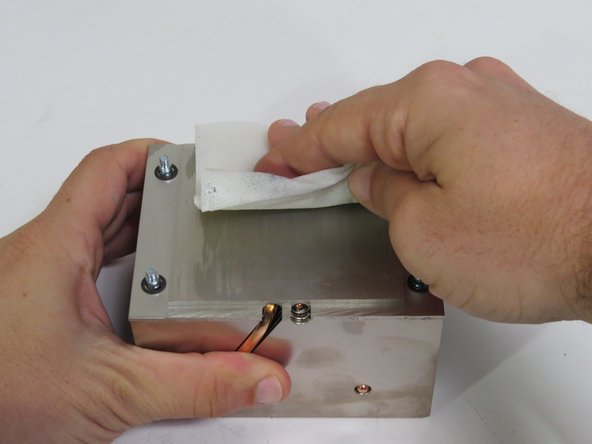
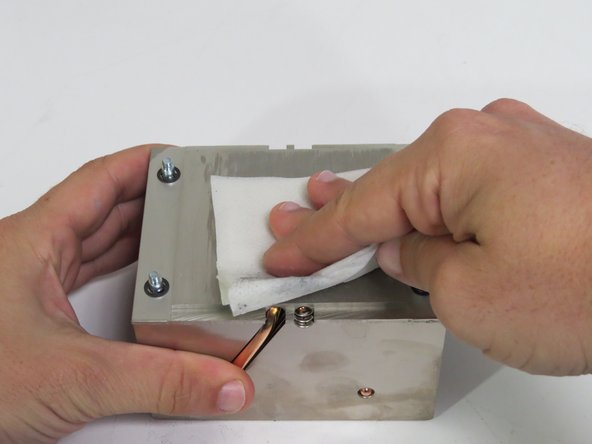
Wipe the remaining thermal compound off of the heatsink with an ispropyl alcohol pad.
-
Wipe the thermal compound parallel to the machined grain, as shown.
-
Continue this process until no thermal compound residue remains on the heatsink.
-
-
-
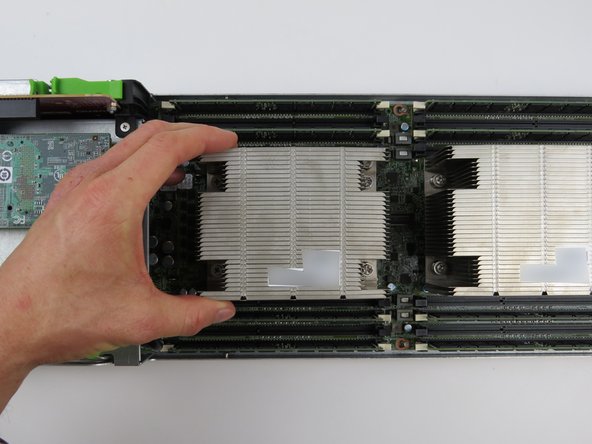
Lower the heatsink onto the CPU.
-
Ensure the heatsink screw posts are aligned with the CPU retention post holes.
-
Tighten screws in a diagonal sequence.
-
Tighten each screw halfway first.(about two driver rotations). Then, proceed to tighten each screw completely.
-
-
-
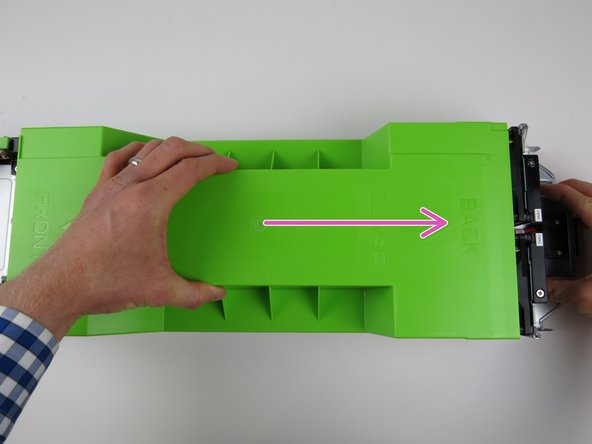
Insert the lid onto the server chassis.
-
Slide it towards the rear of the chassis until it clicks into place and resistance is felt.
-
-
-
Insert the server sled into the rack as shown.
-
If the green retention plunger is still in the upright position, twist it 90 degrees to release it. This will secure the server.
-
-
-
Press the power button to power-on the server.
-



This work is licensed under a Creative Commons Attribution 4.0 International License.
This work is licensed under a Creative Commons Attribution 4.0 International License.
