Difficulty
Moderate
Steps
18
Time Required

Prerequisite Only
This guide is only used as a prerequisite for other guides and is not a complete or useful guide when viewed independently.
Quiz
0
-
-
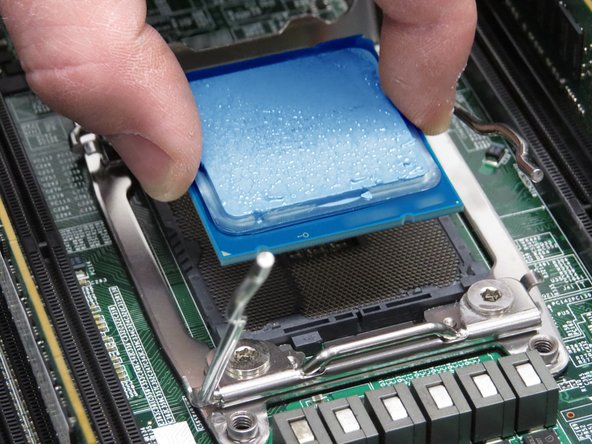
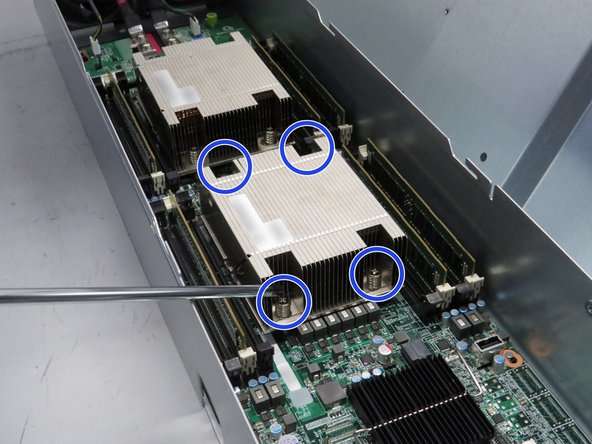
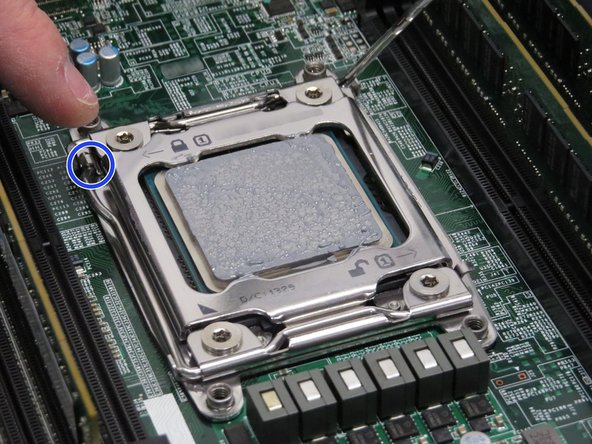
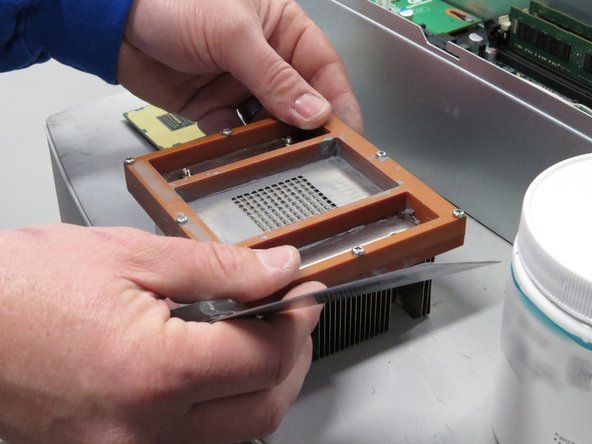
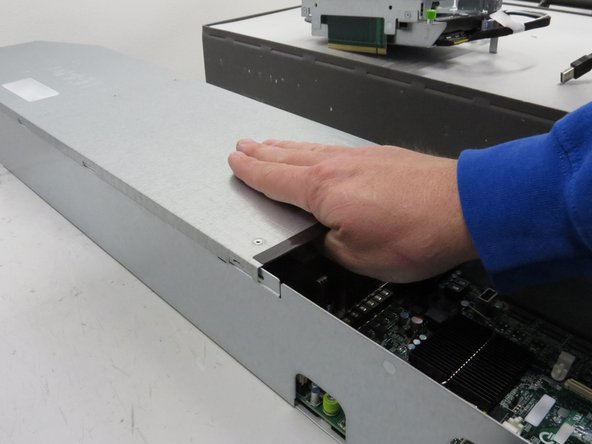
Engage the server lid, as shown.
-
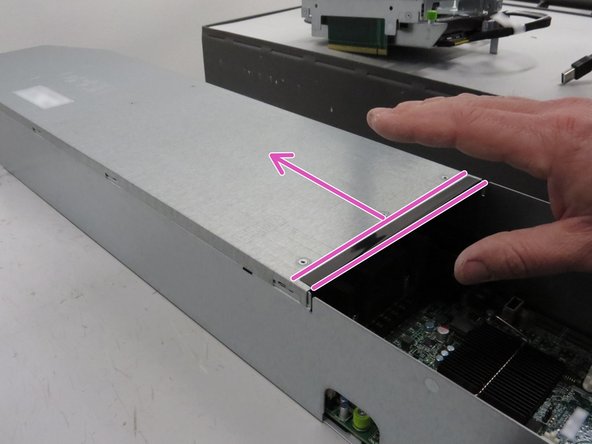
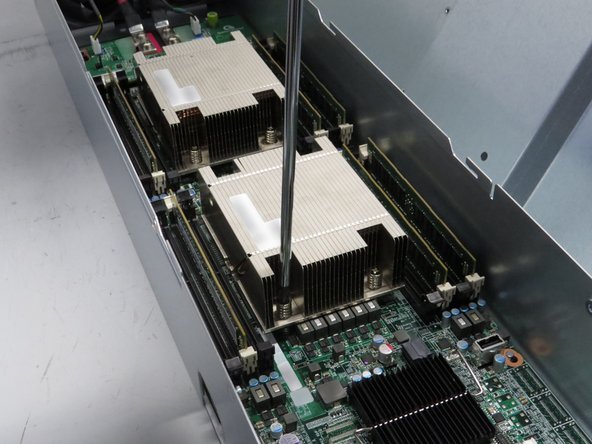
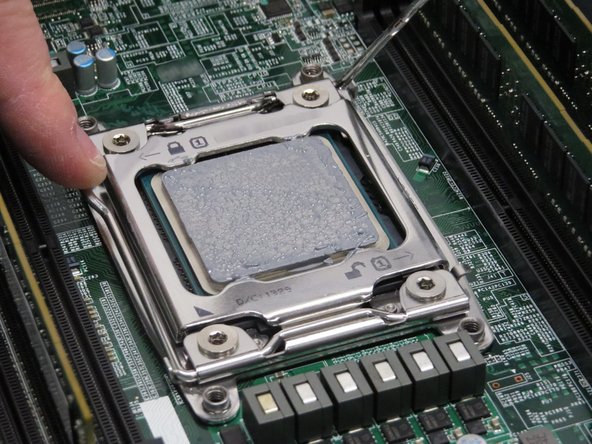
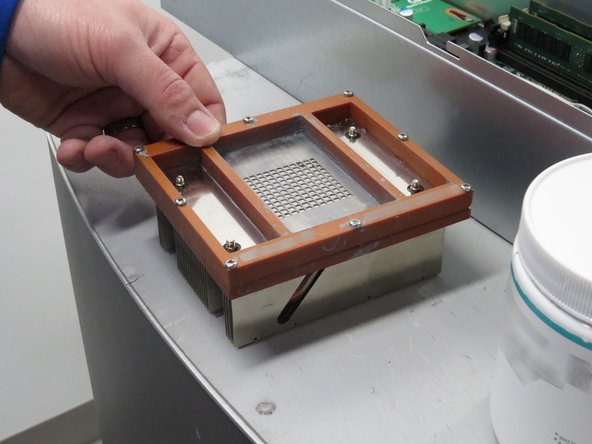
Push the lid towards the rear of the server.
-
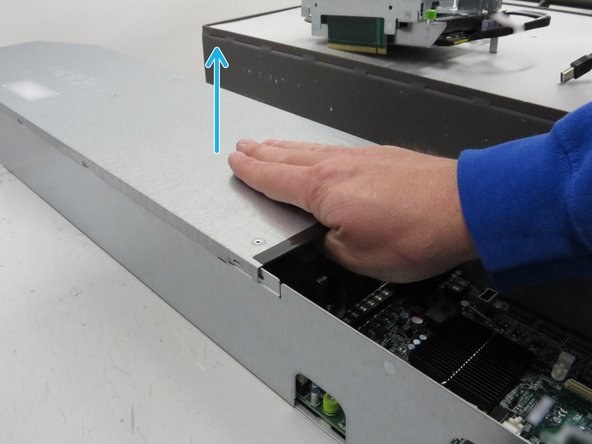
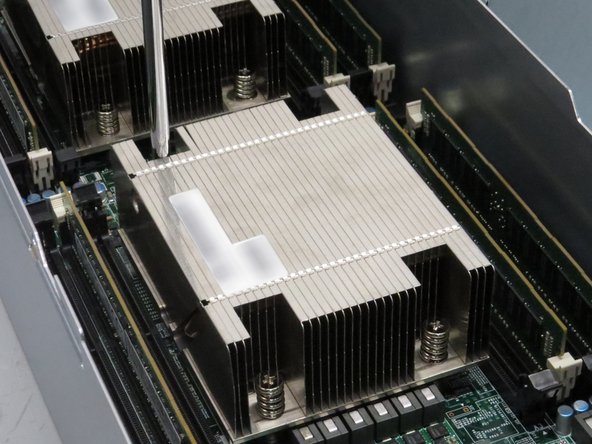
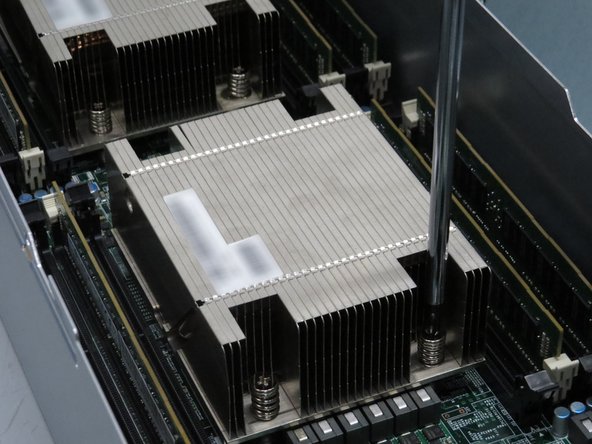
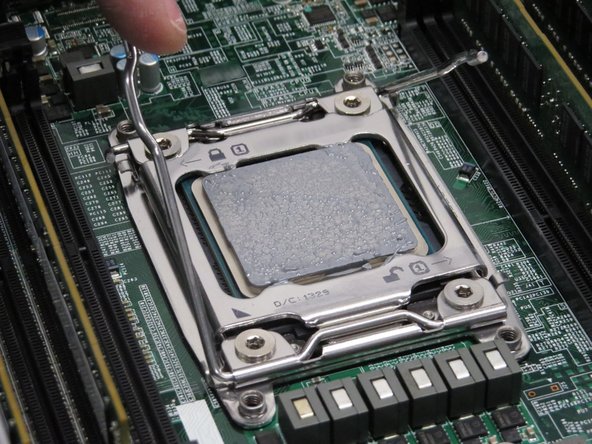
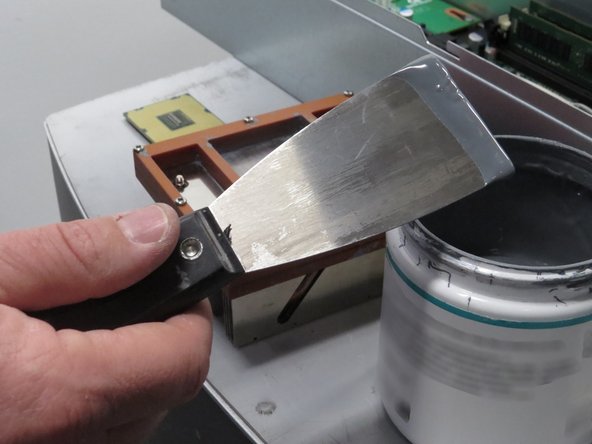
Lift the cover.
-
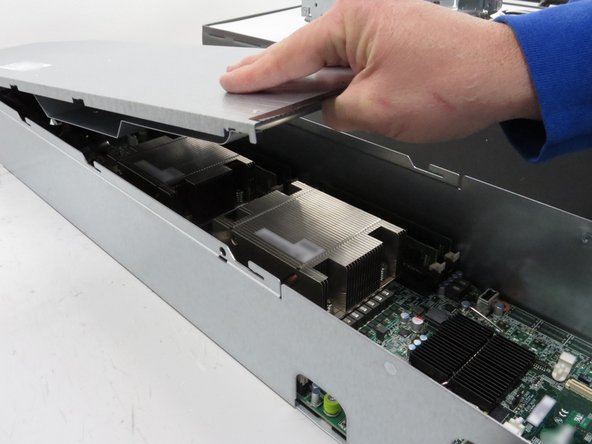


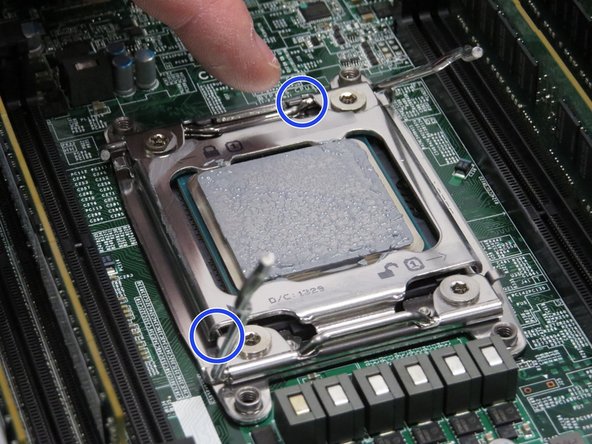
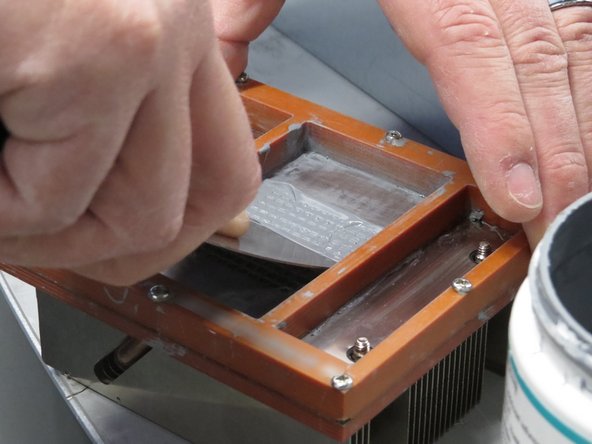


Almost done!
This work is licensed under a Creative Commons Attribution 4.0 International License.
Conclusion
This work is licensed under a Creative Commons Attribution 4.0 International License.
