
Introduction
Overview
This guide demonstrates how to replace a central processing unit in a Open Compute V3 server node. == Acronyms and Terms == * CPU - Central Processing Unit
-
-
The server can be powered off remotely or on the hardware itself.
-
Remote Power Down: Login to the server to power it off.
-
shutdown -h now;exit -
Hardware Power Down: Press and hold the power switch for at least three seconds, as annotated.
-
-
-
Disconnect the Mini-SAS cable by pulling on the pull-tab, as shown.
-
-
-
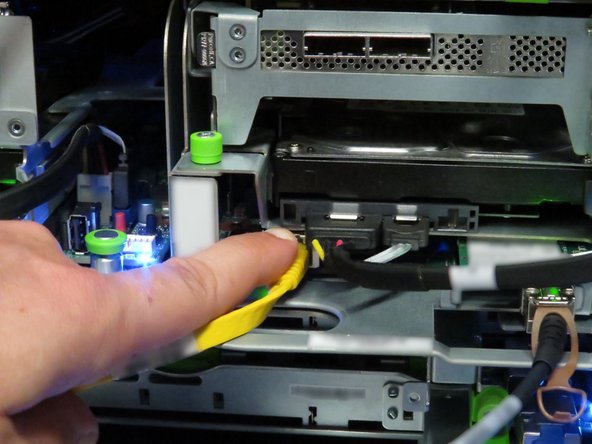
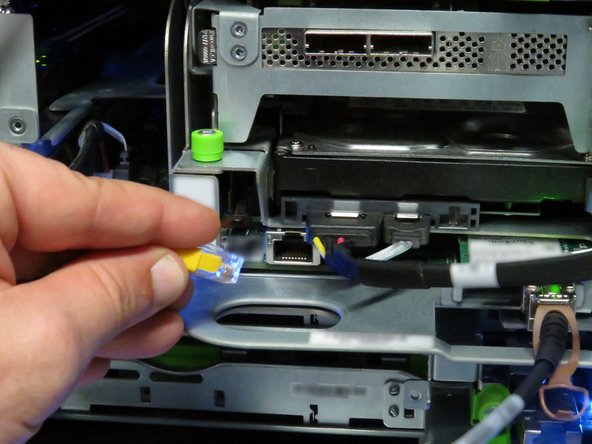
Disconnect the Ethernet cable from the server.
-
Press the tab on the end of the cable to release it.
-
-
-
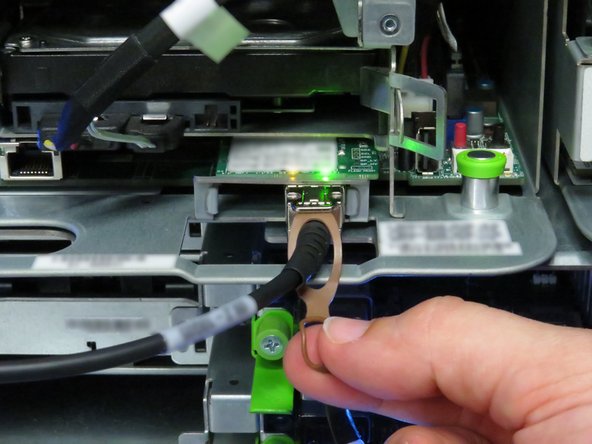
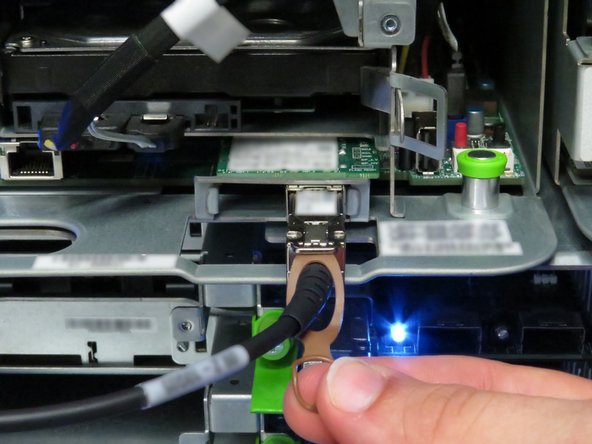
Disconnect the 10G SFP+ cable by pulling on the pull-tab, as shown.
-
-
-
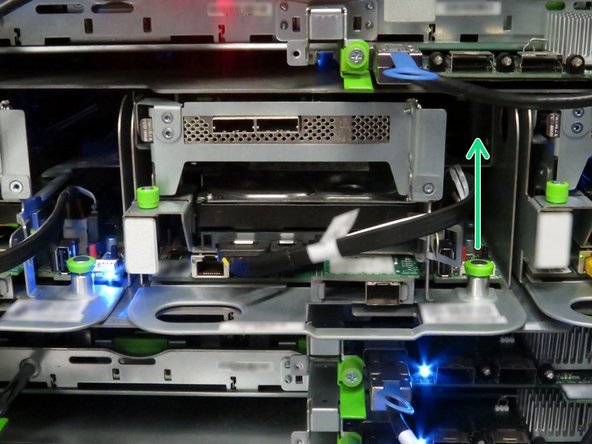
Pull the retention plunger upwards.
-
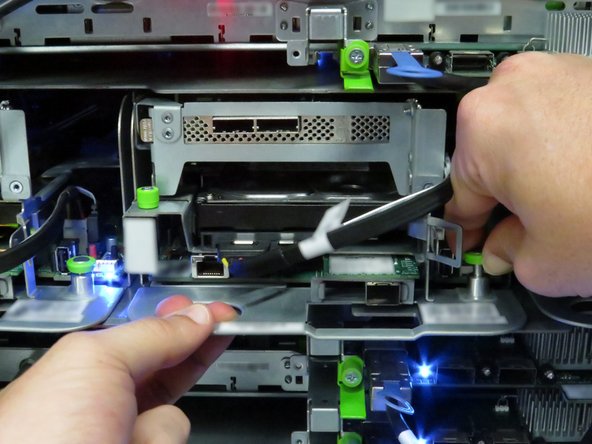
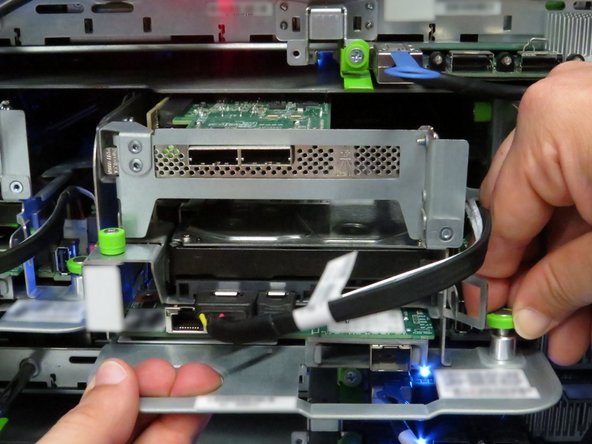
Grasp the server as shown.
-
Remove the server from the rack.
-
-
-
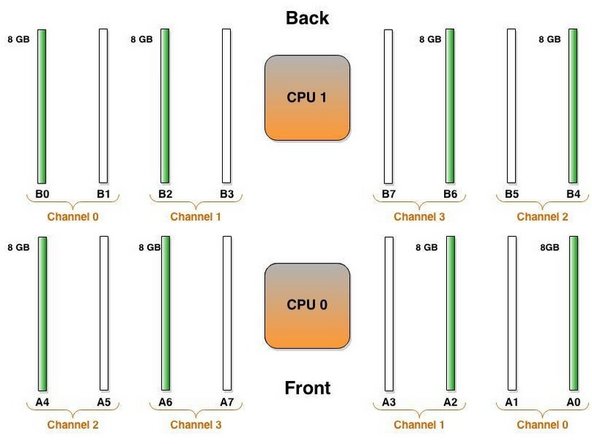
This image displays the DIMM slots and CPU.
-
The green column displays the populated DIMM slots.
-
The orange column displays the unpopulated DIMM slots.
-
-
-
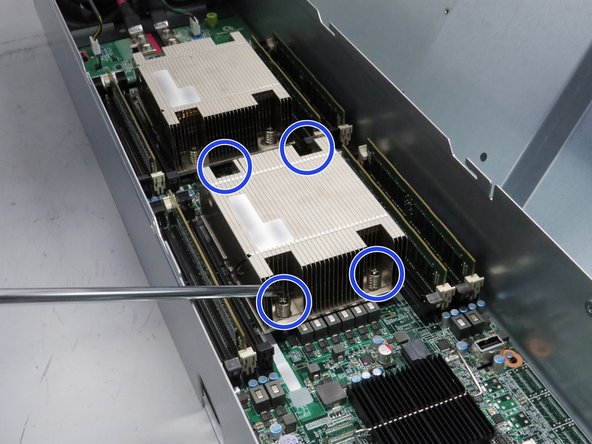
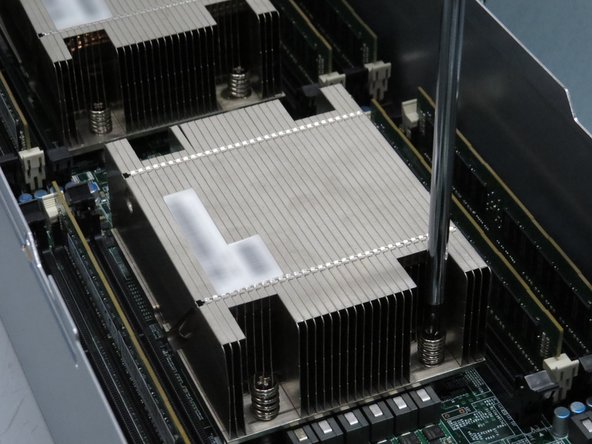
The heatsink may be hot.
-
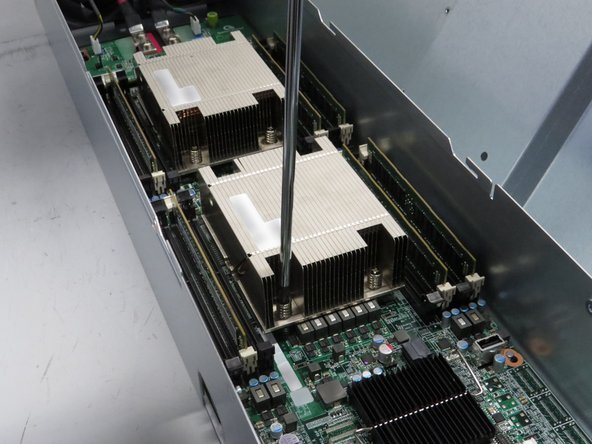
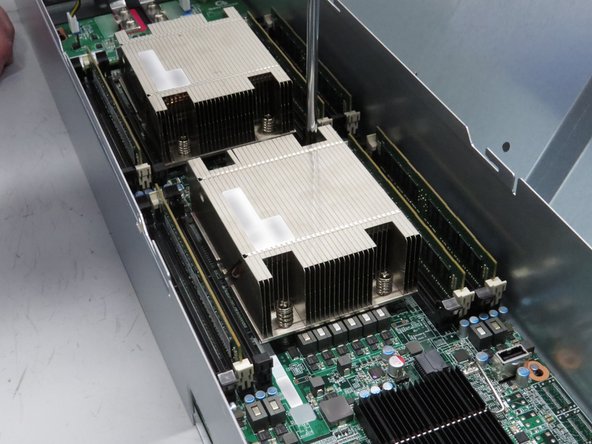
Loosen four screws. Select screws in a diagonal fashion.
-
To loosen, use about two screwdriver rotations.
-
-
-
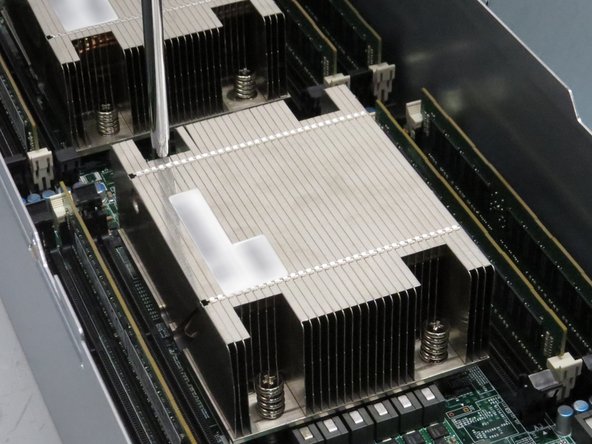
Continue to unscrew the screws holding the heat sink to the CPU until you can remove it.
-
-
-
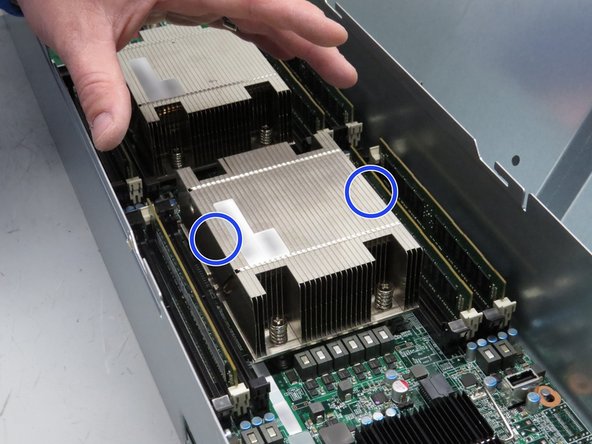
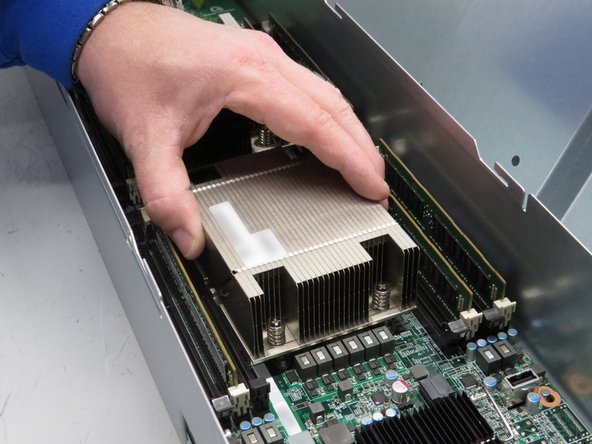
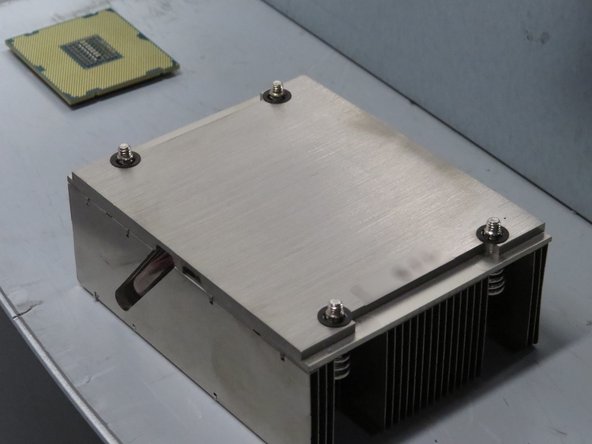
Grab the heatsink as shown.
-
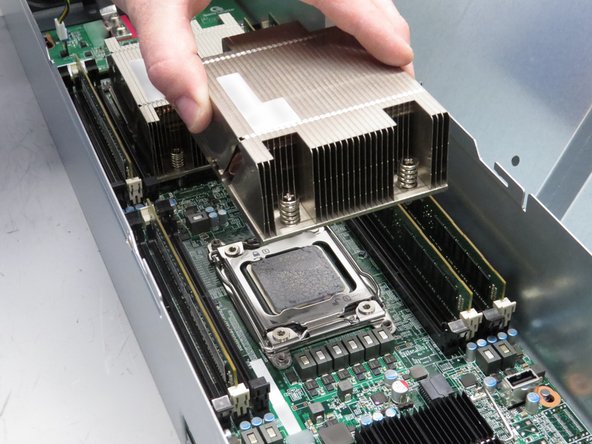
Lift the heatsink off the CPU.
-
-
-
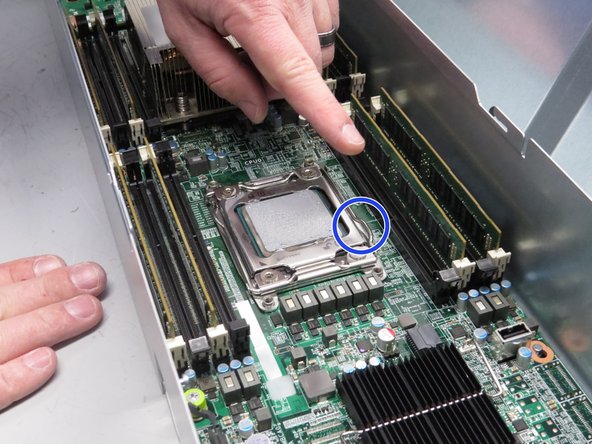
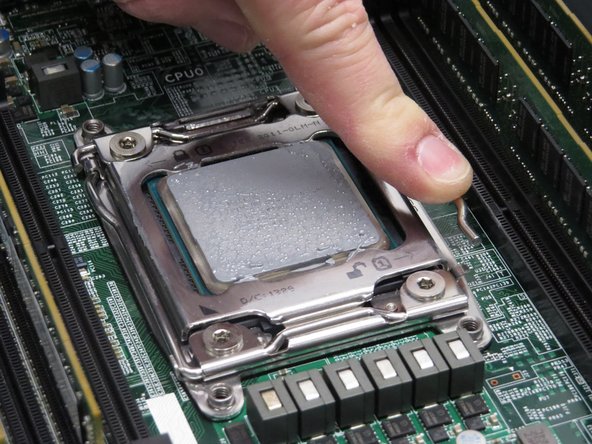
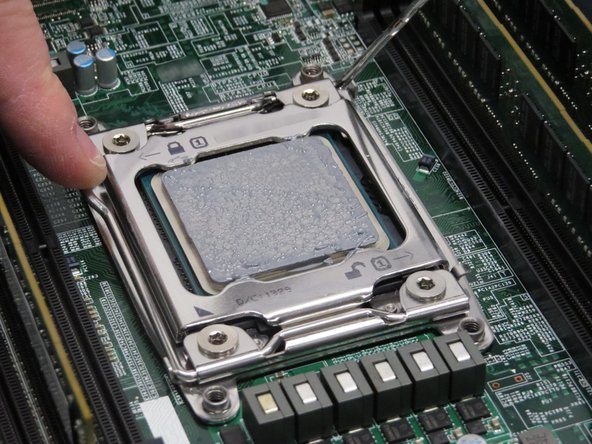
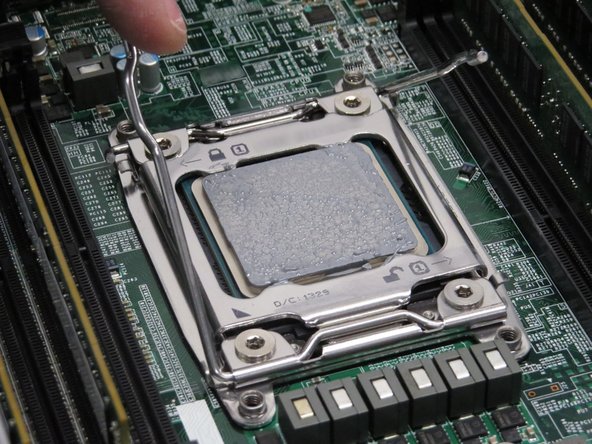
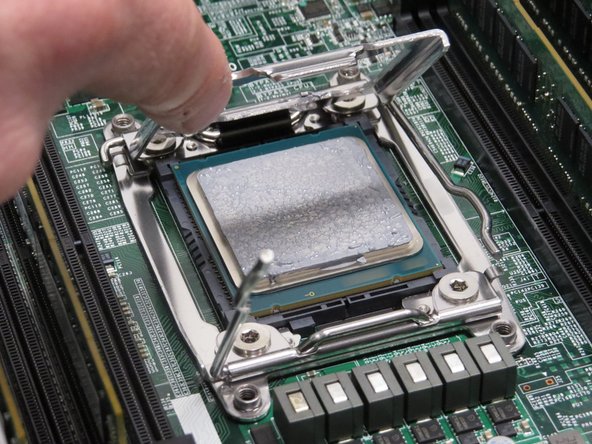
Grab the right CPU socket retention lever, as shown.
-
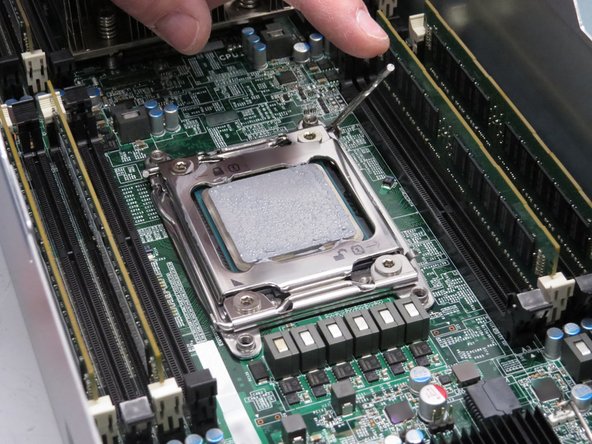
Press the lever down and away from the CPU.
-
The CPU socket retention lever is spring loaded. Keep pressure on the lever as it lifts.
-
-
-
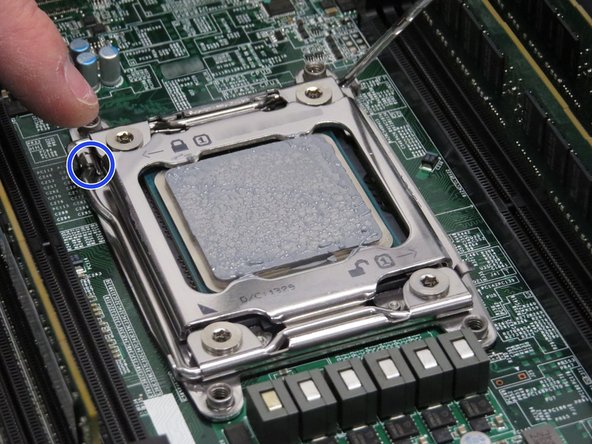
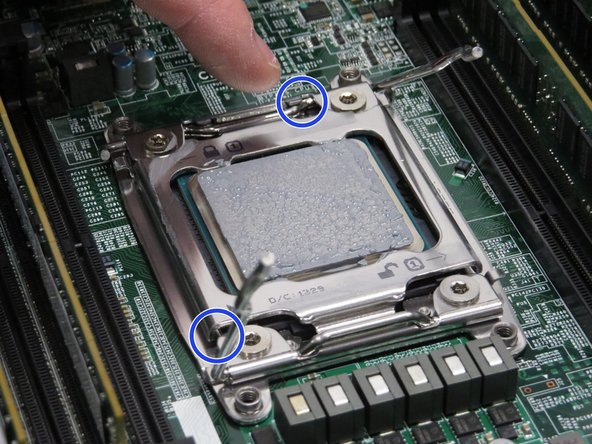
Release the left lever.
-
-
-
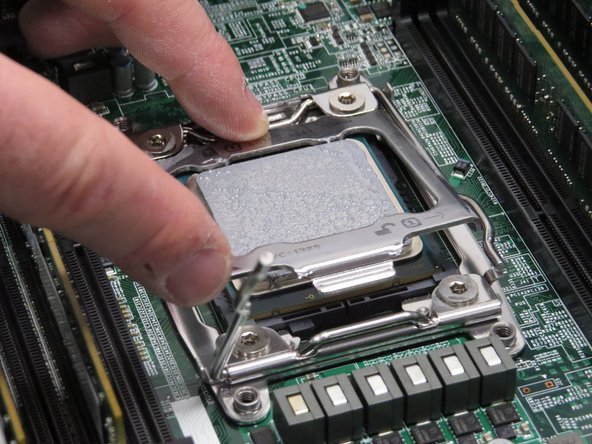
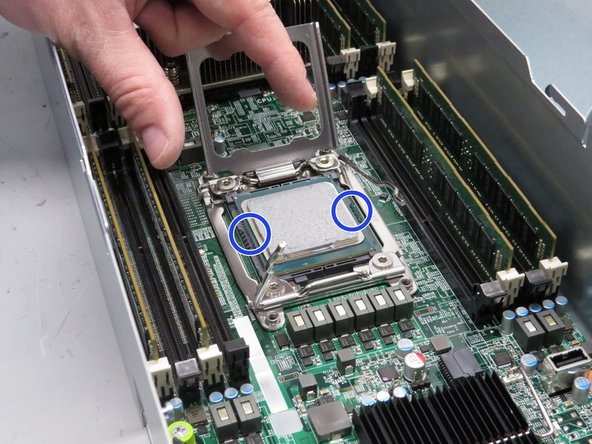
Engage the CPU retention housing, as shown.
-
-
-
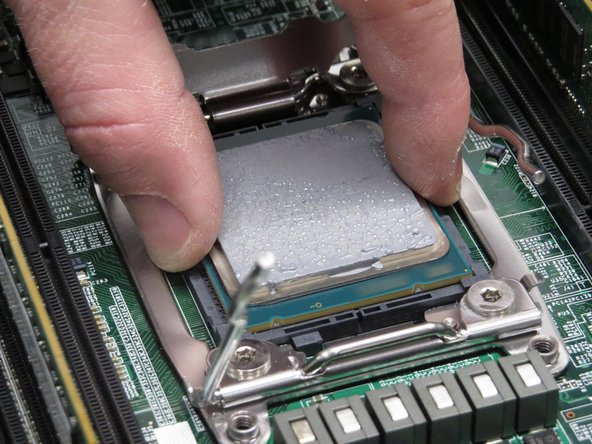
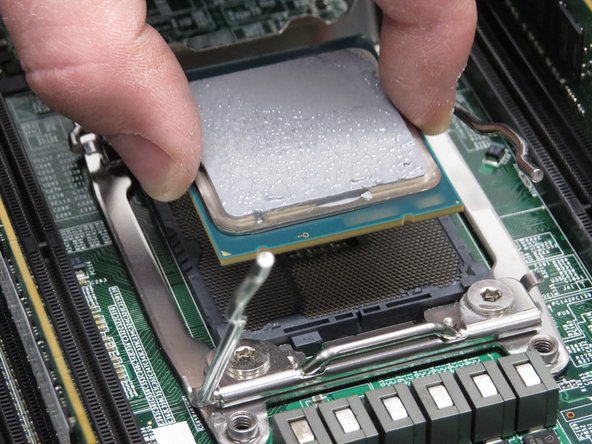
Grab the CPU, as shown.
-
Lift the CPU.
-
-
-
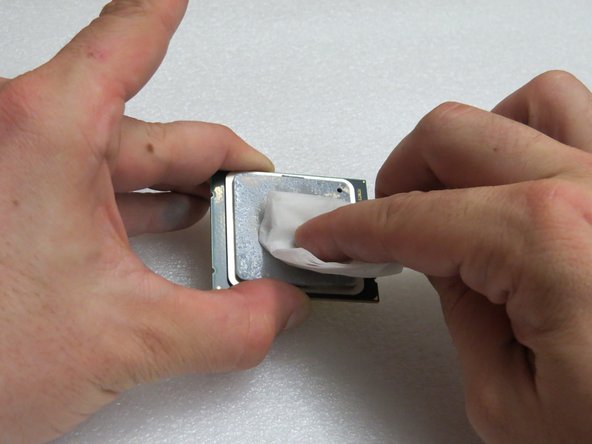
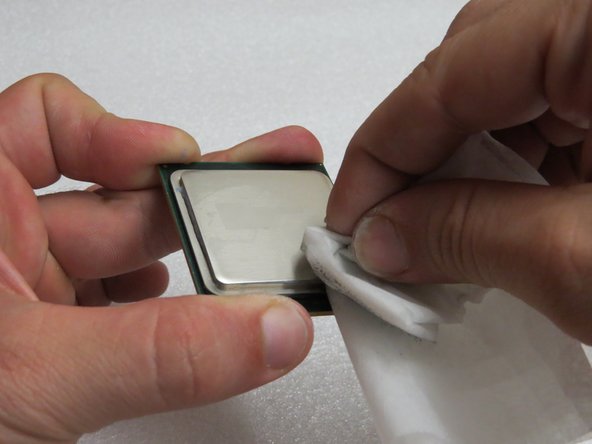
Obtain an isopropyl alcohol cloth.
-
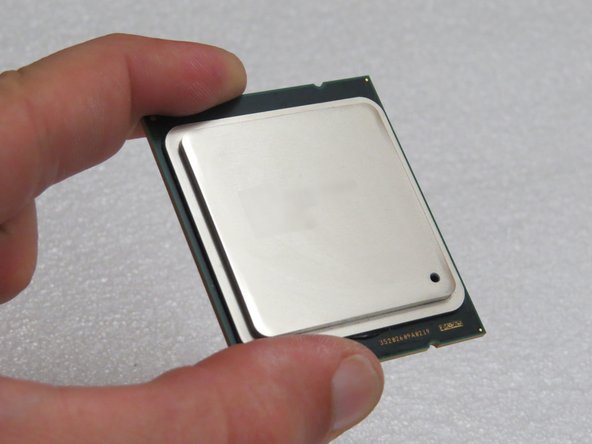
Hold the CPU by its edges.
-
The CPU may have a blue shroud. If so, hold it by the shroud.
-
-
-
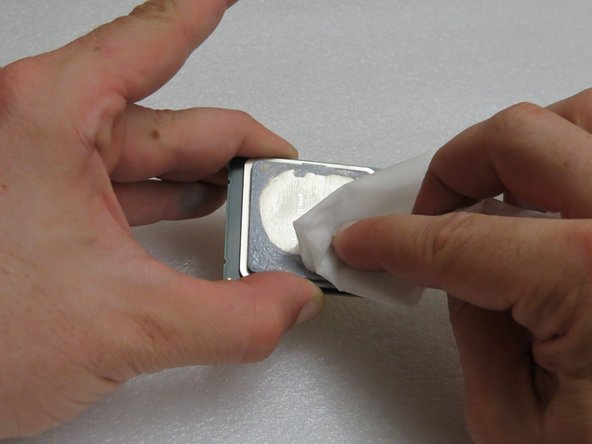
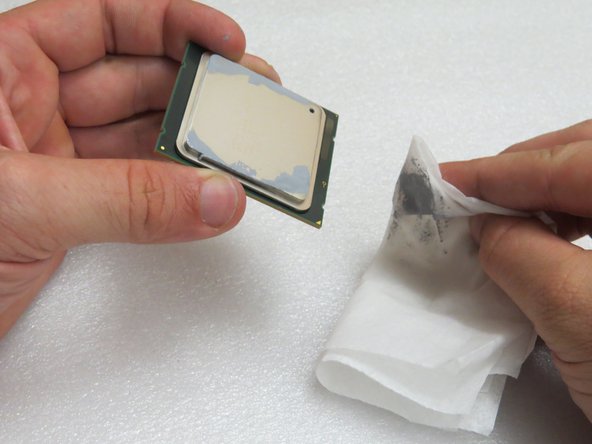
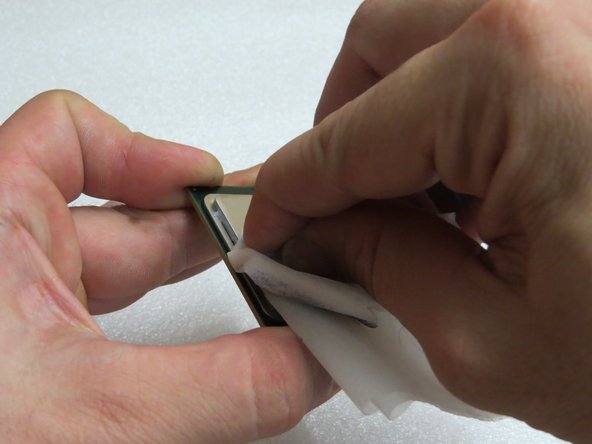
Continue wiping the CPU with the alcohol-soaked cloth to remove the thermal compound.
-
Multiple passes may be needed to completely remove all of the thermal compound.
-
-
-
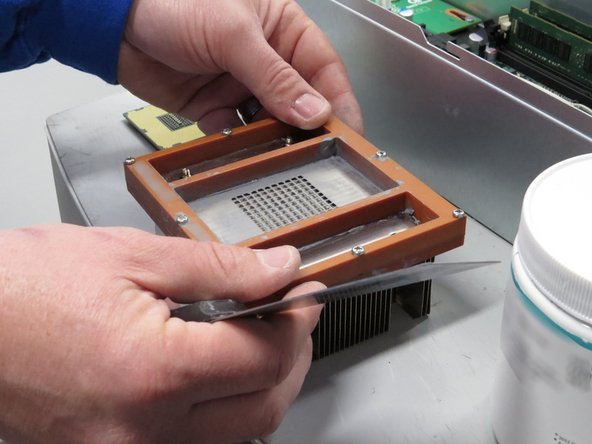
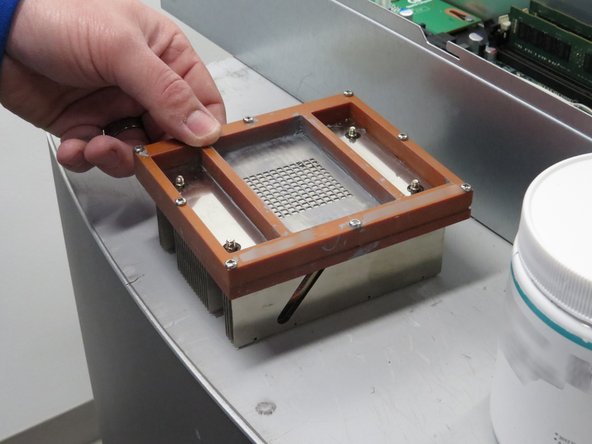
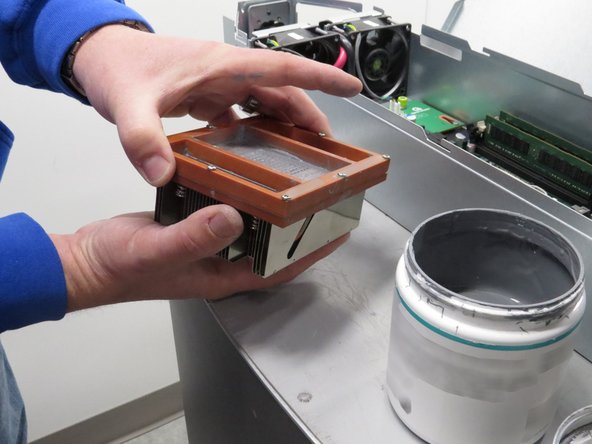
Obtain a heatsink thermal compound stencil.
-
Seat the stencil on the bottom of the heatsink (as shown).
-
Seating the stencil may require some force.
-
-
-
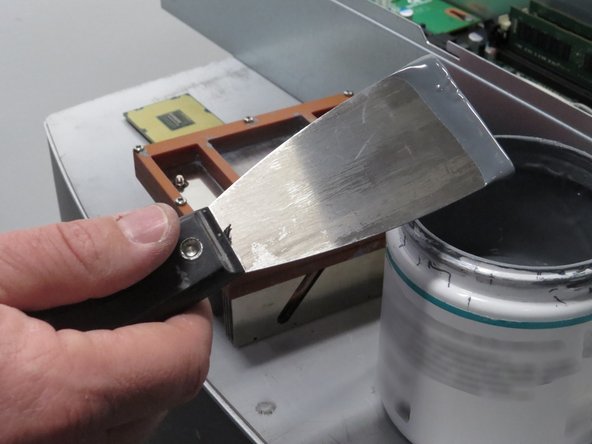
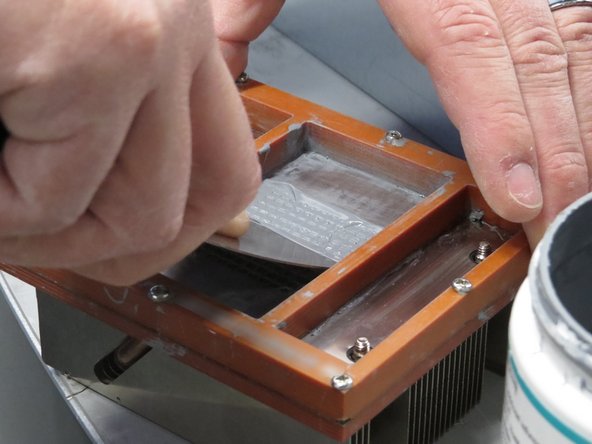
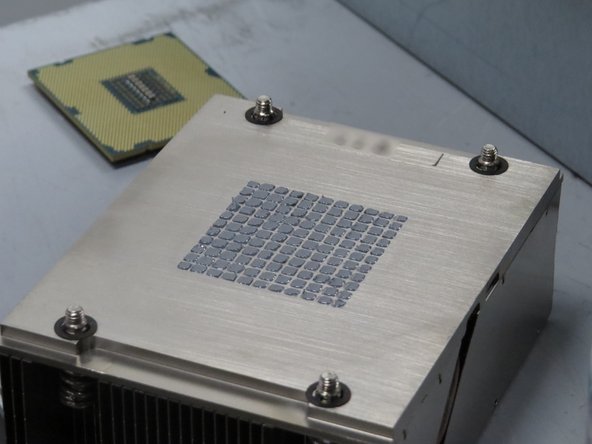
Apply thermal compound, as shown.
-
-
-
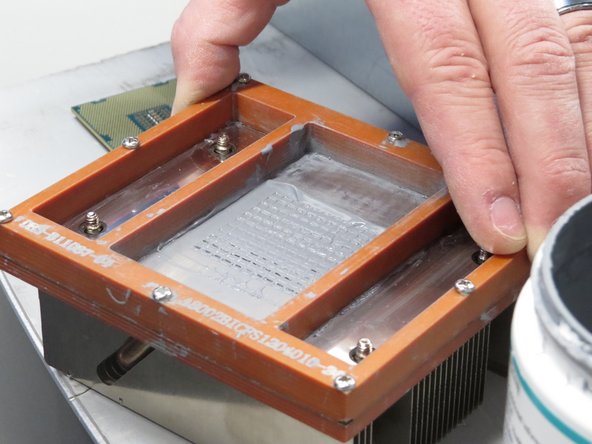
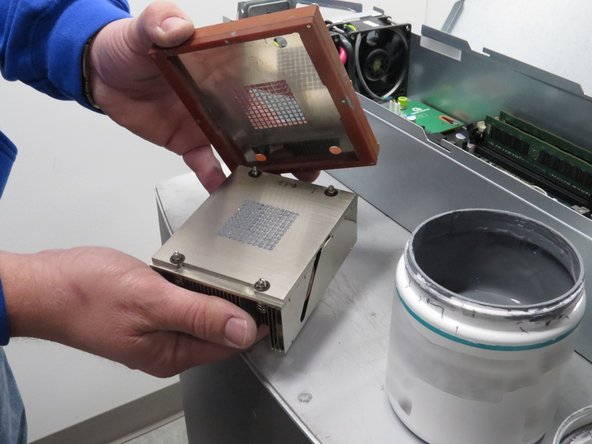
Lift the stencil off of the heatsink.
-
The stencil may require some force to lift.
-
-
-
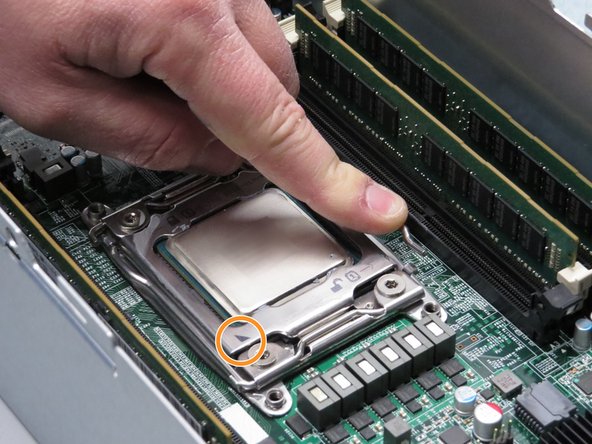
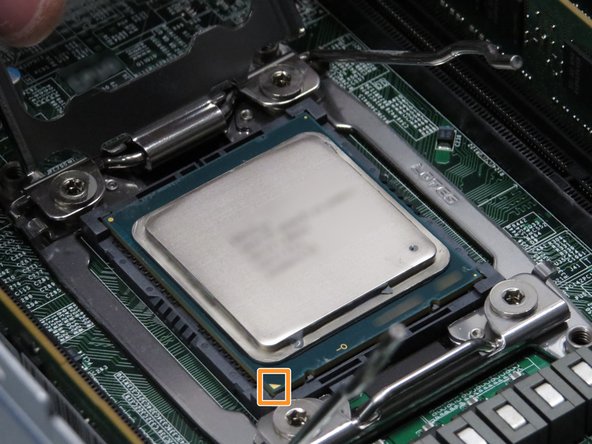
Align the arrow printed on the CPU so that it matches the arrow on the CPU socket gate.
-
Place CPU in socket, and close the socket gate.
-
Socket gate close process is opposite of removal.
-
-
-
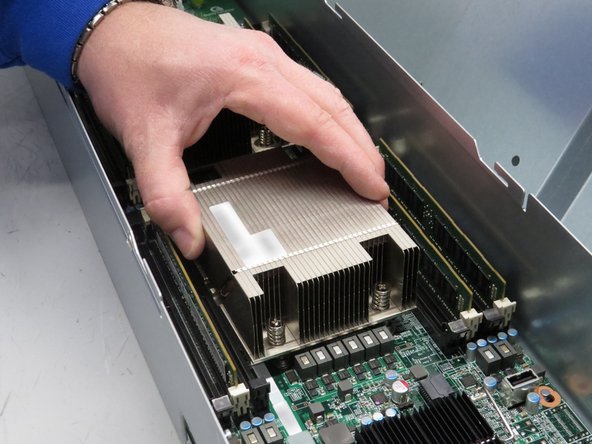
Lower heatsink onto the CPU.
-
Visually align the heatsink while lowering.
-
-
-
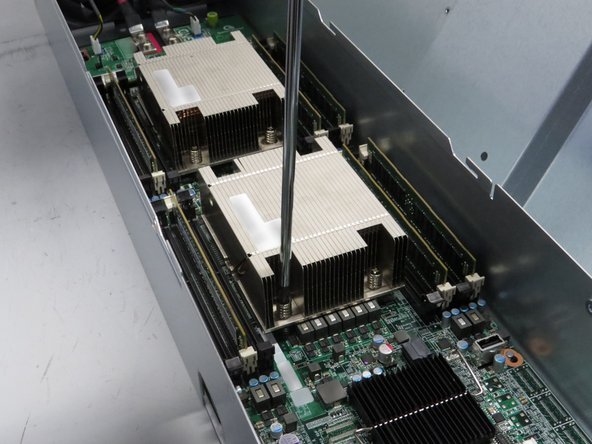
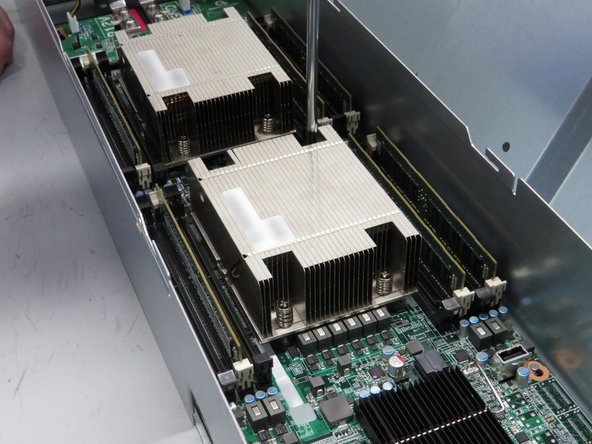
Tighten (4) screws.
-
This process is opposite of removing the heatsink.
-
It is necessary to apply pressure to the heatsink while tightening (4) screws.
-
Further installation process is opposite of removal.
-
-
-
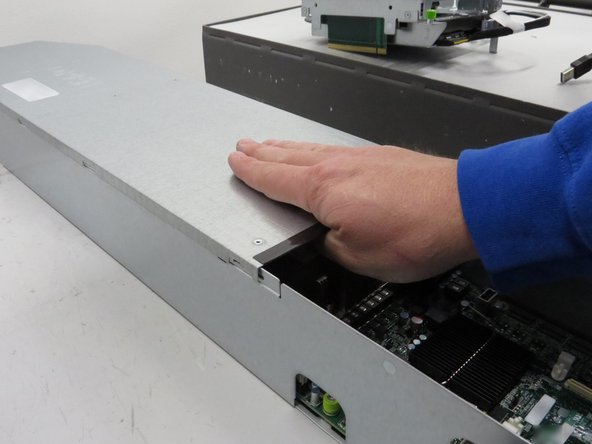
Install the lid on the server.
-
The installation process is opposite of the removal process.
-
-
-
Slide the server back into the rack.
-
Lift the green retention pin to clear the chassis.
-
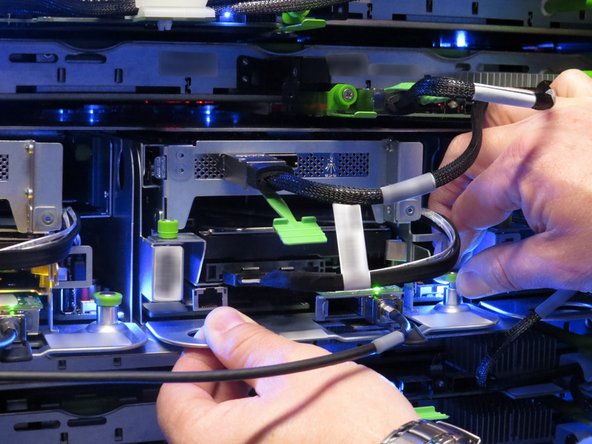
Connect all previously disconnected peripheral cables.
-
Slide the server until the green retention pin snaps downwards, locking the server.
-
Press the power button.
-


This work is licensed under a Creative Commons Attribution 4.0 International License.
This work is licensed under a Creative Commons Attribution 4.0 International License.
