
-
-
Perform a warm shut down on the server. Run:
-
ssh -l root <hostname> shutdown -h now
-
-
-
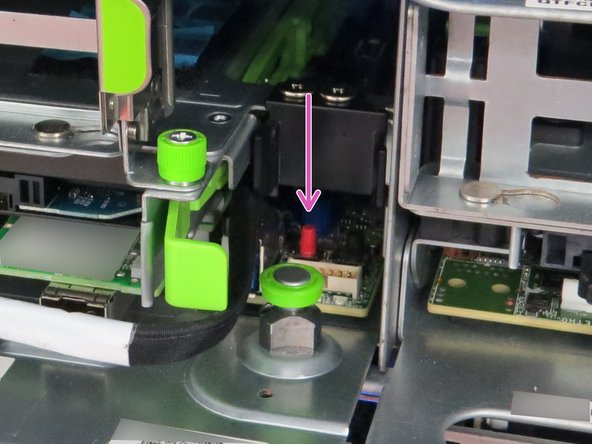
Disconnect the 10G cable NIC.
-
-
-
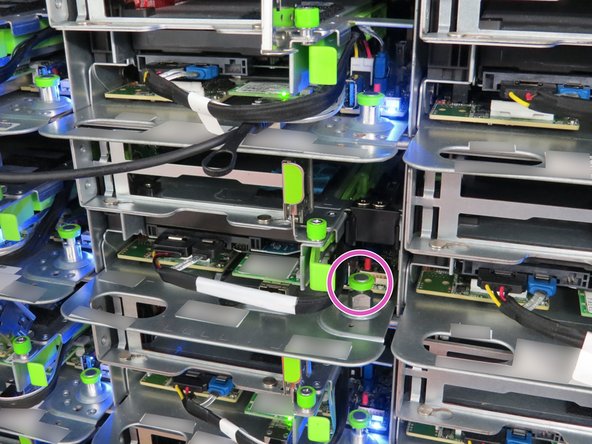
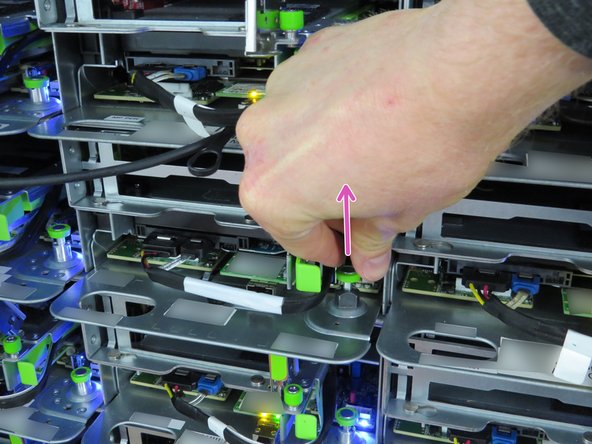
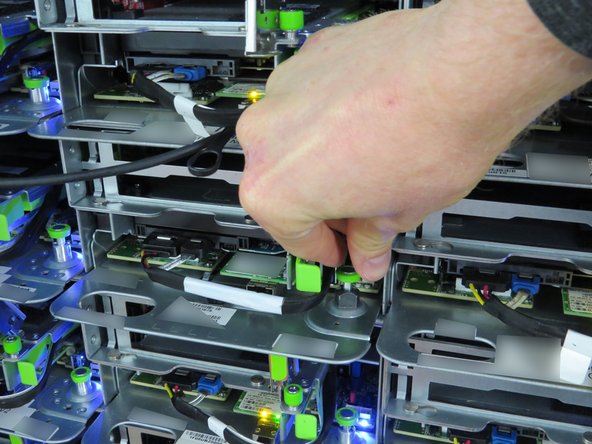
Pull the green retention plunger upwards and twist 90 degrees to lock in the upright position.
-
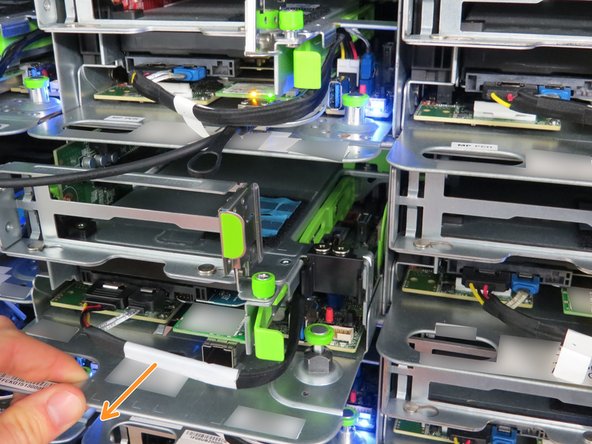
Using the handle located at the left side of the server sled, pull the sled outwards.
-
-
-
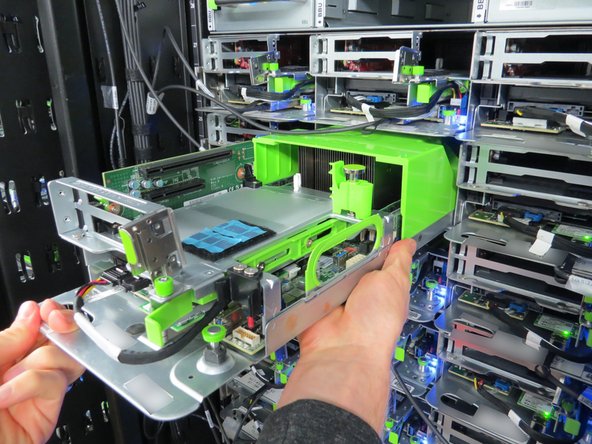
Remove the server sled and place it onto a crash cart or work bench for service.
-
-
-
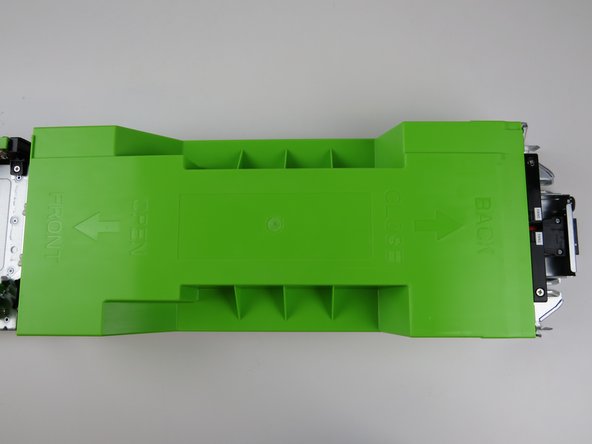
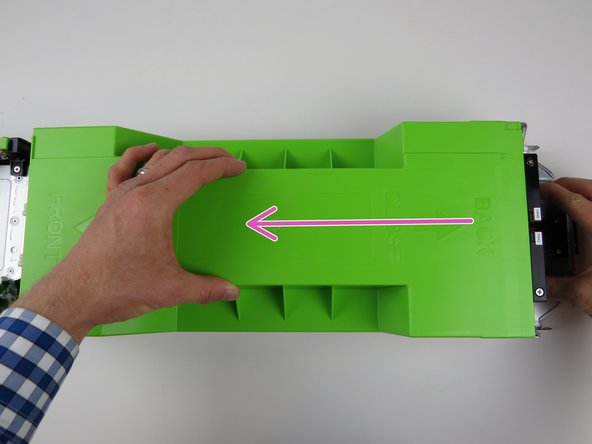
Grab the center portion of the chassis lid as shown.
-
Firmly pull towards the front of the server chassis to release the lid.
-
Lift the lid and remove
-
-
-
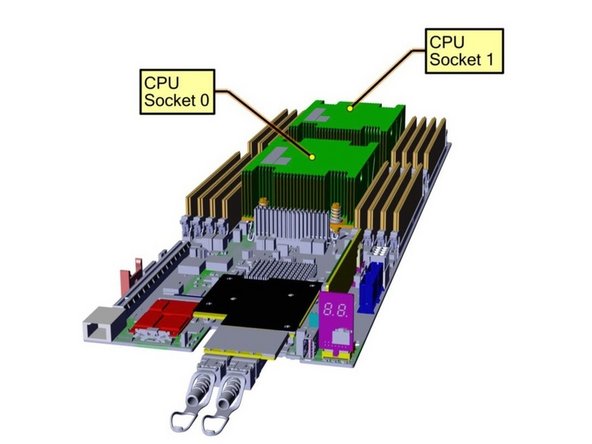
DIMM slots and CPU locations are as shown.
-
-
-
This is a generic DIMM instruction, slot and configuration may very by server model. Consult your reSORT ticket and DIMM mapping prior to replacing.
-
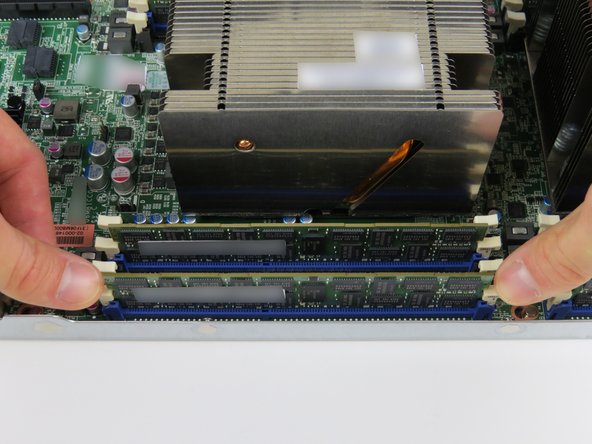
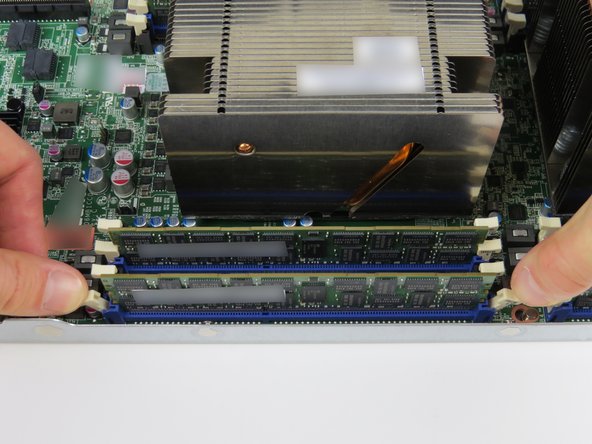
Press the (2) retention tabs on the DIMM slot which seats the failed DIMM.
-
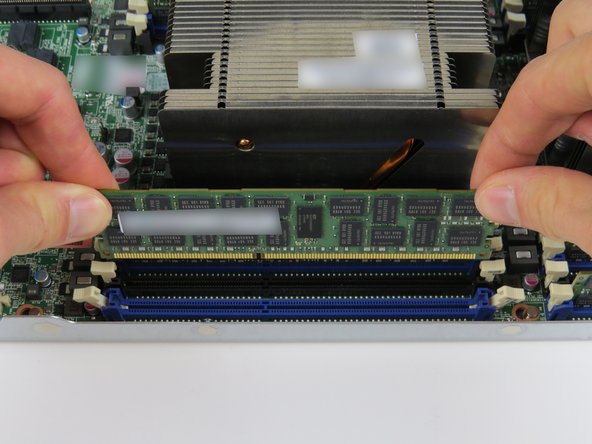
Lift the DIMM from its socket.
-
-
-
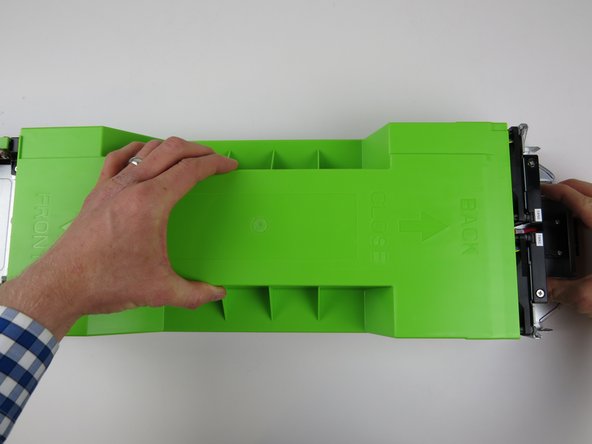
Insert the lid onto the server chassis.
-
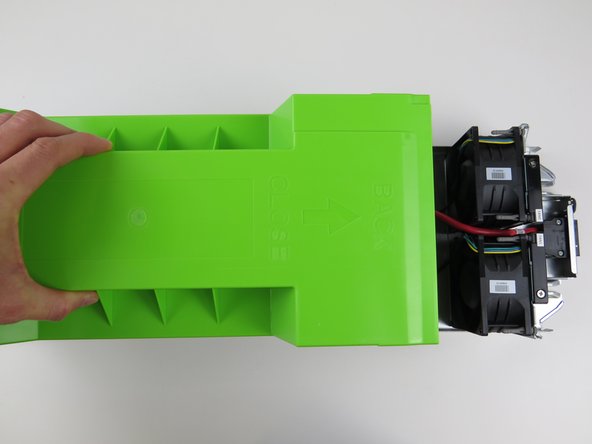
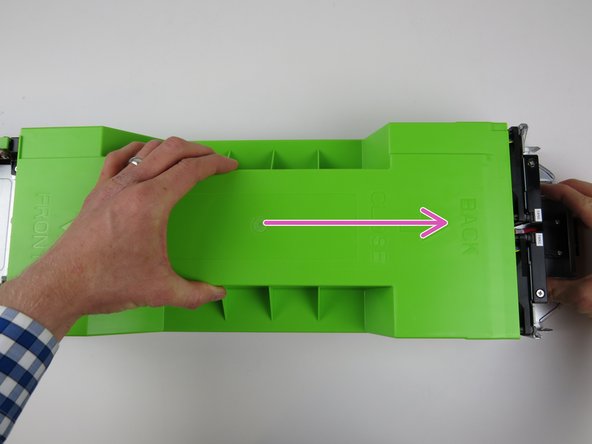
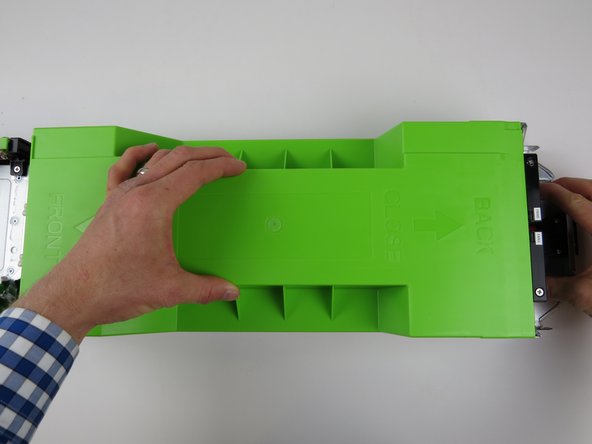
Slide it towards the rear of the chassis until it clicks into place and resistance is felt.
-
-
-
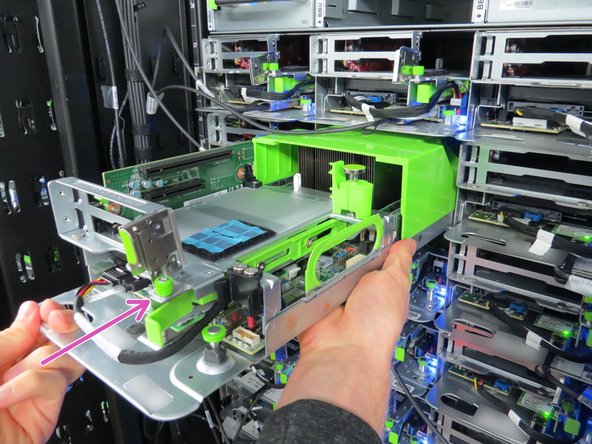
Insert the server sled into the rack as shown.
-
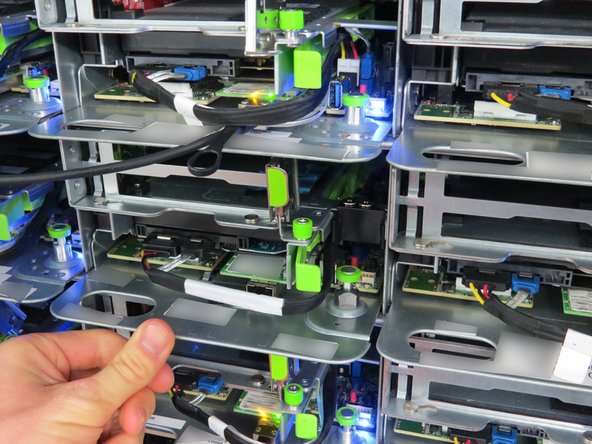
If the green retention plunger is still in the upright position, twist it 90 degrees to release it. This will secure the server.
-
-
-
Press the power button to power-on the server.
-



This work is licensed under a Creative Commons Attribution 4.0 International License.
This work is licensed under a Creative Commons Attribution 4.0 International License.
