
Introduction
Overview
This guide demonstrates how to replace a DIMM in an Open Compute V3 server. == Acronyms and Terms == * DIMM - Dual In-line Memory Module
-
-
The server can be powered off remotely or on the hardware itself.
-
Remote Power Down: Login to the server to power it off.
-
shutdown -h now;exit -
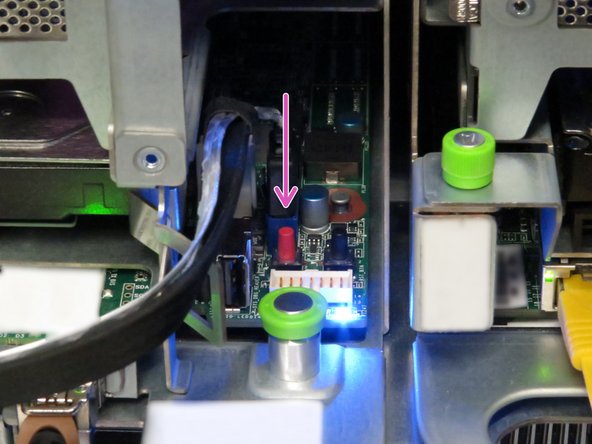
Hardware Power Down: Press and hold the power switch for at least three seconds, as annotated.
-
-
-
Disconnect the Ethernet cable from the server.
-
Press the tab on the end of the cable to release it.
-
-
-
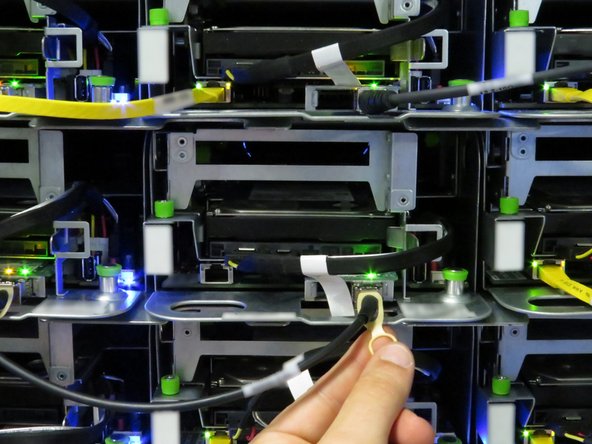
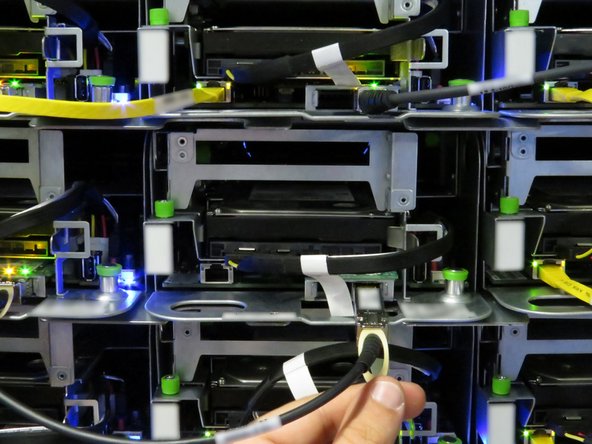
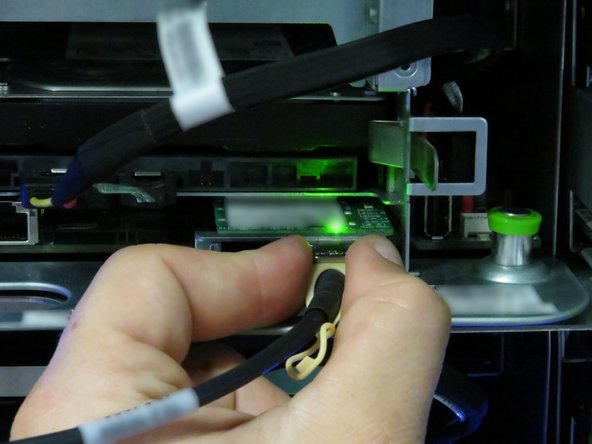
Disconnect the 10G SFP+ cable from the network interface controller.
-
Use the pull-tab to disconnect the cable.
-
-
-
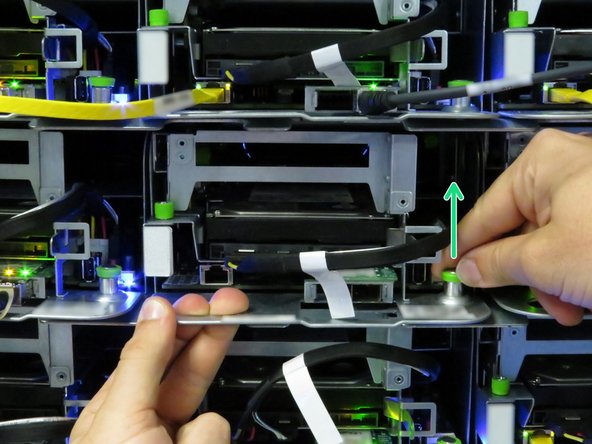
Grasp the server as shown.
-
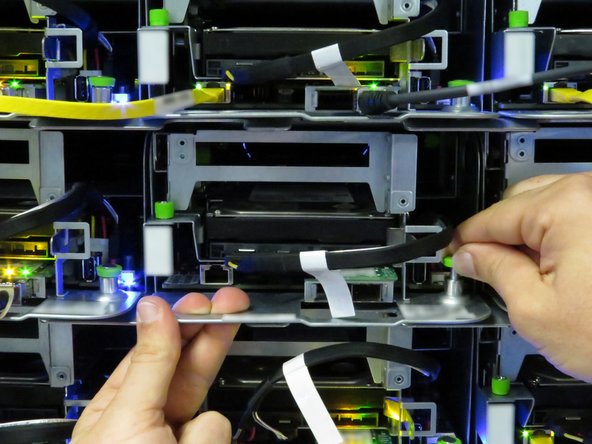
Pull the retention plunger upwards.
-
Begin sliding the server out of the rack.
-
-
-
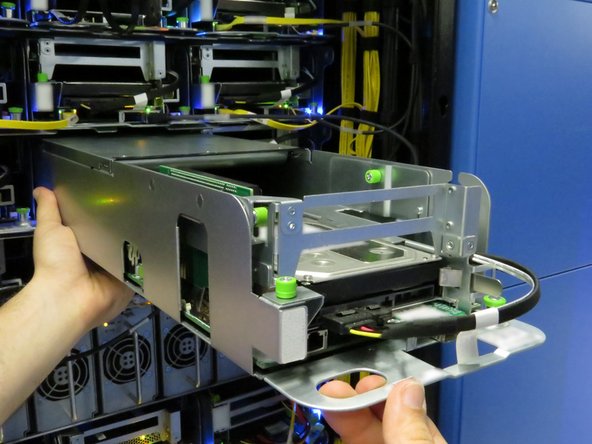
Counter the weight of the server, as shown.
-
Completely remove the server from the rack.
-
-
-
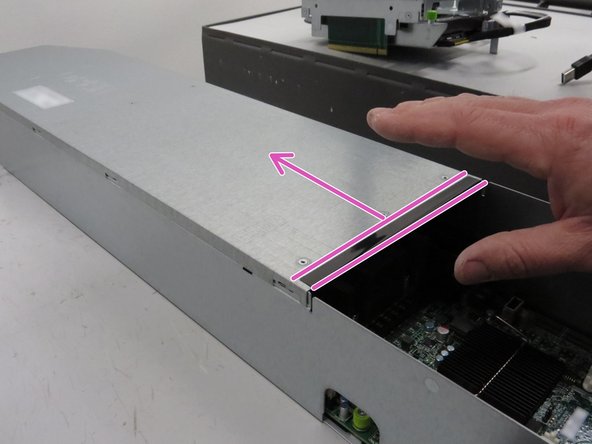
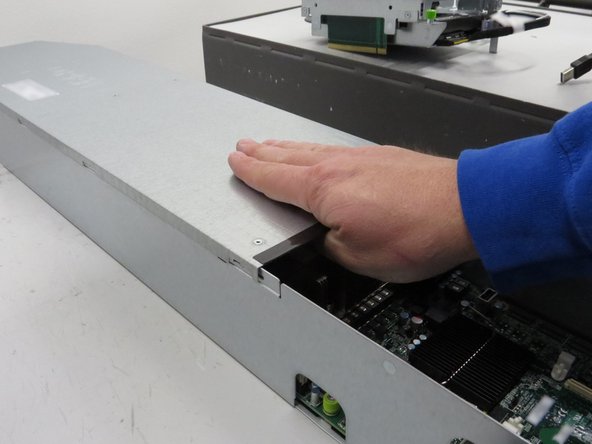
Engage the server lid, as shown.
-
Push the lid towards the rear of the server.
-
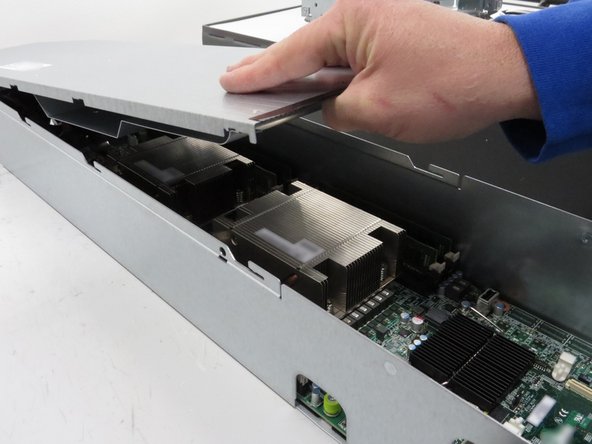
Lift the cover.
-
-
-
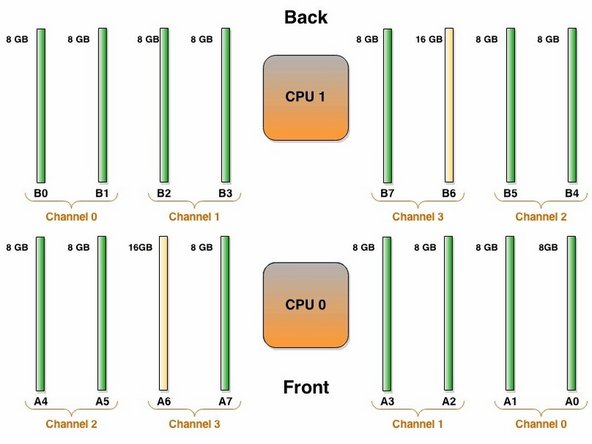
This image displays the DIMM slots and CPU.
-
The green column displays the populated DIMM slots.
-
The yellow column displays the un-populated DIMM slots.
-
-
-
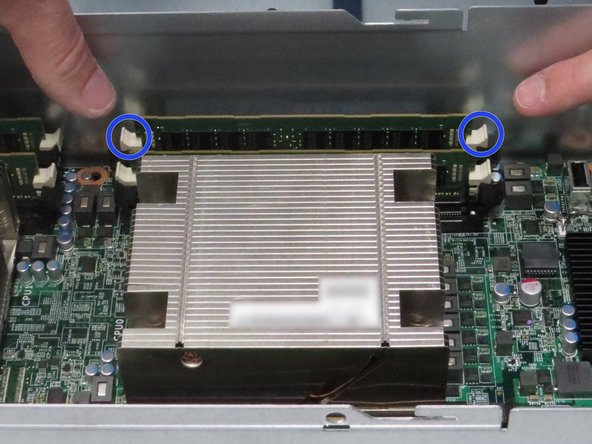
Push the (2) DIMM retention tabs.
-
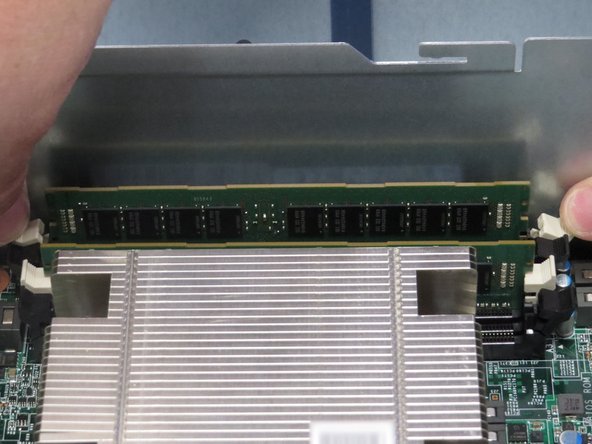
Lift DIMM from its channel, as shown.
-
-
-
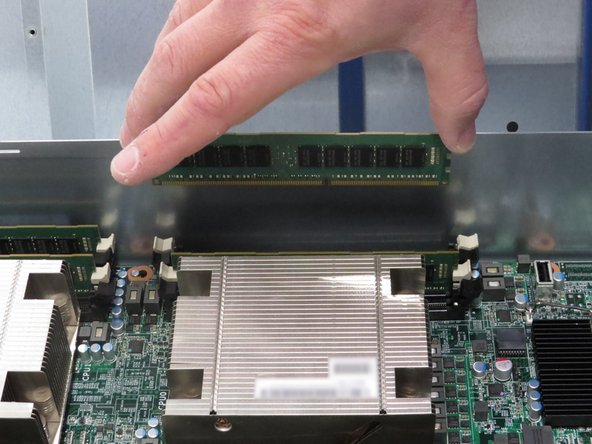
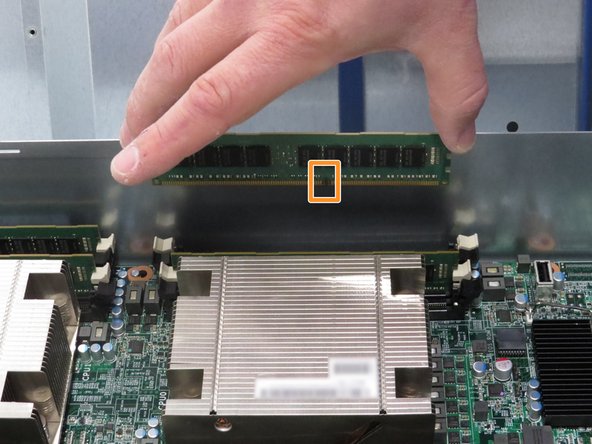
Install a new DIMM into the vacant DIMM socket.
-
Be aware of the DIMM's pin-out configuration and the DIMM socket key. Inserting the DIMM backwards may damage the DIMM.
-
-
-
Install the lid on the server.
-
The installation process is opposite of the removal process.
-
-
-
Slide the server into the rack.
-
The retention plunger does not need to be pulled upward during installation.
-
The server is secure when the retention plunger snaps shut.
-
-
-
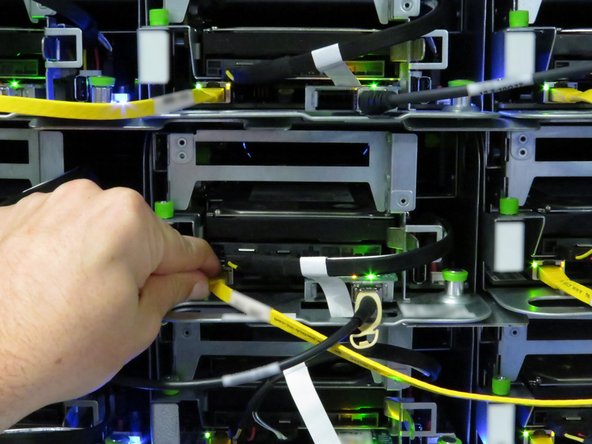
Connect the 10G SFP+ cable into the network interface controller.
-
-
-
Connect the Ethernet cable to the server.
-
-
-
Press the power button.
-





This work is licensed under a Creative Commons Attribution 4.0 International License.
This work is licensed under a Creative Commons Attribution 4.0 International License.
