Introduction

This guide demonstrates how to replace a hard disk drive in an Open Compute V2 server. == Acronyms and Terms == * HDD - Hard Disk Drive

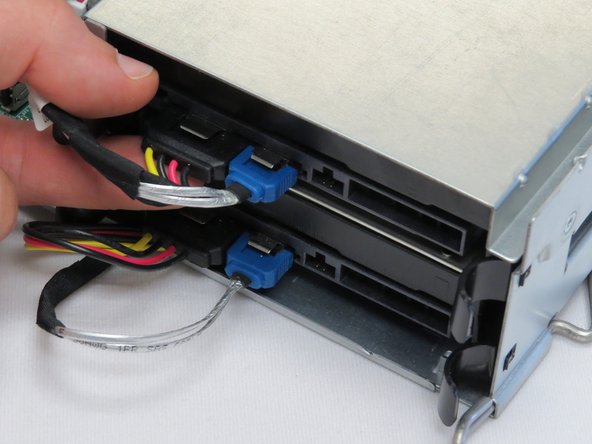
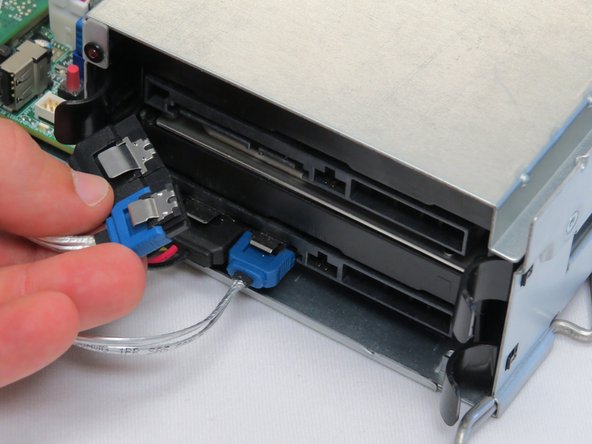
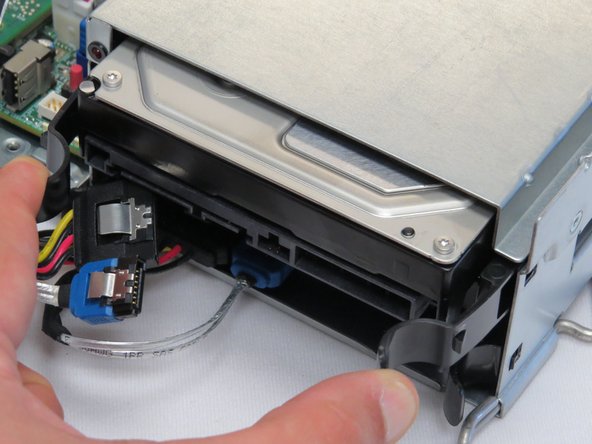
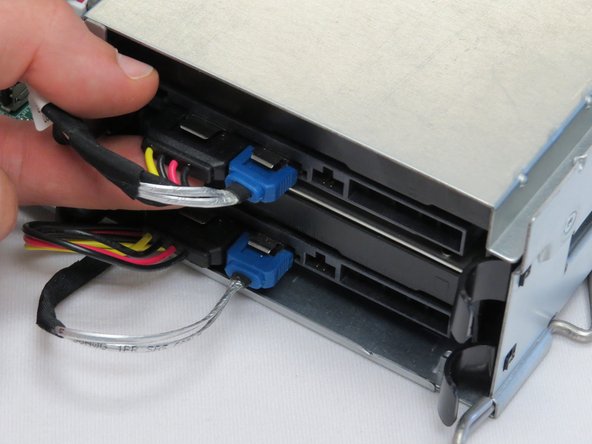
  1. The images in this procedure displays HDD removal on a work surface. However, servicing a HDD can be accomplished in-rack. Disconnect the SATA / power cable from the failed hard disk drive.
    • The images in this procedure displays HDD removal on a work surface. However, servicing a HDD can be accomplished in-rack.

    • Disconnect the SATA / power cable from the failed hard disk drive.

    • Each connector features a metal retention tab. Make sure to actuate the tab before pulling the cable.

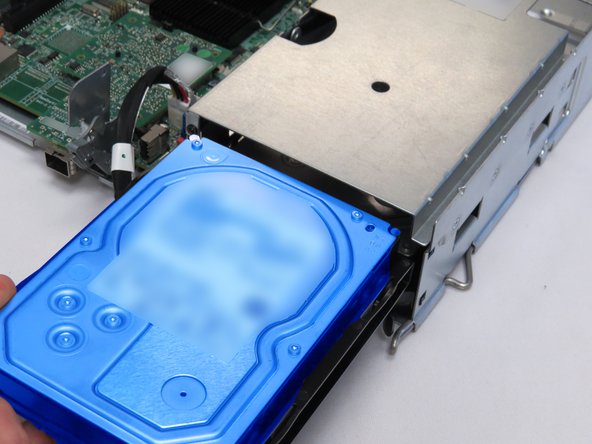
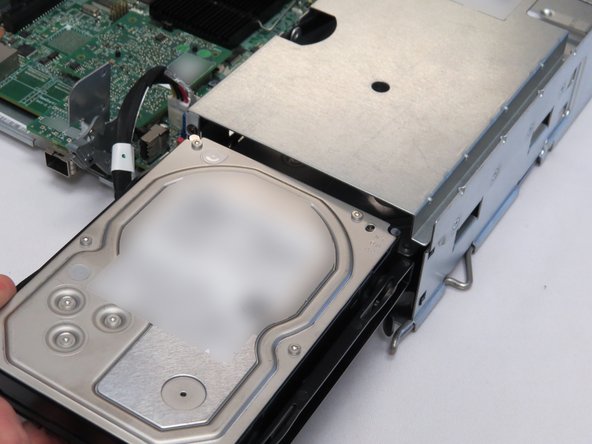
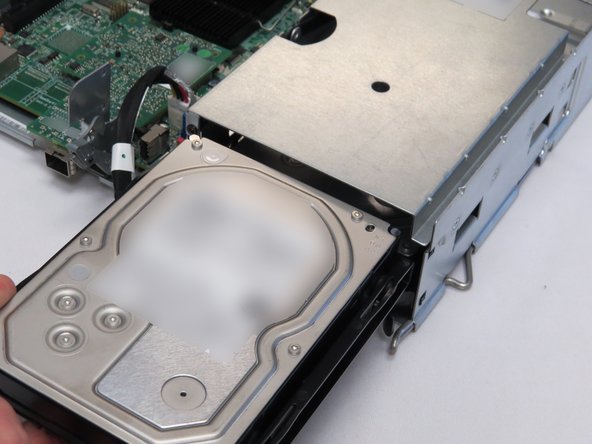
  2. Squeeze the two retention tabs on either side of the HDD. Pull the HDD away from the chassis. Pull the HDD away from the chassis.
    • Squeeze the two retention tabs on either side of the HDD.

    • Pull the HDD away from the chassis.

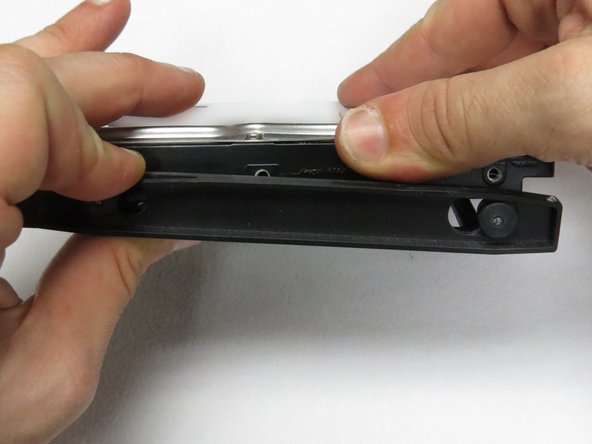
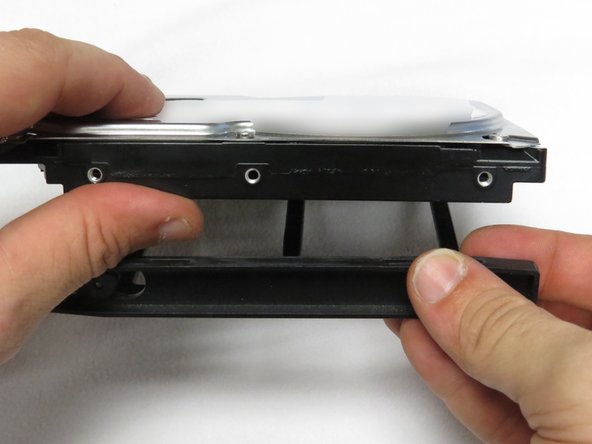
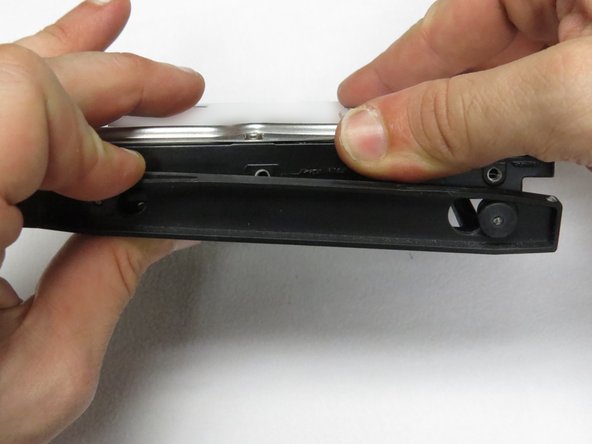
  3. Pull the HDD away from the plastic drive caddy. Pull the HDD away from the plastic drive caddy.
    • Pull the HDD away from the plastic drive caddy.

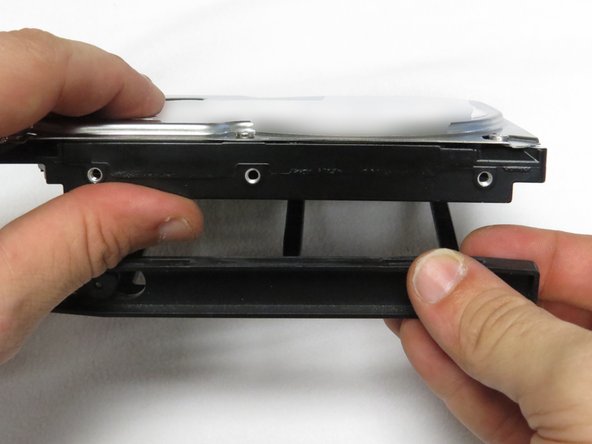
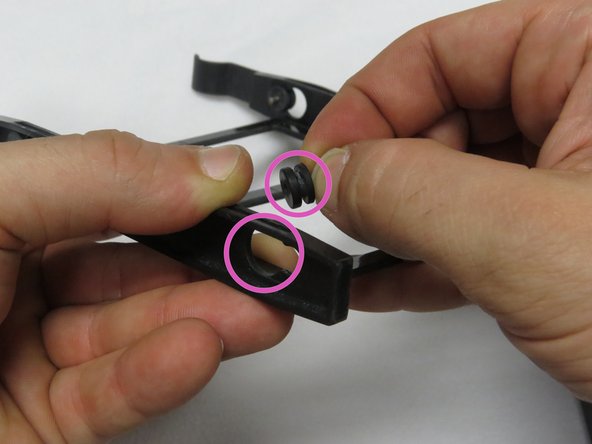
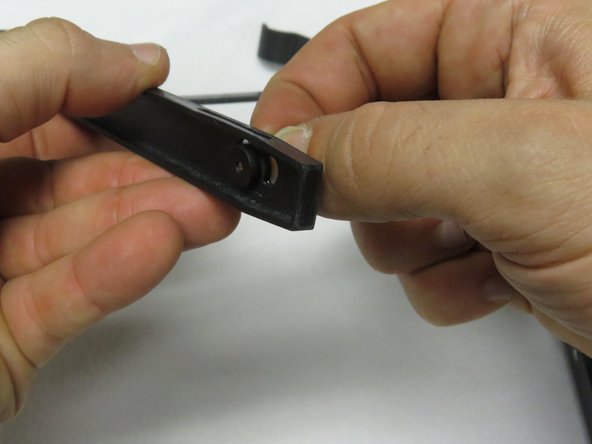
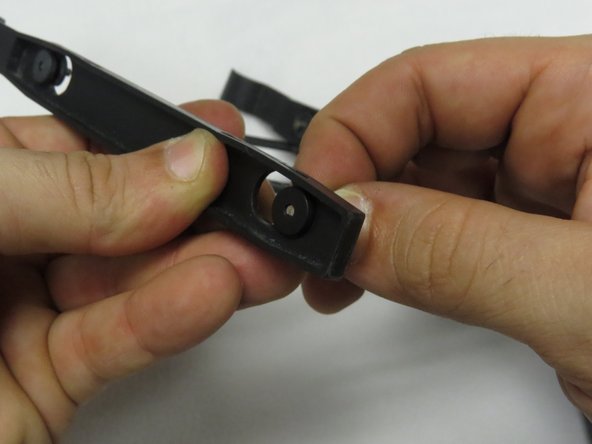
  4. Make sure the rubber grommets remain in the drive caddy. If the rubber grommets fall out, insert them as shown. If the rubber grommets fall out, insert them as shown.
    • Make sure the rubber grommets remain in the drive caddy.

    • If the rubber grommets fall out, insert them as shown.

  5. Install the new HDD into the drive caddy. Install the new HDD into the drive caddy.
    • Install the new HDD into the drive caddy.

  6. Slide the HDD back into the drive slot.
    • Slide the HDD back into the drive slot.

    • The retention clips will make a distinctive 'click' when the drive is properly seated.

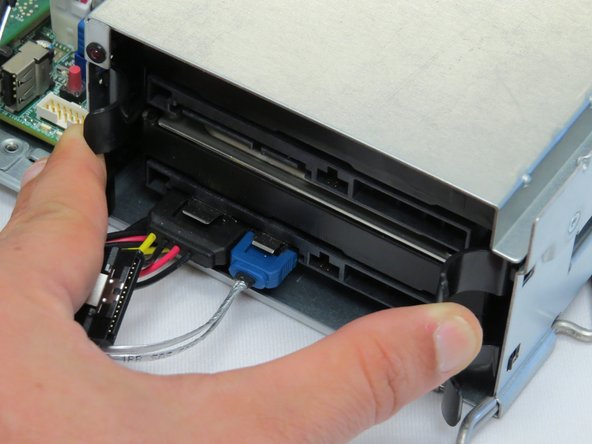
  7. Connect the SATA / power cable to the HDD.
    • Connect the SATA / power cable to the HDD.

Conclusion

Dozuki System

Member since: 9/24/09

1 Reputation

142 Guides authored

0 Comments

Add Comment


View Statistics:

Past 24 Hours: 1

Past 7 Days: 3

Past 30 Days: 3

All Time: 2