
Introduction
Overview
This guide demonstrates how to replace a boot hard disk drive in an Open Compute V2 server. == Acronyms and Terms == * HDD - Hard Disk Drive * SATA - Serial ATA === Additional Information === The images in this procedure displays HDD removal on a work surface. However, servicing a HDD can be accomplished within the rack (eliminating the need to remove the server chassis or sled).
-
-
The server can be powered off remotely or on the hardware itself.
-
Remote Power Down: Login to the server to power it off.
-
shutdown -h now;exit -
Hardware Power Down: Press and hold the power switch for at least three seconds, as annotated.
-
-
-
The images in this procedure displays HDD removal on a work surface. However, servicing a HDD can be accomplished in-rack.
-
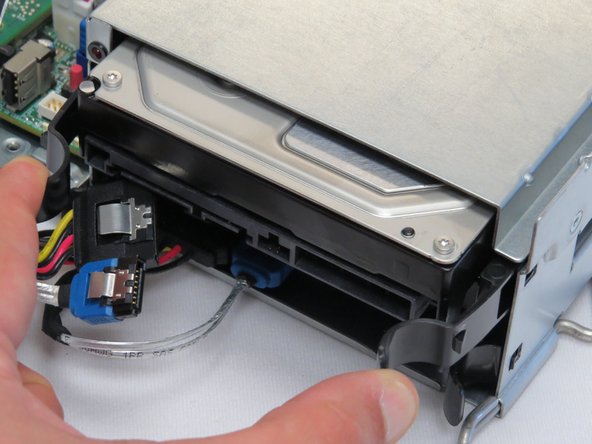
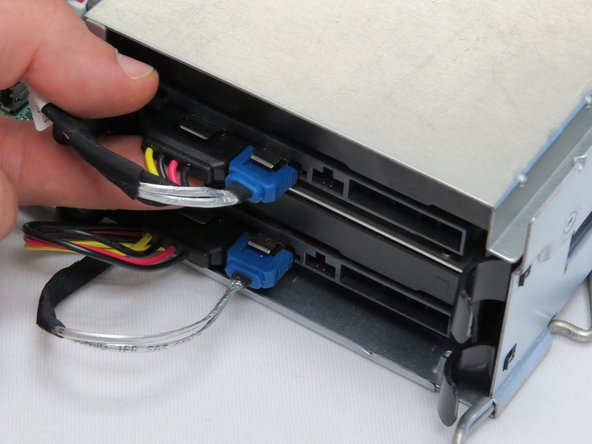
Disconnect the SATA / power cable from the failed hard disk drive.
-
Each connector features a metal retention tab. Make sure to actuate the tab before pulling the cable.
-
-
-
Squeeze the two retention tabs on either side of the HDD.
-
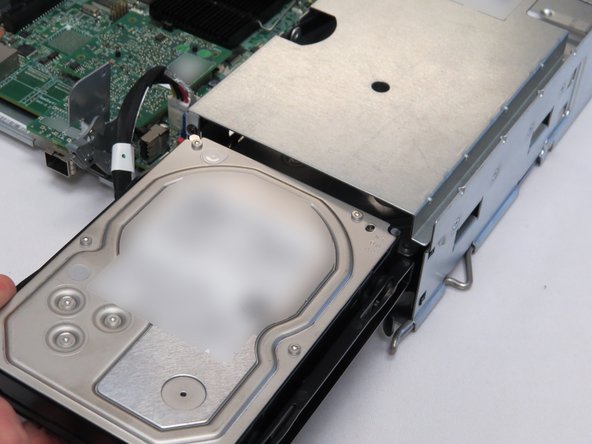
Pull the HDD away from the chassis.
-
-
-
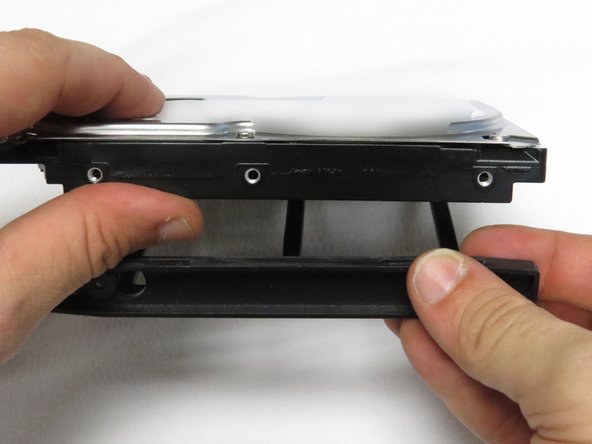
Pull the HDD away from the plastic drive caddy.
-
-
-
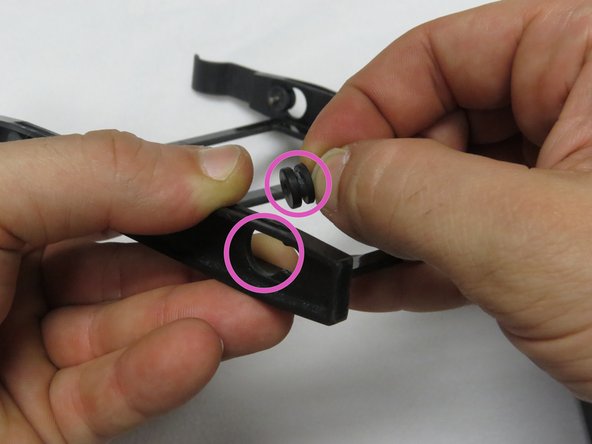
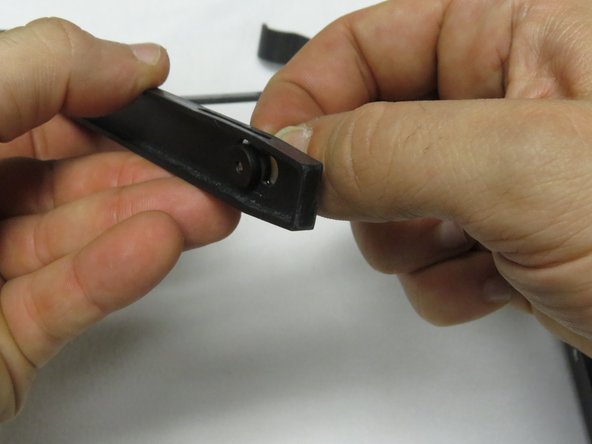
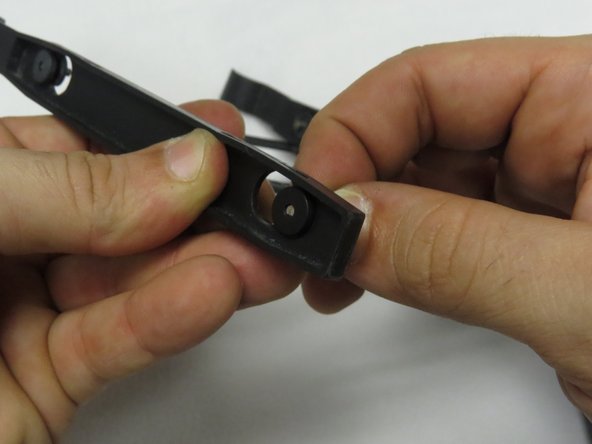
Make sure the rubber grommets remain in the drive caddy.
-
If the rubber grommets fall out, insert them as shown.
-
-
-
Install the new HDD into the drive caddy.
-
-
-
Slide the HDD back into the drive slot.
-
The retention clips will make a distinctive 'click' when the drive is properly seated.
-
-
-
Connect the SATA / power cable to the HDD.
-
-
-
Power on the server.
-


This work is licensed under a Creative Commons Attribution 4.0 International License.
This work is licensed under a Creative Commons Attribution 4.0 International License.
