Difficulty
Easy
Steps
11
Time Required
00:05:00 - 00:10:00

User-Contributed Guide
This guide is not managed by the site's staff.
Quiz
0
-
-
After uncrating prepare the Discovery Fast Start for use by performing the following steps
-
-
-
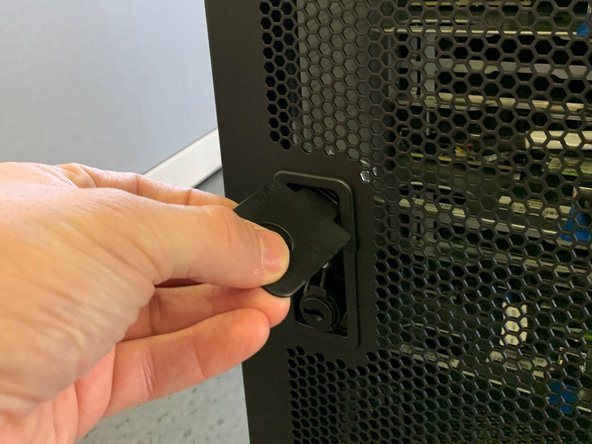
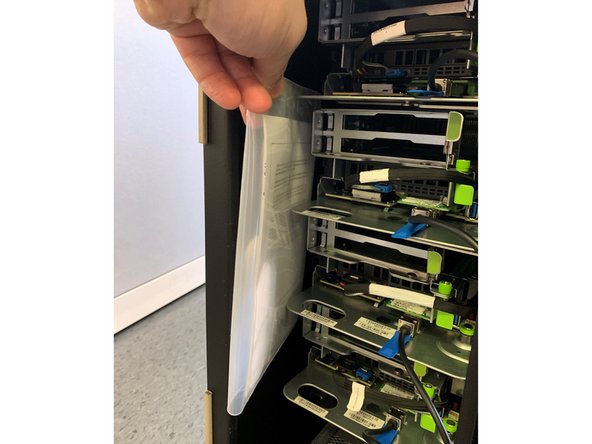
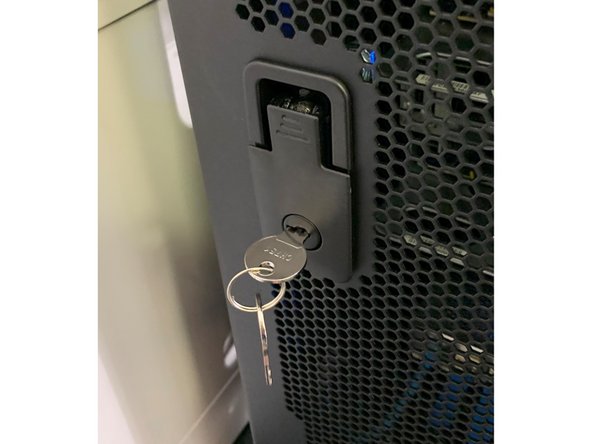
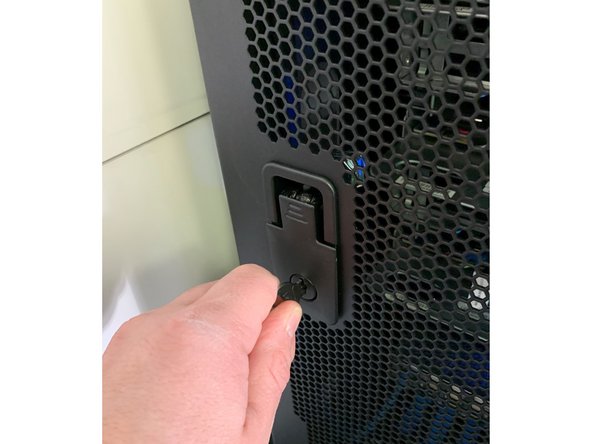
To open the Discovery Fast Start door press top of the lock and pull the bottom of locking lever up
-
-
-
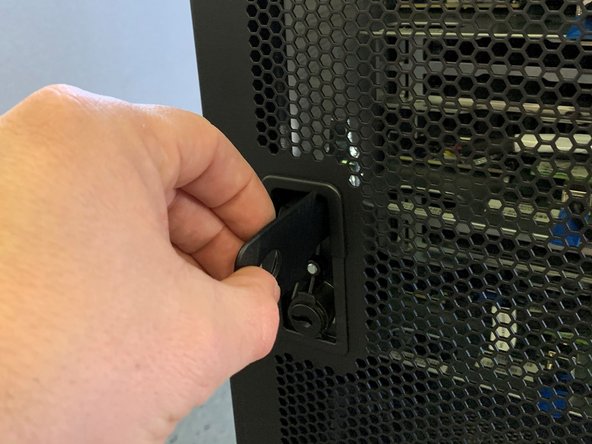
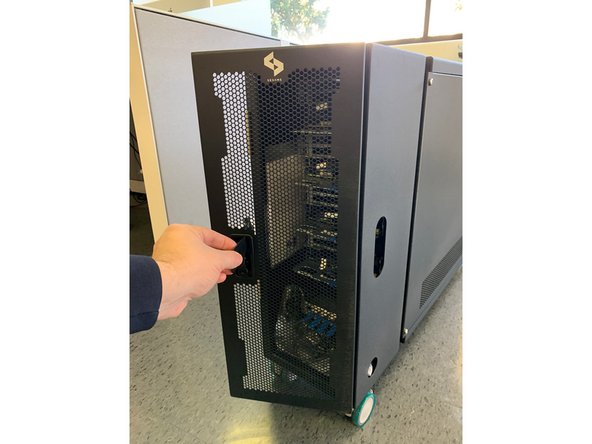
Turn the locking lever clock-wise and pull back to open the door
-
-
-
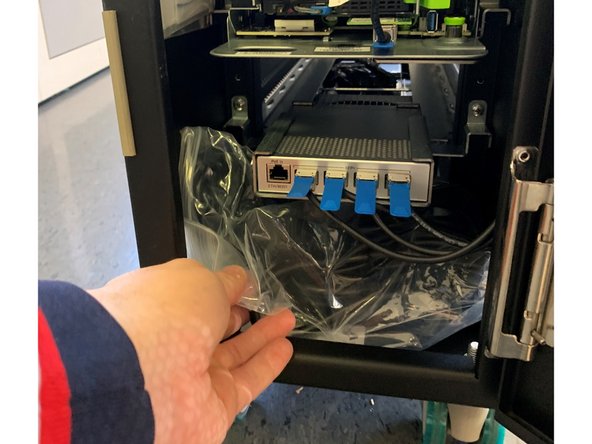
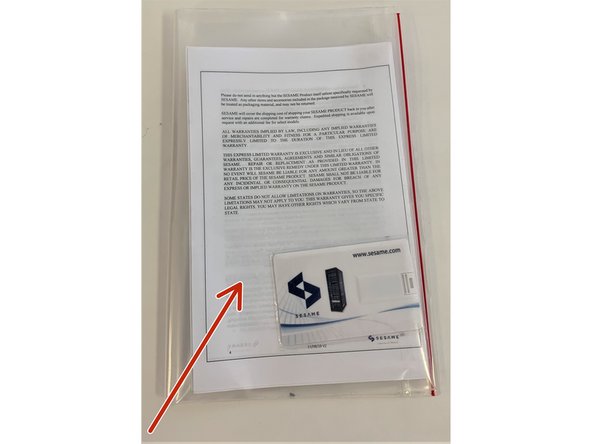
Remove 2 plastic bags containing power cables and quick start guide indicated by circles
-
-
-
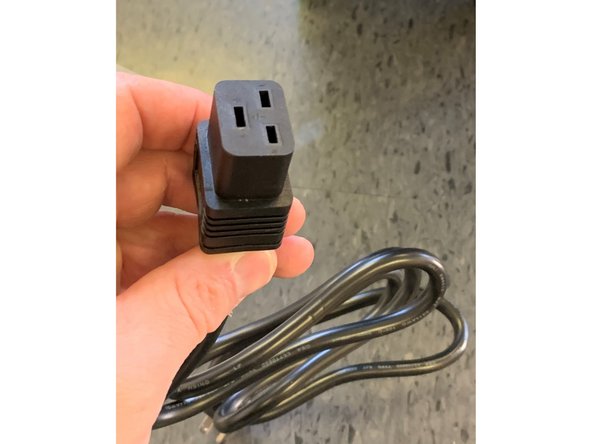
Power cables compatible with North America and most of Europe are included. Ask your vendor for other regions. Use only certified power cables.
-
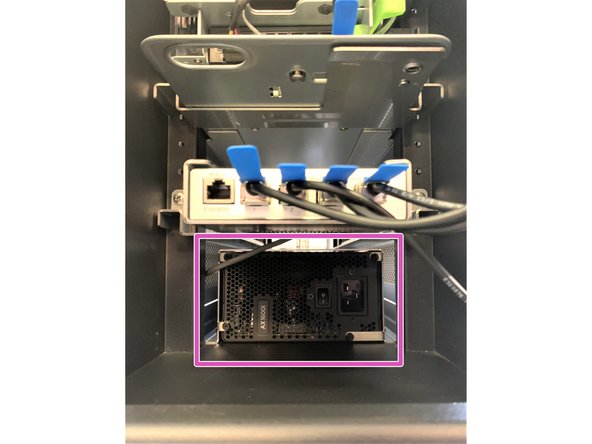
Insert the female end of the cable to the input receptacle of the power supply at the bottom of the discovery unit as shown
-
-
-
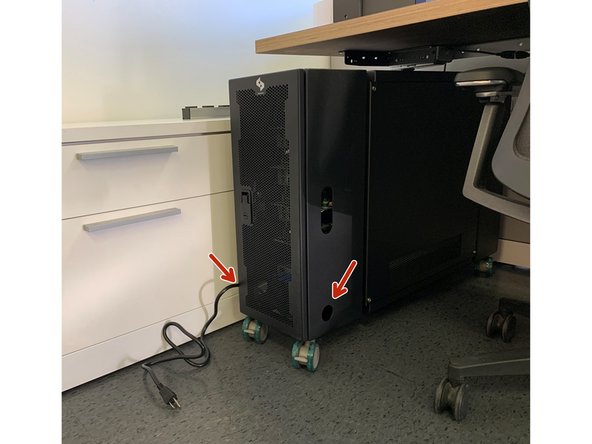
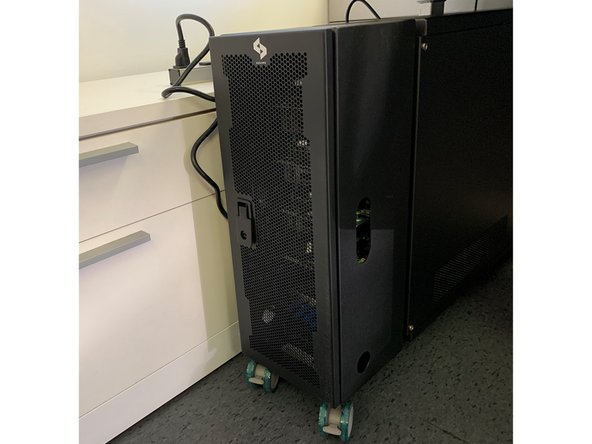
Route the male end of the power cable through the hole on either side of the unit as appropriate for your location
-
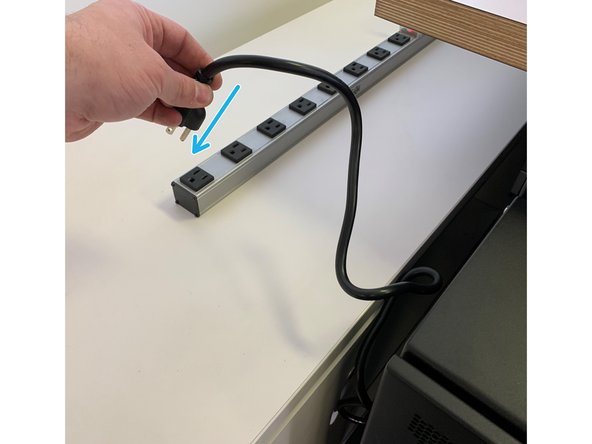
Connect the power cable to a standard outlet. Be sure that the the circuit is rated at least 15A.
-
-
-
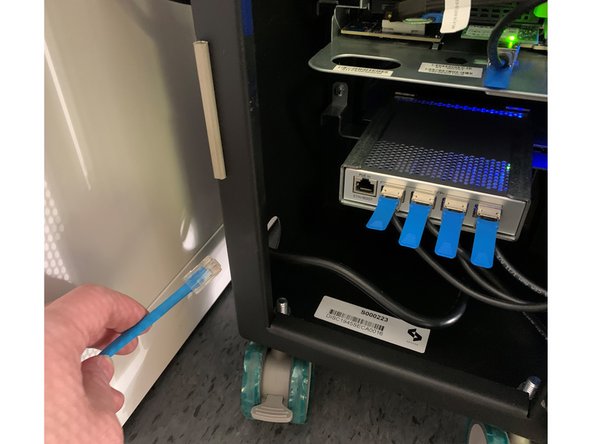
Connect your network cable to the network switch, routing the cable through the adjacent hole in the unit
-
-
-
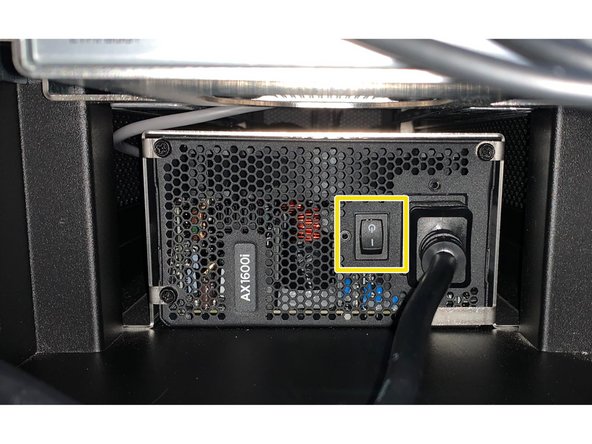
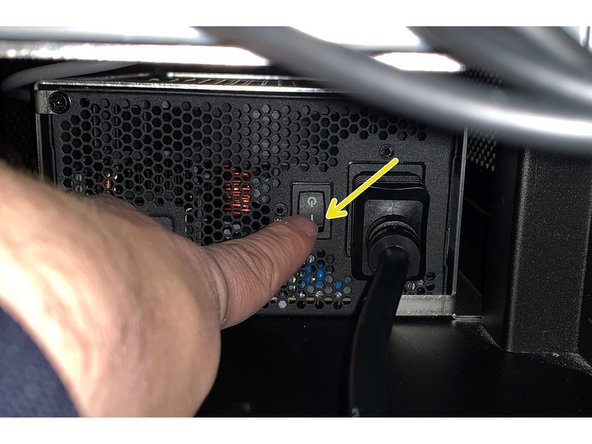
To power on the unit, flip the switch to the "I" position on the power-supply switch located at the bottom of the Discovery
-
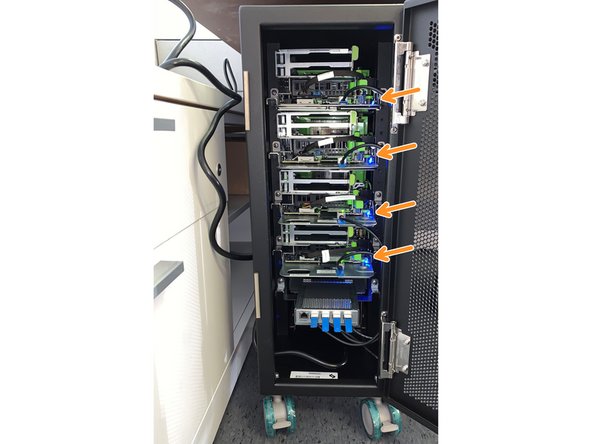
The servers should boot. Indicator lights on each server will demonstrate activity.
-
In some cases, the server BIOS may not be configured to boot on power. In this case, folllow the instructions in step 9.
-
-
-
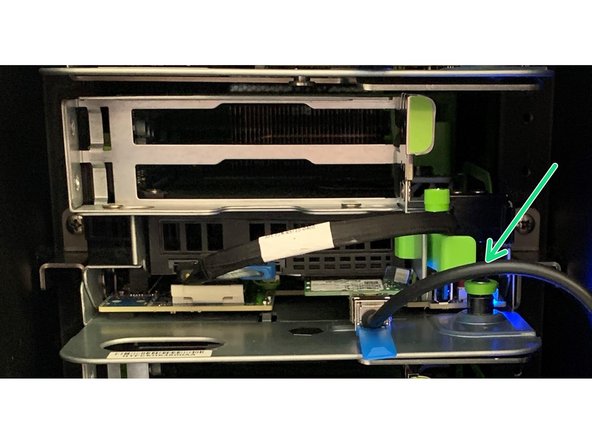
To power on a server manually, first power on the unit as described in step 7
-
Then for each server, locate the red button on the bottom of the chasis and press briefly
-
To restart a server that is not responding to user input, click and hold red button until the server turns off and on
-
-
-
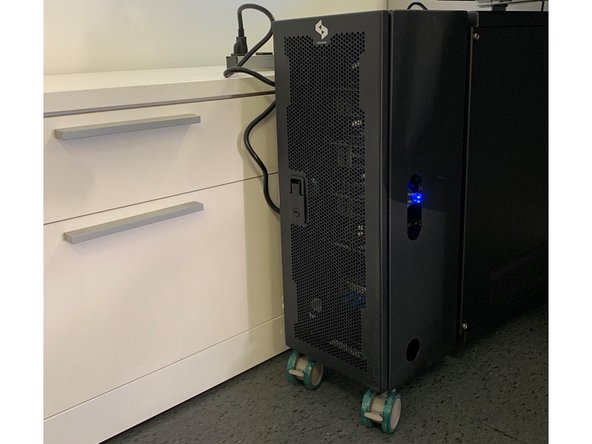
Your Discovery Fast Start is now ready for System Setup
-
Inside the clear plastic bag you will find Quick-Start Guide, Warranty information, printed version of Discovery Fast Start serial numbers, server serial numbers as well as MAC address information. This same information is also included in the USB card
-