
Introduction
Overview
This guide demonstrates how to replace the power lug cables in an Open Rack.
Acronyms and Terms
* AC - Alternating Current
Additional Notes
Safety: To prevent injury or death, it is crucial to de-energize the Open Rack's bus bars.
-
-
De-energize the rack.
-
Disconnect the rack's AC and DC circuit from your facilities electrical tap box.
-
Verify that no voltage is present on the rack's DC power rails before proceeding with this procedure!
-
-
-
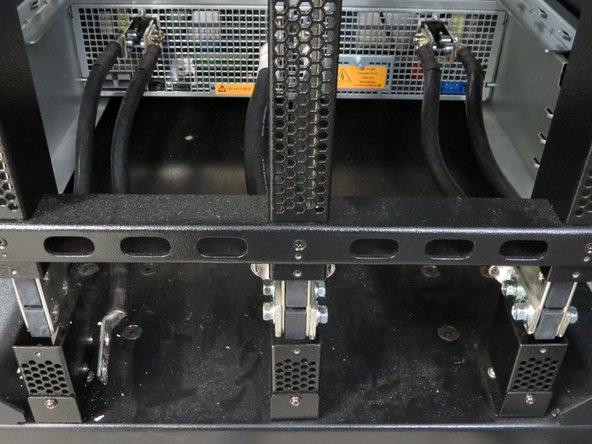
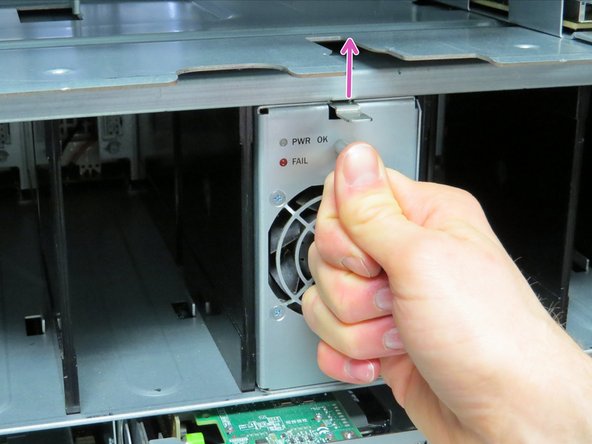
Make sure there is not live power on the bus bars before proceeding with this step.
-
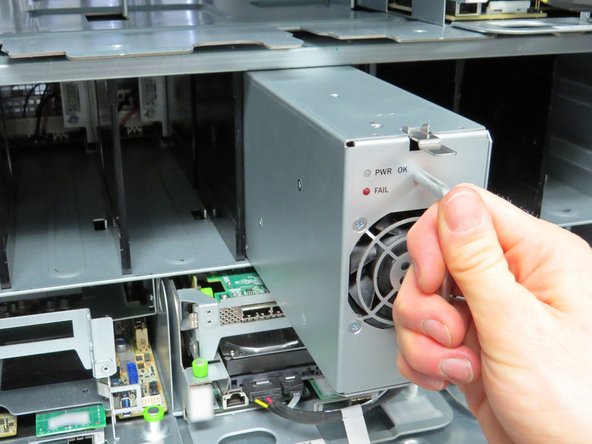
Locate the AC power cable.
-
The AC power cable is located on the right side of the power shelf (relative to the rear of the cabinet).
-
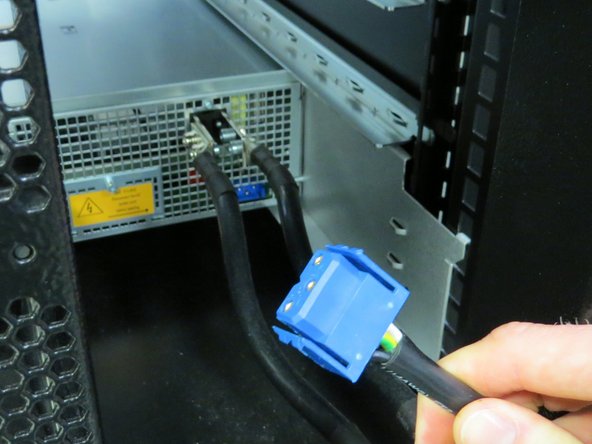
Squeeze the tabs on the power cable.
-
Pull the power cable away from the cabinet.
-
-
-
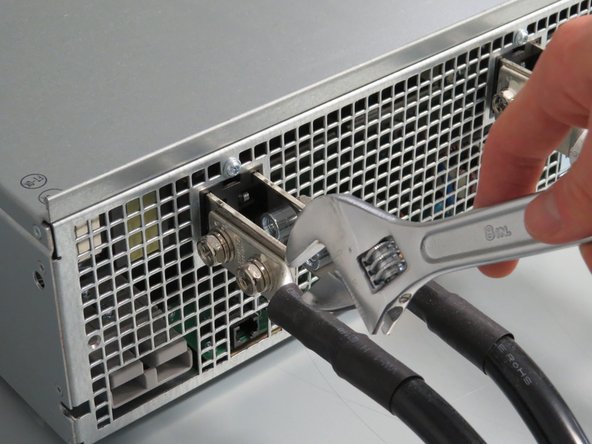
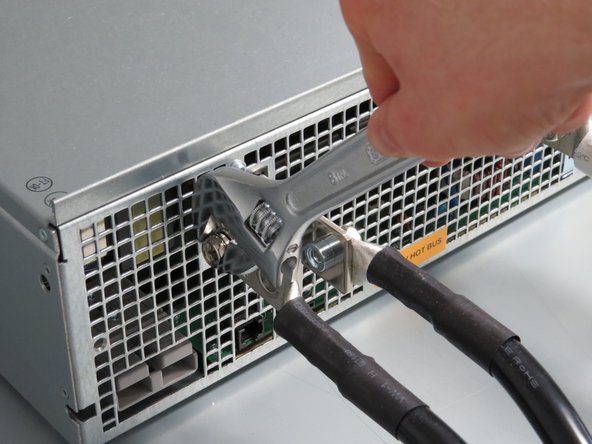
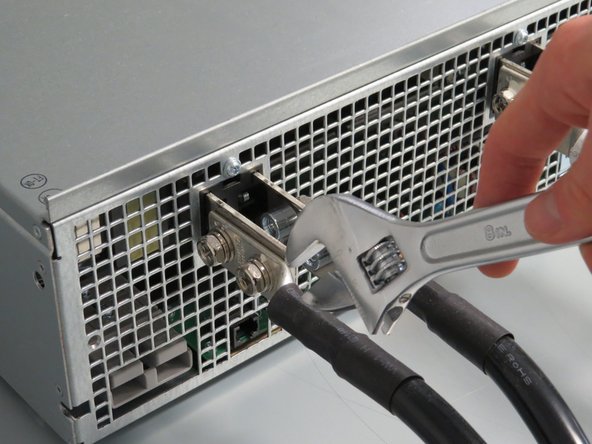
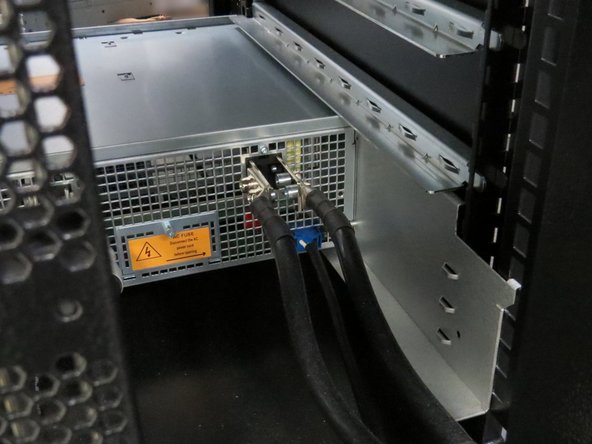
Make sure there is not live power on the bus bars before proceeding with this step.
-
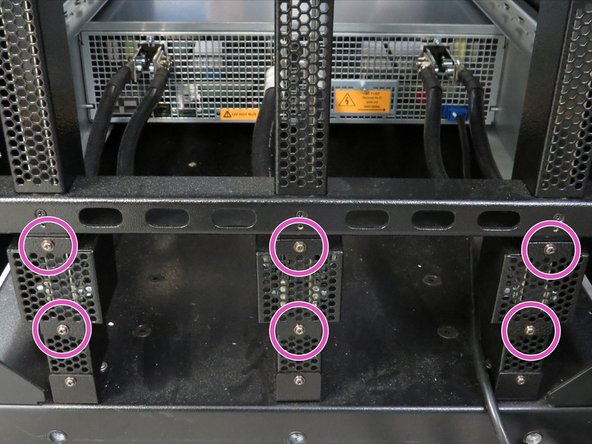
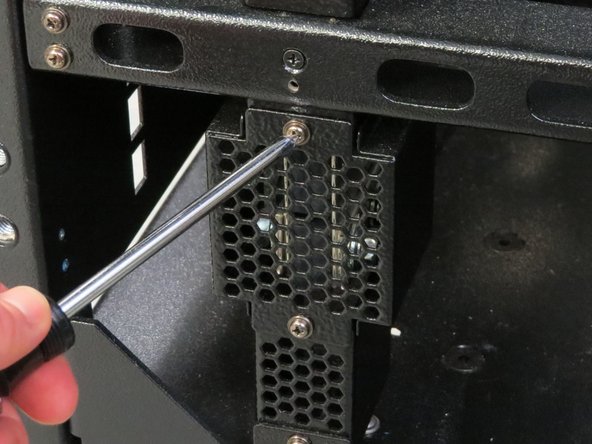
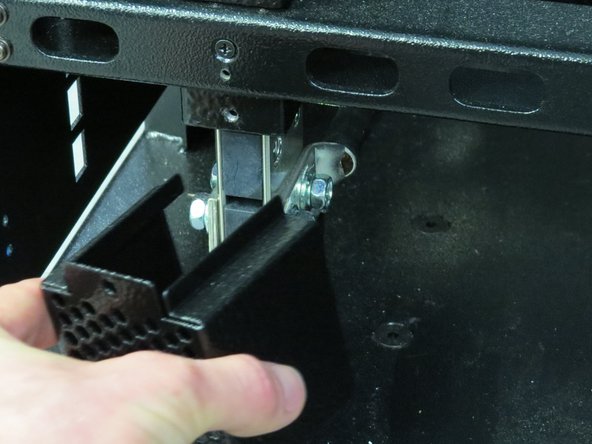
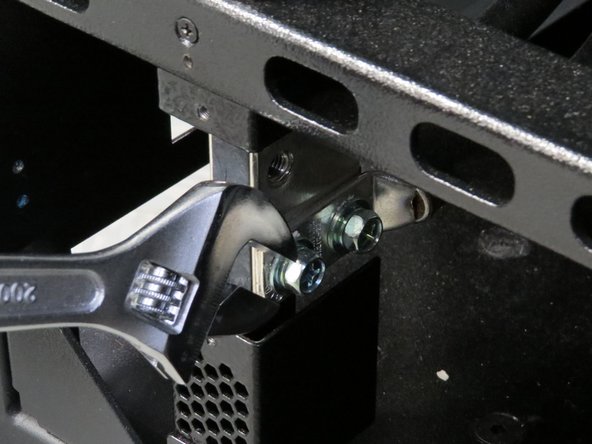
Using a wrench of Phillips screwdriver, remove the bolts attaching the lug cables to the power shelf rails.
-
There are twelve bolts total.
-
-
-
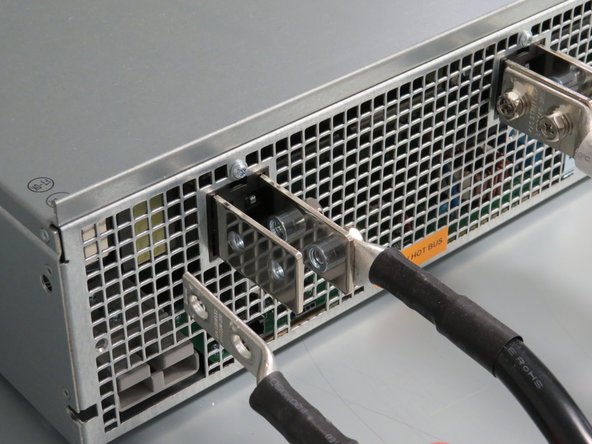
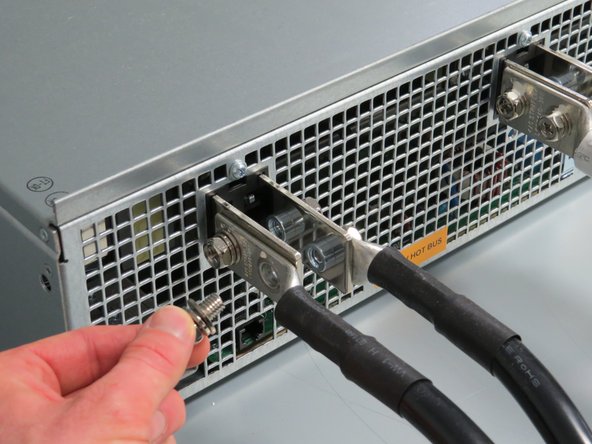
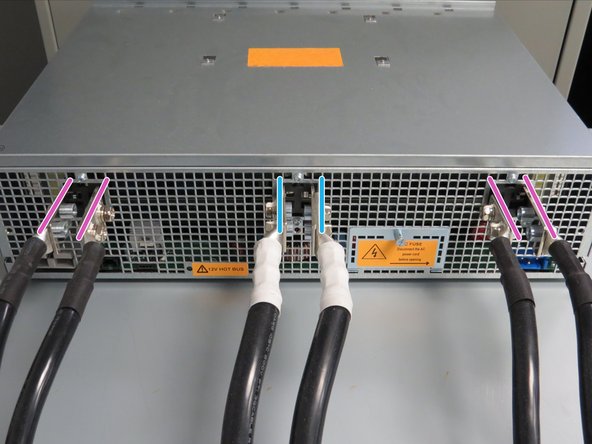
Make sure there is not live power on the bus bars before proceeding with this step.
-
Install the six new power lug cables onto the power shelf.
-
Ensure that the positive and negative cables are installed in the following orientation:
-
Negative Lug Cables (two total): Center Power Rails
-
Positive Lug Cables (four total): Left-most and Right-Most Power Rails
-


This work is licensed under a Creative Commons Attribution 4.0 International License.
This work is licensed under a Creative Commons Attribution 4.0 International License.
