Introduction

Overview

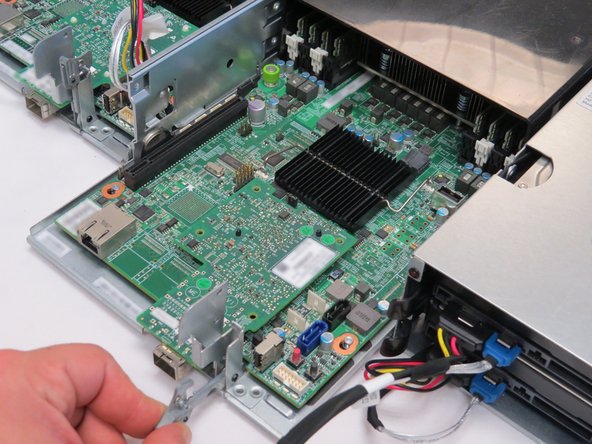
This guide demonstrates how to replace the midplane board in an Open Compute V2 server. == Acronyms and Terms == * LED - Light-Emitting Diode * SATA - Serial ATA ** ATA - AT Attachment

  1. Power off both server systems in the Open Compute V2 chassis.
    • Power off both server systems in the Open Compute V2 chassis.

    • Remote Power Down: Login to each server to power it off.

    • shutdown -h now;exit

    • Hardware Power Down: Press and hold the power switch for at least three seconds, as annotated.

  2. Disconnect all of the peripheral cables from the server sleds.
    • Disconnect all of the peripheral cables from the server sleds.

    • Engage the locking mechanism on the right side of the Open Compute V2 chassis.

    • Pull the chassis away from the rack.

    • Place the chassis on a work surface.

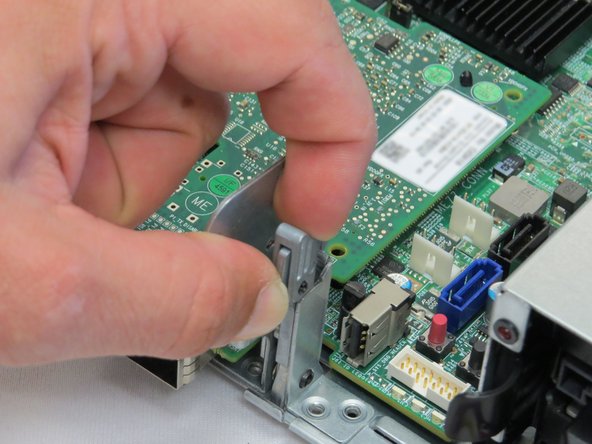
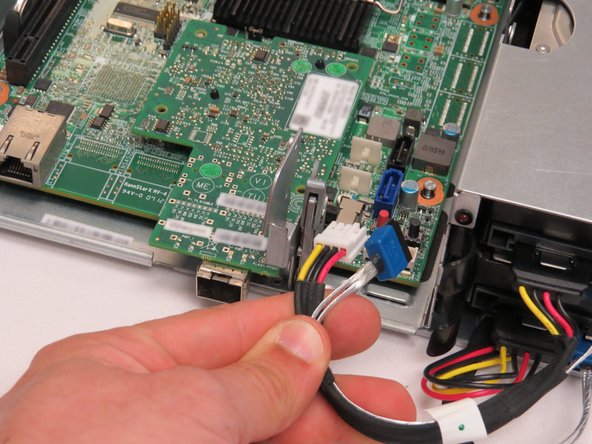
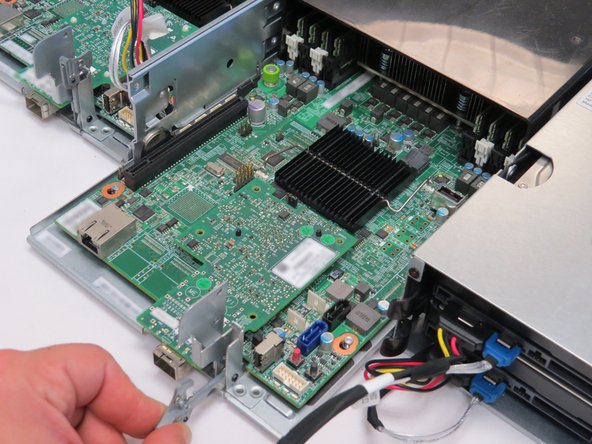
  3. Disconnect the SATA / power cable from from the server motherboard. Pinch the sled retention lever and pull it forward. Slide the server node out of the chasiss.
    • Disconnect the SATA / power cable from from the server motherboard.

    • Pinch the sled retention lever and pull it forward.

    • Slide the server node out of the chasiss.

    • Repeat these actions for the adjacent server node.

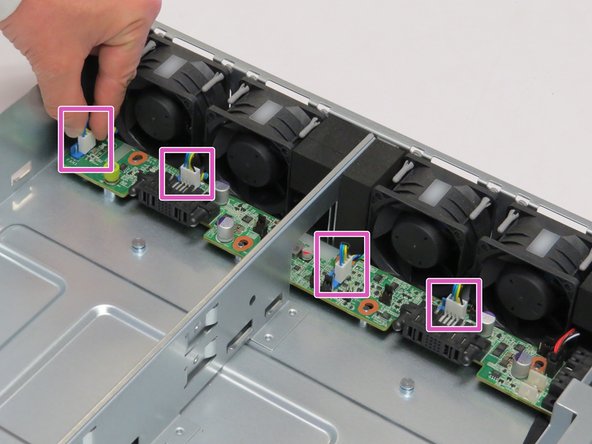
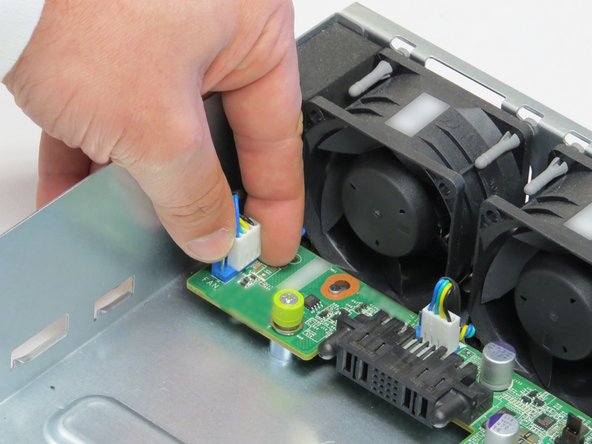
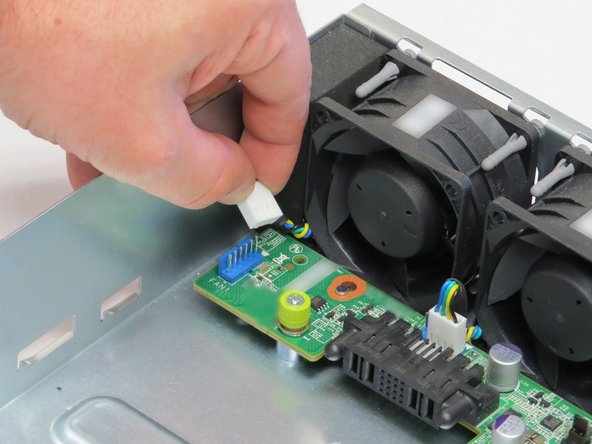
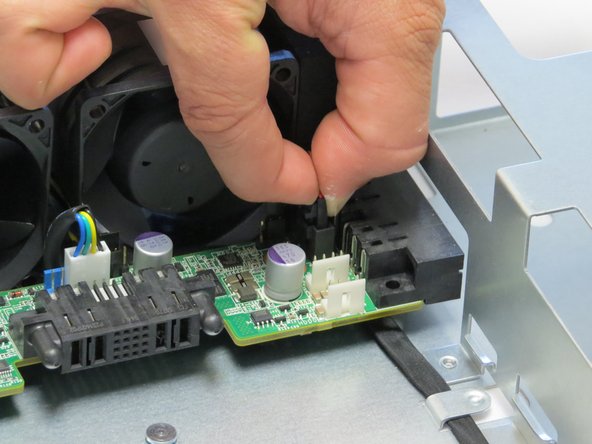
  4. Disconnect the four fan power cables connected to the midplane board. Disconnect the four fan power cables connected to the midplane board. Disconnect the four fan power cables connected to the midplane board.
    • Disconnect the four fan power cables connected to the midplane board.

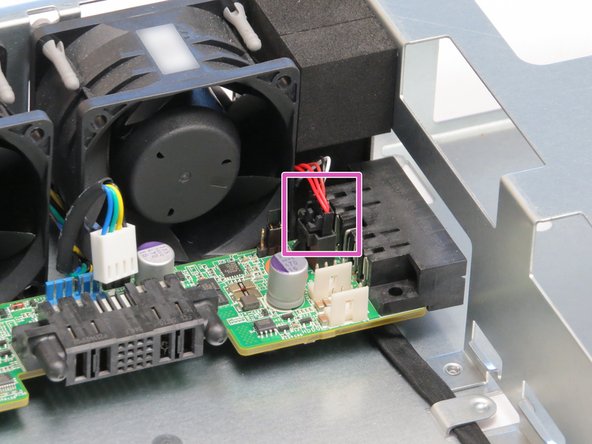
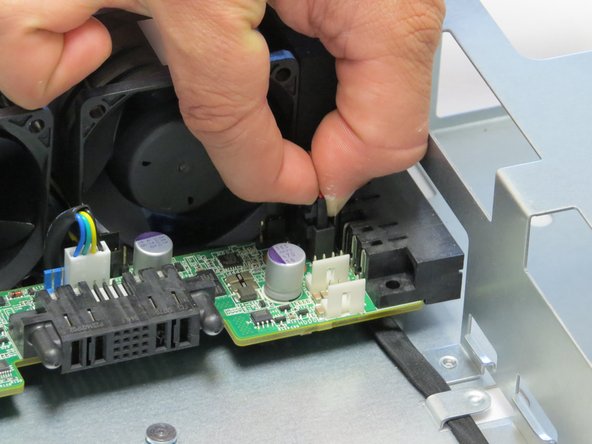
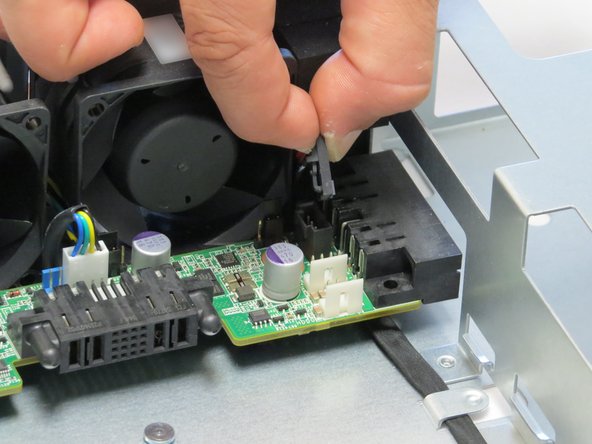
  5. Disconnect the LED cable. Make sure to pinch the LED retention cable tab before pulling it upwards. Make sure to pinch the LED retention cable tab before pulling it upwards.
    • Disconnect the LED cable.

    • Make sure to pinch the LED retention cable tab before pulling it upwards.

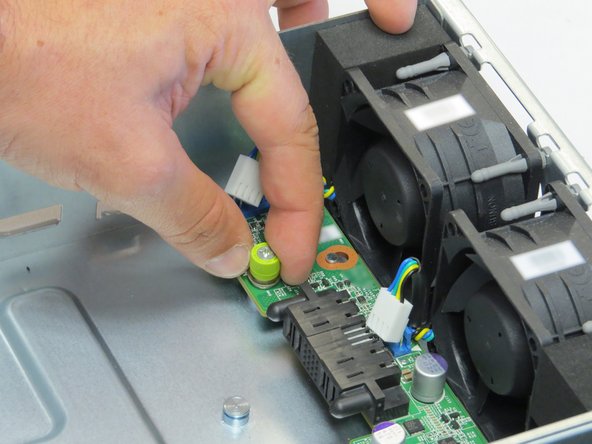
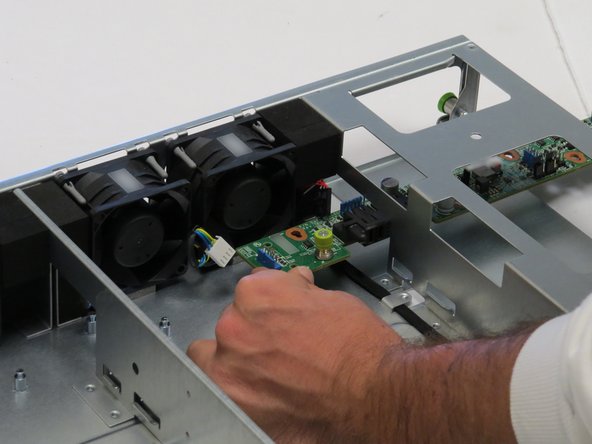
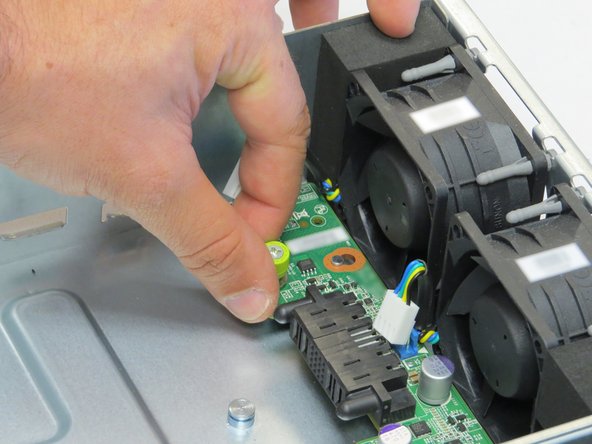
  6. Loosen one thumbscrew. Loosen one thumbscrew.
    • Loosen one thumbscrew.

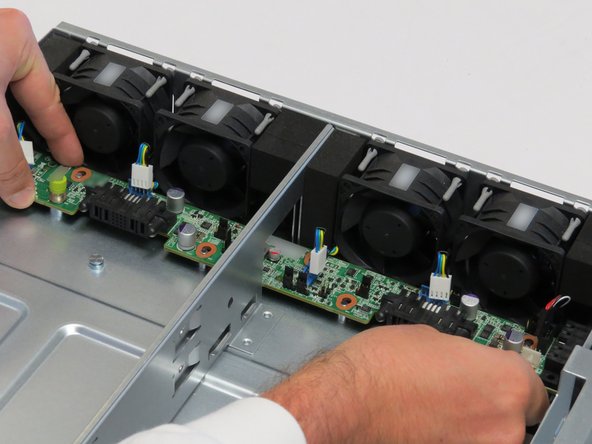
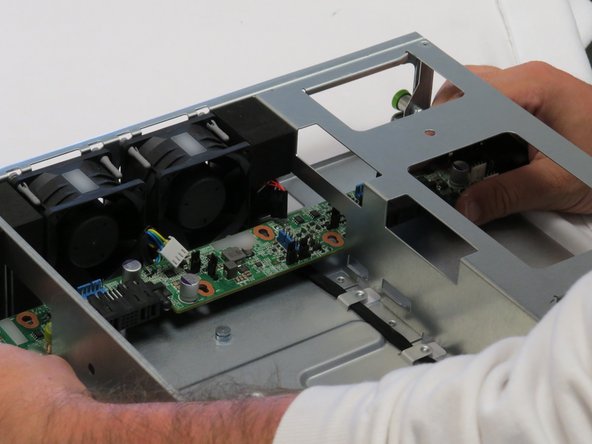
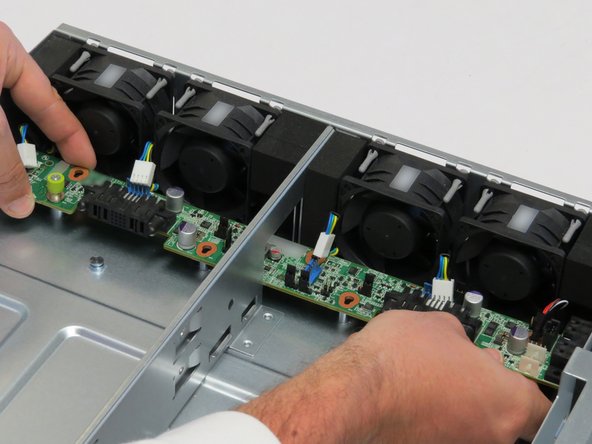
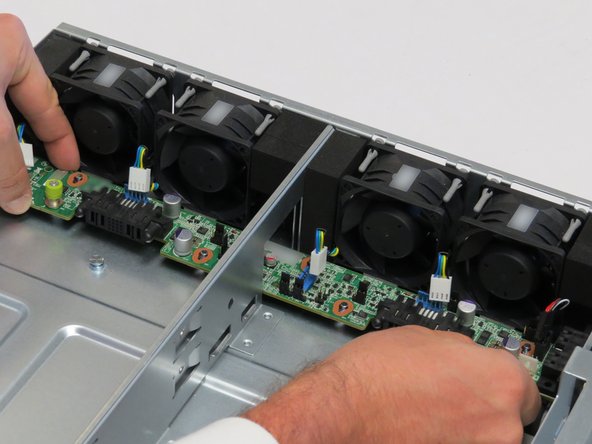
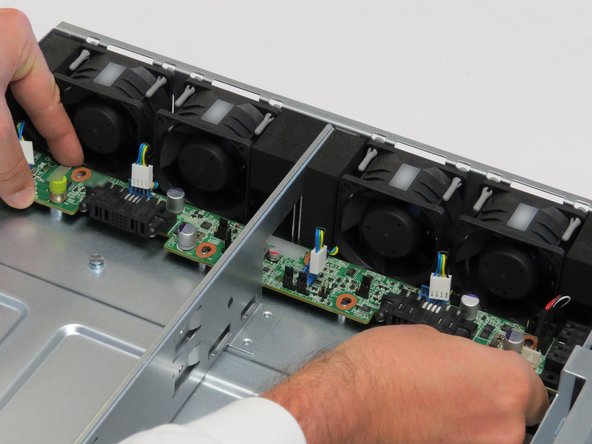
  7. Slide the midplane board towards the front of the chassis. Slide the board until resistance until is felt. Lift the board away from the chassis.
    • Slide the midplane board towards the front of the chassis.

    • Slide the board until resistance until is felt.

    • Lift the board away from the chassis.

  8. Pull the midplane board through the cutout located on the right side of the chassis, as shown. Pull the midplane board through the cutout located on the right side of the chassis, as shown. Pull the midplane board through the cutout located on the right side of the chassis, as shown.
    • Pull the midplane board through the cutout located on the right side of the chassis, as shown.

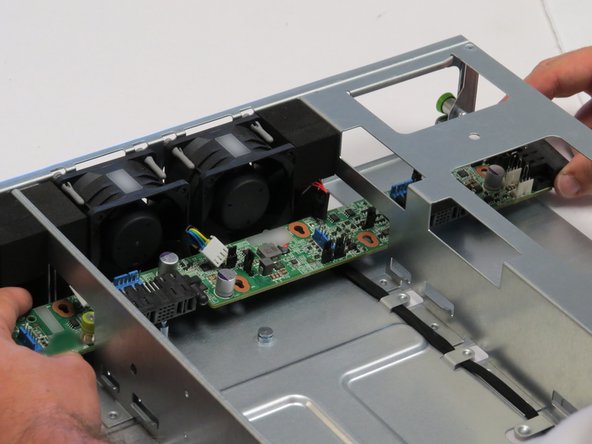
  9. Insert the new midplane board through the PSU slot. Guide the midplane board until its in its original position.
    • Insert the new midplane board through the PSU slot.

    • Guide the midplane board until its in its original position.

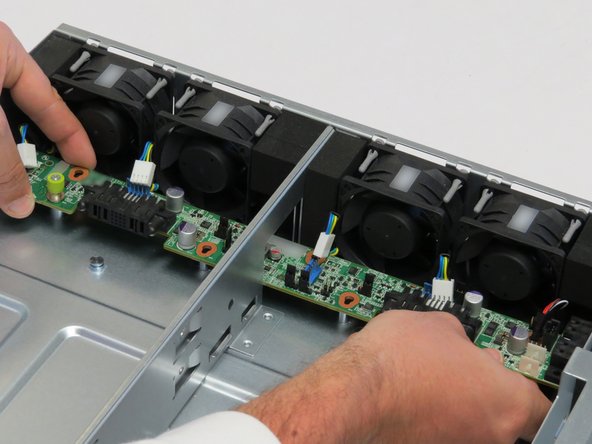
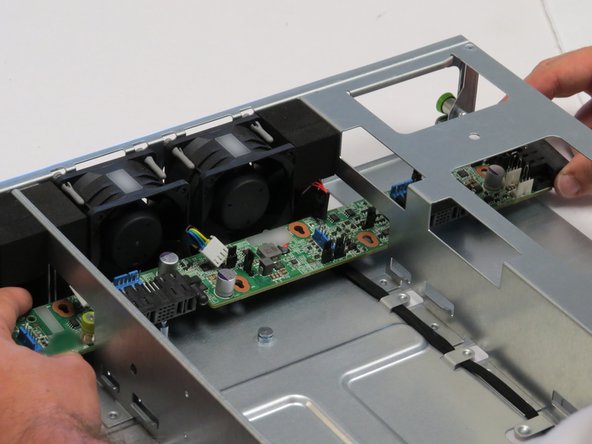
  10. Lower the midplane board onto the chassis standoffs / guides. Push the midplane board towards the fans. Push the midplane board towards the fans.
    • Lower the midplane board onto the chassis standoffs / guides.

    • Push the midplane board towards the fans.

  11. Tighten the thumbscrew.
    • Tighten the thumbscrew.

  12. Connect the LED cable. Connect the LED cable.
    • Connect the LED cable.

  13. Connect the four fan power cables to the midplane board.
    • Connect the four fan power cables to the midplane board.

  14. Slide the server sleds back into the Open Compute V2 chassis.
    • Slide the server sleds back into the Open Compute V2 chassis.

  15. Connect the SATA / power cable back into their respective motherboards.
    • Connect the SATA / power cable back into their respective motherboards.

    • Slide the chassis into the rack.

  16. Power on the server by pressing the power button.
    • Power on the server by pressing the power button.

Conclusion

Dozuki System

Member since: 09/24/2009

1 Reputation

142 Guides authored

0 Comments

Add Comment

View Statistics:

Past 24 Hours: 0

Past 7 Days: 0

Past 30 Days: 4

All Time: 91