
Introduction
Overview
This guide demonstrates how to replace a network interface card (NIC) in an Open Compute V2 server. == Acronyms and Terms == * MAC Address - Media Access Control Address * NIC - Network Interface Controller
-
-
The server can be powered off remotely or on the hardware itself.
-
Remote Power Down: Login to the server to power it off.
-
shutdown -h now;exit -
Hardware Power Down: Press and hold the power switch for at least three seconds, as annotated.
-
-
-
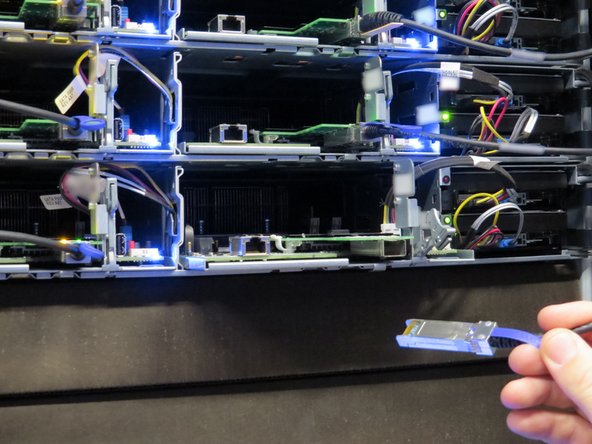
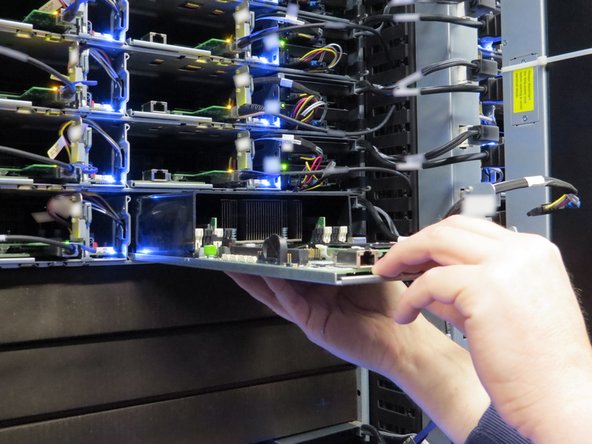
Disconnect the 10G SFP+ cable from the network interface controller.
-
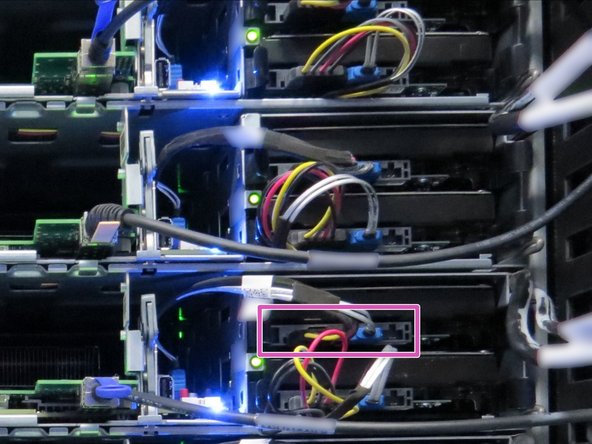
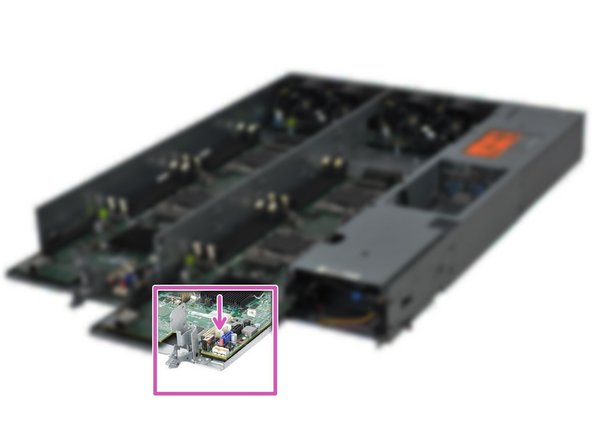
Disconnect the SATA / power cables connected to the boot hard disk drive.
-
Node 1 (right-most sled) boot drive is the top drive in the chassis. Node 0 (left-most sled) boot drive is the bottom drive in the chassis.
-
Disconnecting the SATA / power cable can be performed on either the motherboard or HDD end of server node 1 . However, the SATA / power cable must be disconnected from the motherboard end on node 0.
-
-
-
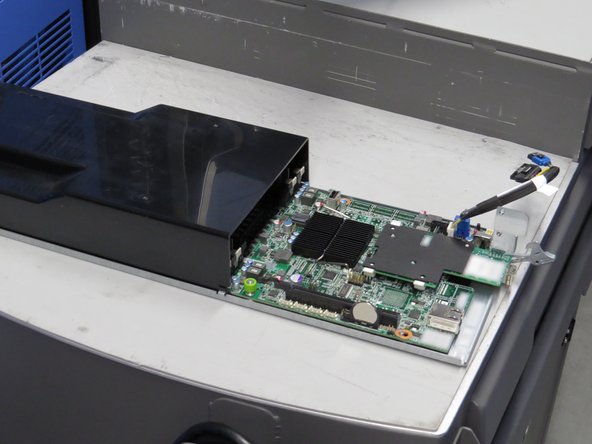
Your configuration of the Open Compute V2 may or may not feature a riser card, as shown.
-
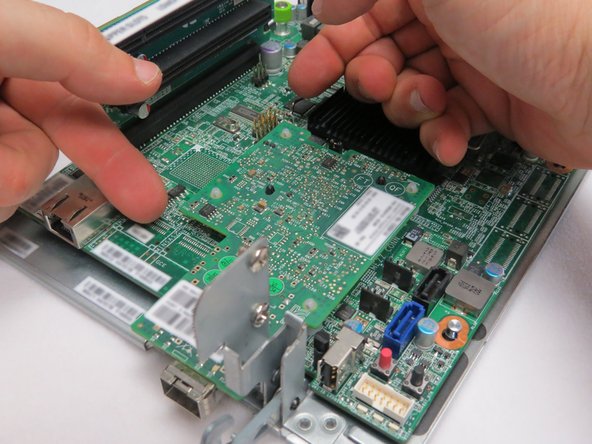
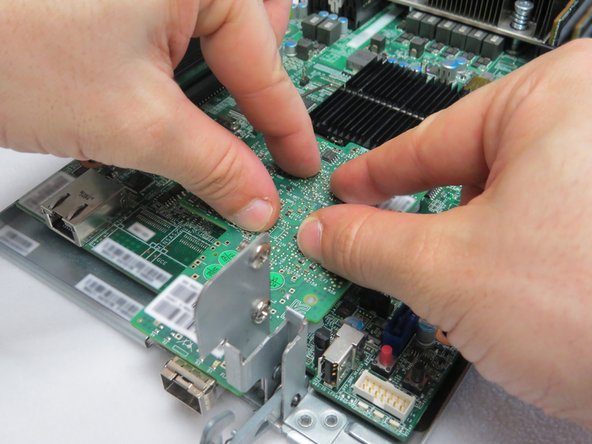
Place your fingers underneath the left side of the NIC, as shown.
-
Push the NIC upwards.
-
If the NIC does not immediately release from the nylon standoffs, it may be necessary to use a tool (such as pliers), to depress the arrowhead portion of the standoff.
-
Push the top right corner of the NIC upwards.
-
This action unseats the NIC from the nylon standoffs.
-


This work is licensed under a Creative Commons Attribution 4.0 International License.
This work is licensed under a Creative Commons Attribution 4.0 International License.
