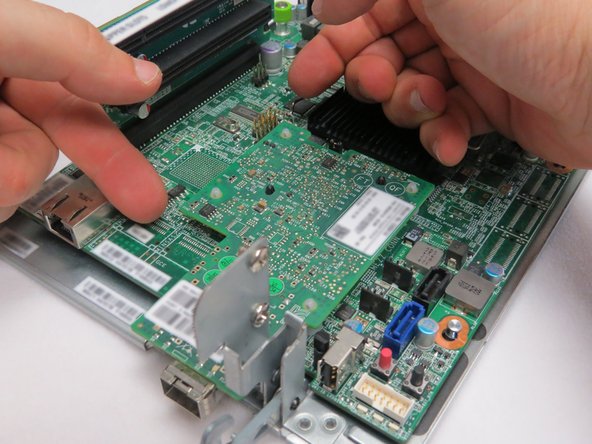
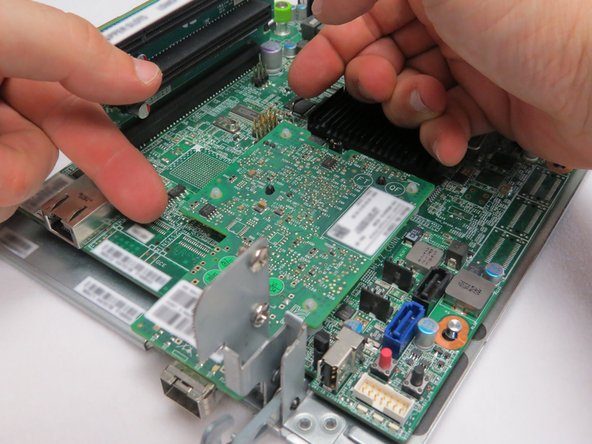
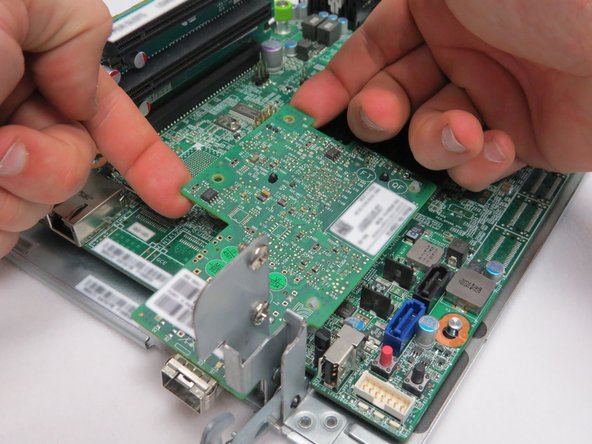
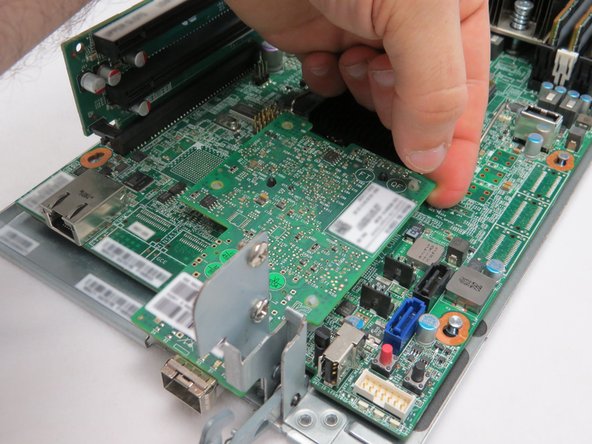
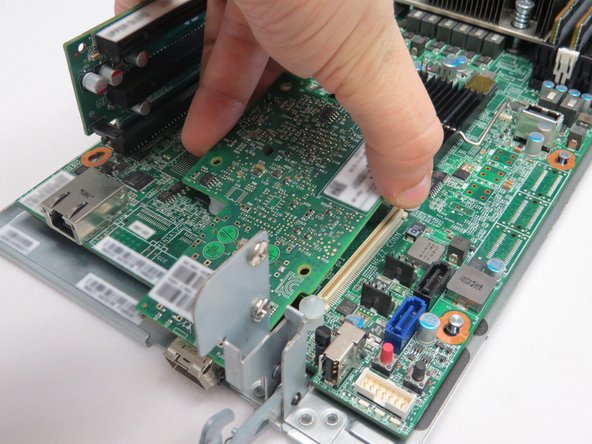
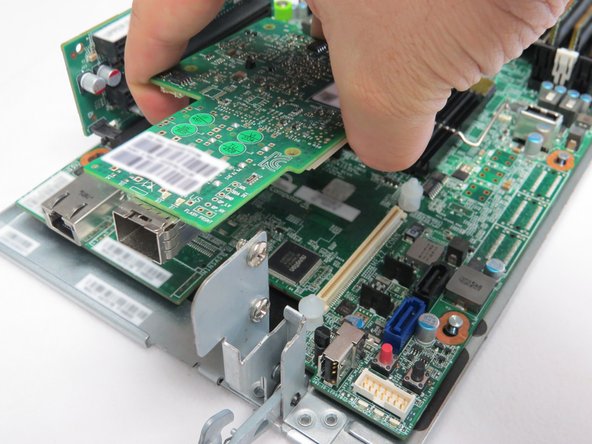
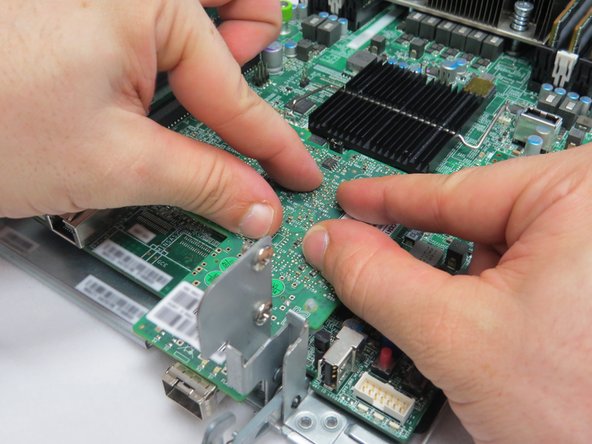
1. Your configuration of the Open Compute V2 may or may not feature a riser card, as shown. Place your fingers underneath the left side of the NIC, as shown. Push the NIC upwards.
    • Your configuration of the Open Compute V2 may or may not feature a riser card, as shown.

    • Place your fingers underneath the left side of the NIC, as shown.

    • Push the NIC upwards.

    • If the NIC does not immediately release from the nylon standoffs, it may be necessary to use a tool (such as pliers), to depress the arrowhead portion of the standoff.

    • Push the top right corner of the NIC upwards.

    • This action unseats the NIC from the nylon standoffs.

  2. Lift the NIC away from the motherboard. Lift the NIC away from the motherboard.
    • Lift the NIC away from the motherboard.

  3. Make note of the new NIC MAC address.
    • Make note of the new NIC MAC address.

    • Associate the new network interface controller MAC address with your systems.

    • The MAC address can be found on the labels, as annotated.

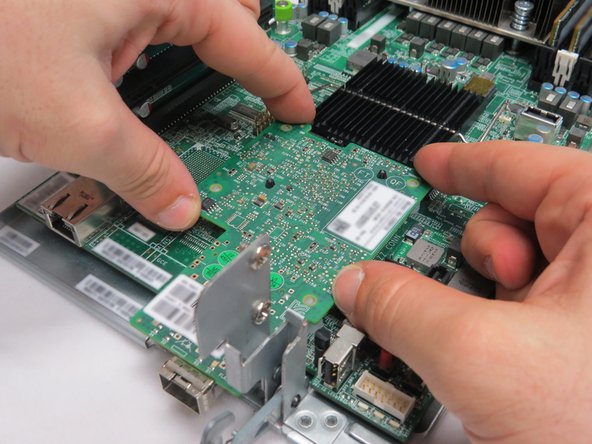
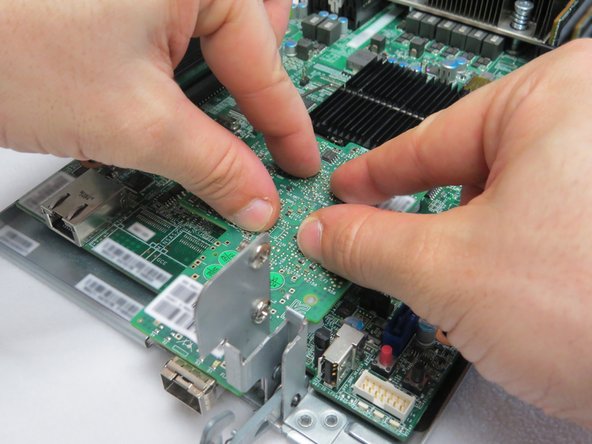
  4. Place the NIC on the four nylon risers. Press the NIC downards, as shown. Ensure that the four nylon risers have locked the NIC to the motherboard.
    • Place the NIC on the four nylon risers.

    • Press the NIC downards, as shown.

    • Ensure that the four nylon risers have locked the NIC to the motherboard.

Conclusion

Dozuki System

Member since: 9/24/09

1 Reputation

142 Guides authored

0 Comments

Add Comment


View Statistics:

Past 24 Hours: 0

Past 7 Days: 2

Past 30 Days: 2

All Time: 2