1. The server can be powered off remotely or on the hardware itself.
    • The server can be powered off remotely or on the hardware itself.

    • Remote Power Down: Login to the server to power it off.

    • shutdown -h now;exit

    • Hardware Power Down: Press and hold the power switch for at least three seconds, as annotated.

  2. Place the server in the slot where it was previously removed. Push the server into the slot. Do not use the chassis handle as it could pinch your hand.
    • Place the server in the slot where it was previously removed.

    • Push the server into the slot.

    • Do not use the chassis handle as it could pinch your hand.

  3. Connect the Ethernet cable to the RJ45 port on the server motherboard.
    • Connect the Ethernet cable to the RJ45 port on the server motherboard.

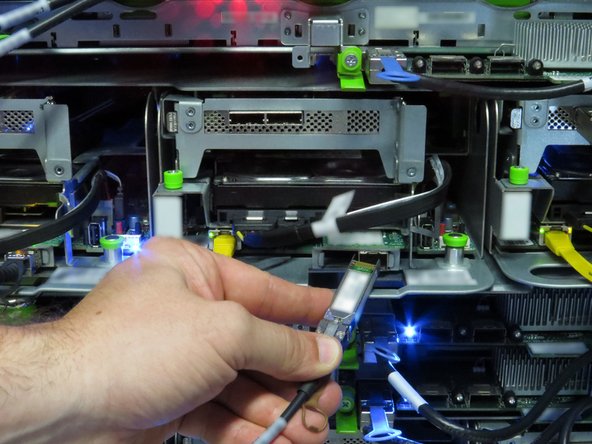
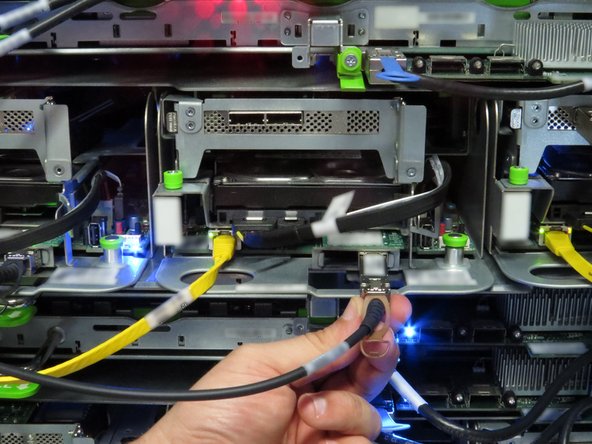
  4. Connect the 10G SFP+ cable to the network interface controller port. A distinctive 'click' will be audible when the cable is seated correctly.
    • Connect the 10G SFP+ cable to the network interface controller port.

    • A distinctive 'click' will be audible when the cable is seated correctly.

  5. Connect the Mini-SAS cable to the RAID controller.
    • Connect the Mini-SAS cable to the RAID controller.

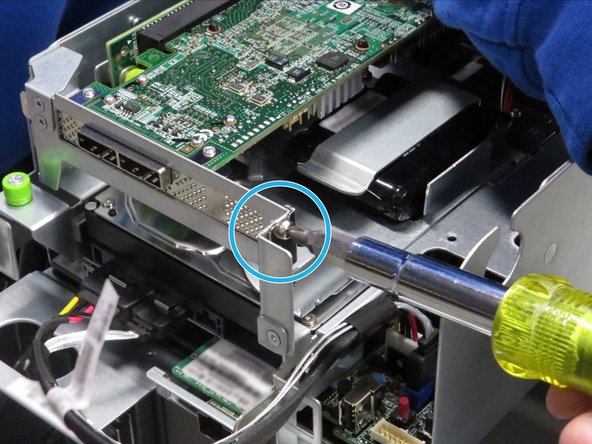
  6. Remove the the screw from the RAID controller bracket with a  Phillips #2 screwdriver.
    • Remove the the screw from the RAID controller bracket with a Phillips #2 screwdriver.

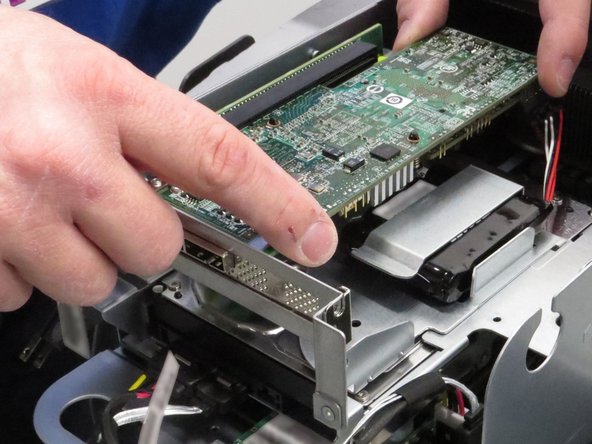
  7. Grasp the edges of the RAID controller, as shown. Pull the RAID controller from the PCI riser card socket. Pull the RAID controller from the PCI riser card socket.
    • Grasp the edges of the RAID controller, as shown.

    • Pull the RAID controller from the PCI riser card socket.

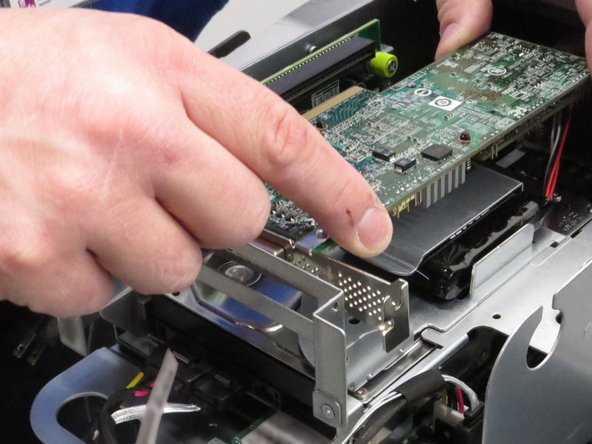
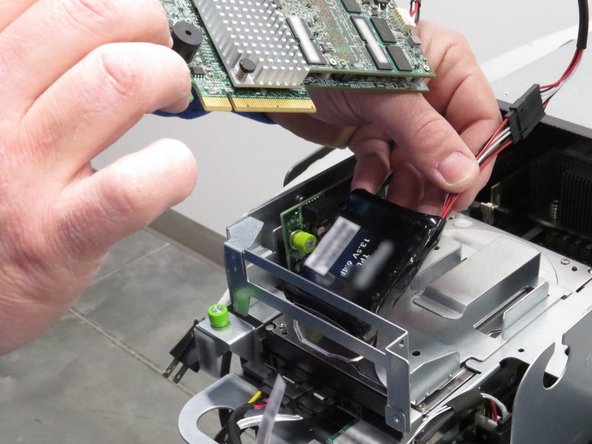
  8. Push the RAID controller battery away from its retention clip. Remove the RAID controller and its tethered battery pack, as shown. Remove the RAID controller and its tethered battery pack, as shown.
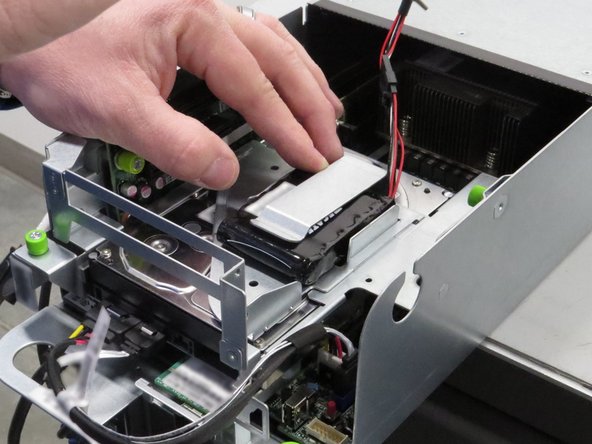
    • Push the RAID controller battery away from its retention clip.

    • Remove the RAID controller and its tethered battery pack, as shown.

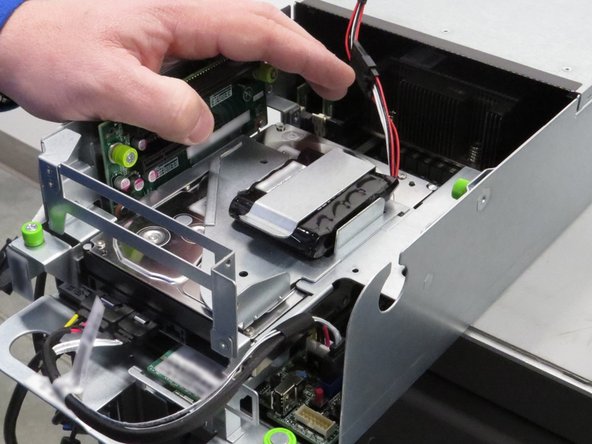
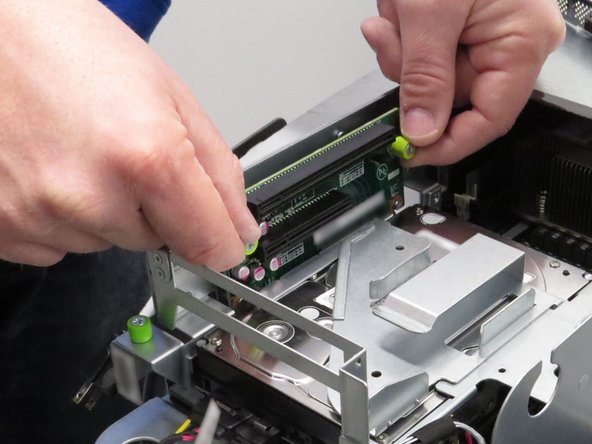
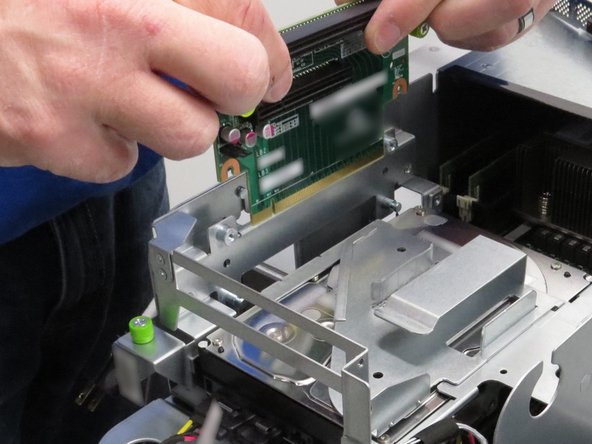
  9. Loosen the (2) thumbscrews securing the PCI riser card. Lift the riser card away from its socket. Lift the riser card away from its socket.
    • Loosen the (2) thumbscrews securing the PCI riser card.

    • Lift the riser card away from its socket.

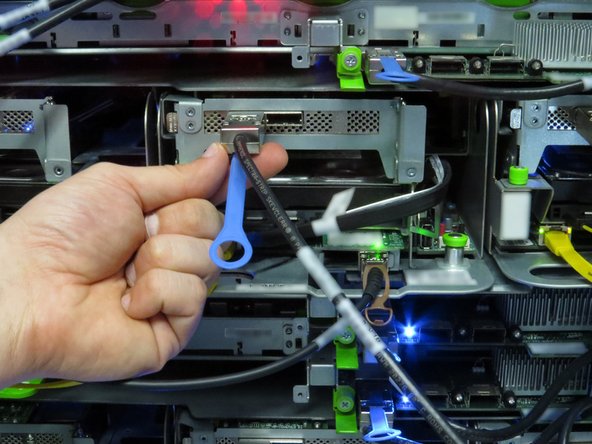
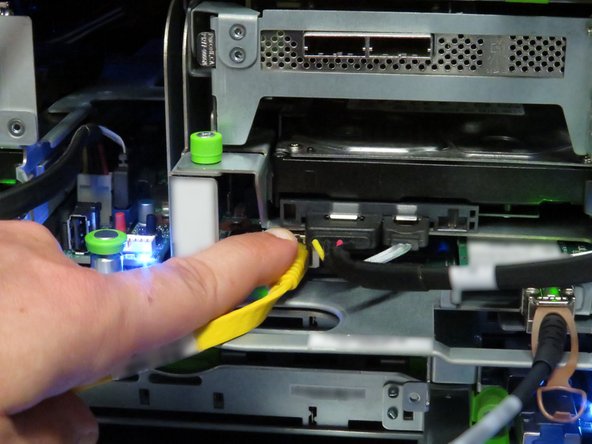
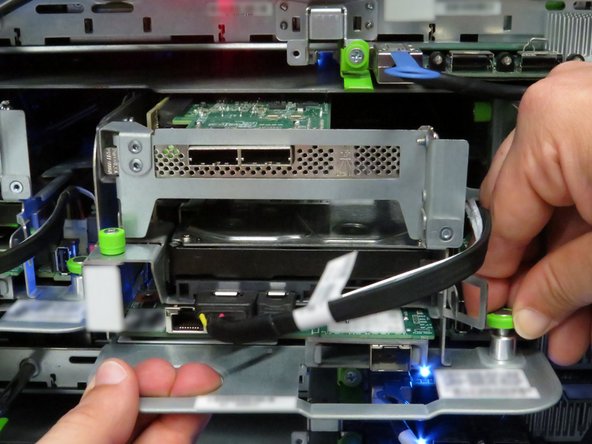
  10. Disconnect the Mini-SAS cable by pulling on the pull-tab, as shown. Disconnect the Mini-SAS cable by pulling on the pull-tab, as shown.
    • Disconnect the Mini-SAS cable by pulling on the pull-tab, as shown.

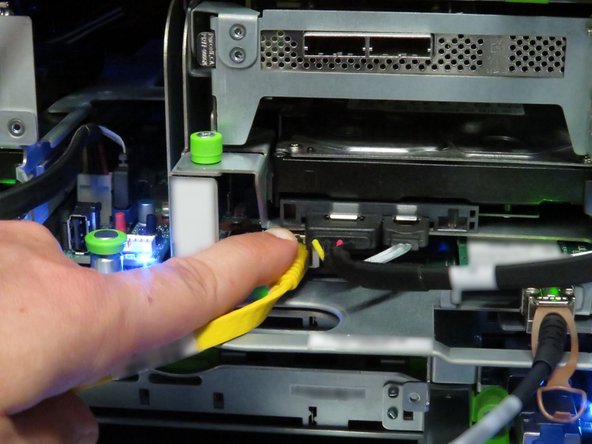
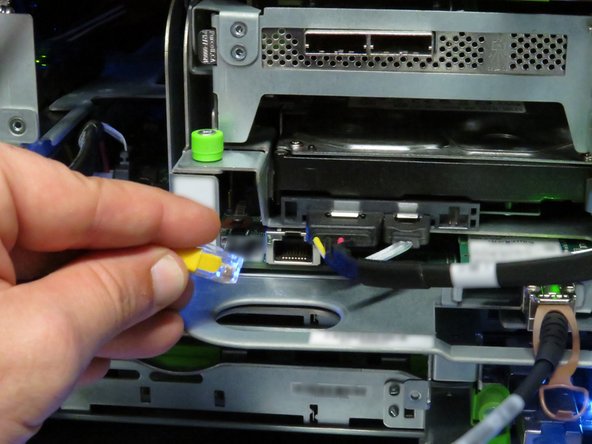
  11. Disconnect the Ethernet cable from the server. Press the tab on the end of the cable to release it.
    • Disconnect the Ethernet cable from the server.

    • Press the tab on the end of the cable to release it.

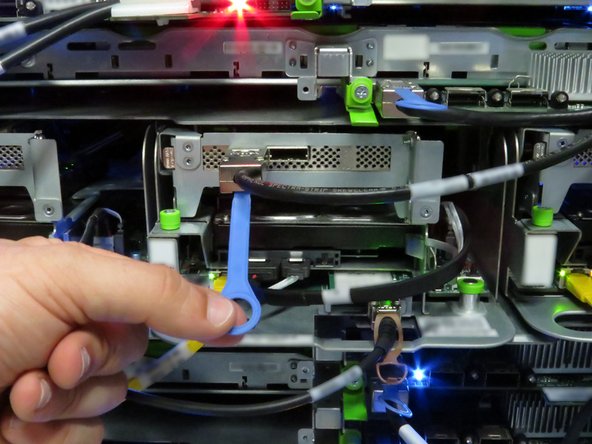
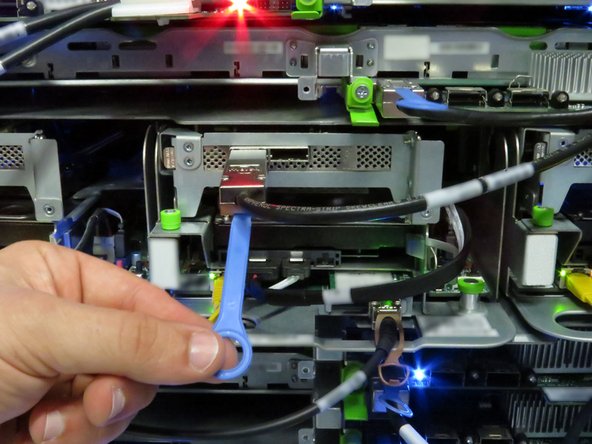
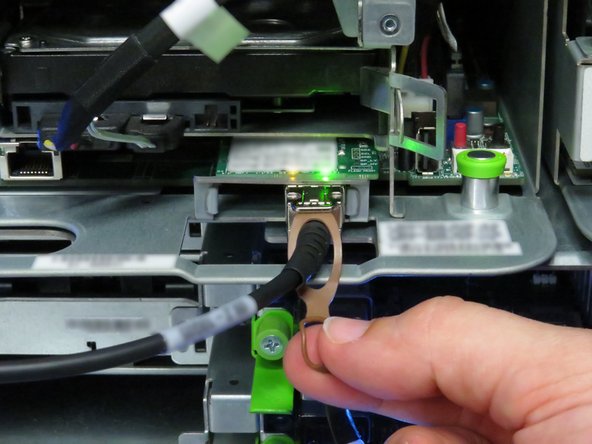
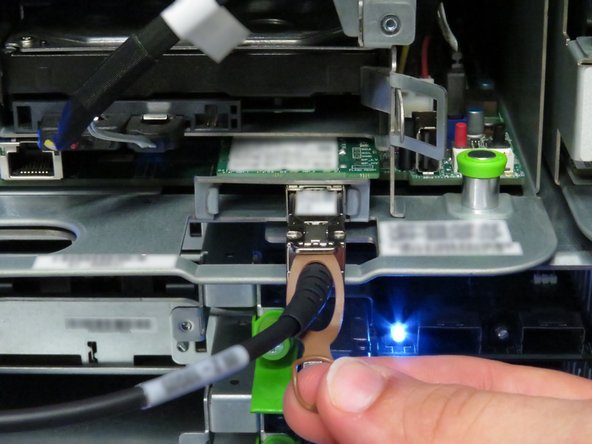
  12. Disconnect the 10G SFP+ cable by pulling on the pull-tab, as shown. Disconnect the 10G SFP+ cable by pulling on the pull-tab, as shown.
    • Disconnect the 10G SFP+ cable by pulling on the pull-tab, as shown.

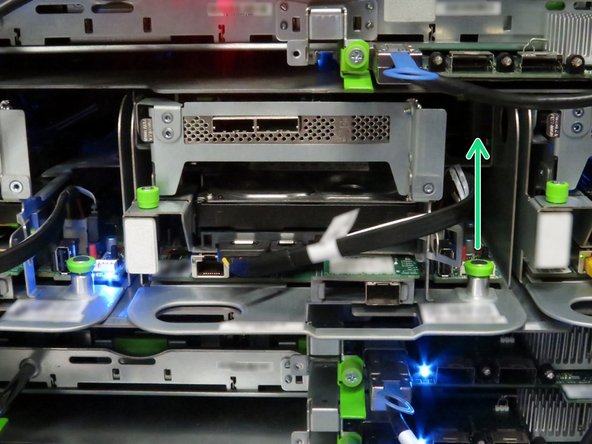
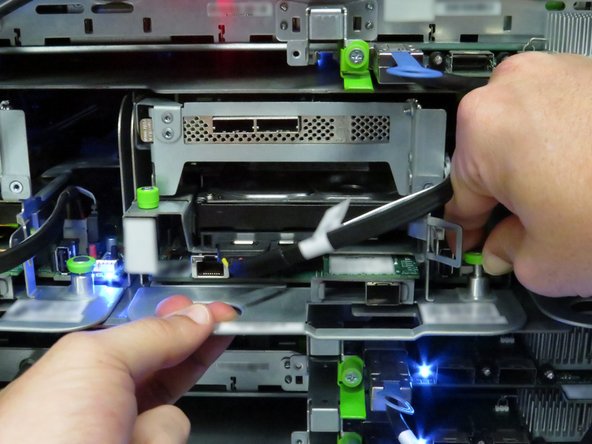
  13. Pull the retention plunger upwards. Grasp the server as shown. Remove the server from the rack.
    • Pull the retention plunger upwards.

    • Grasp the server as shown.

    • Remove the server from the rack.

Conclusion

Dozuki System

Member since: 09/24/2009

1 Reputation

142 Guides authored

0 Comments

Add Comment

View Statistics:

Past 24 Hours: 0

Past 7 Days: 0

Past 30 Days: 0

All Time: 63