
Difficulty
Moderate
Steps
7
Time Required

Incorrect Bullets
This guide contains bullet colors that do not match markup, or improperly-used bullet types.
Quiz
0
Introduction
Overview
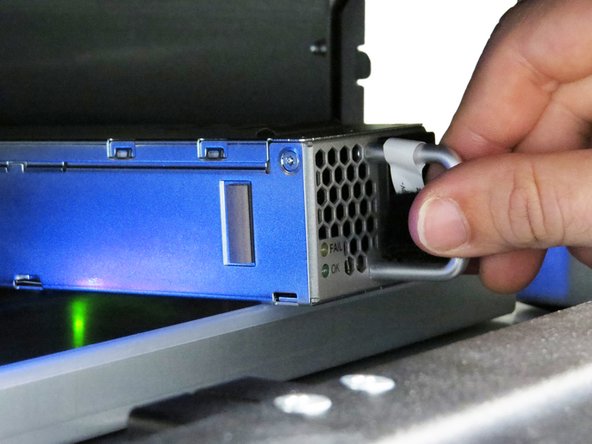
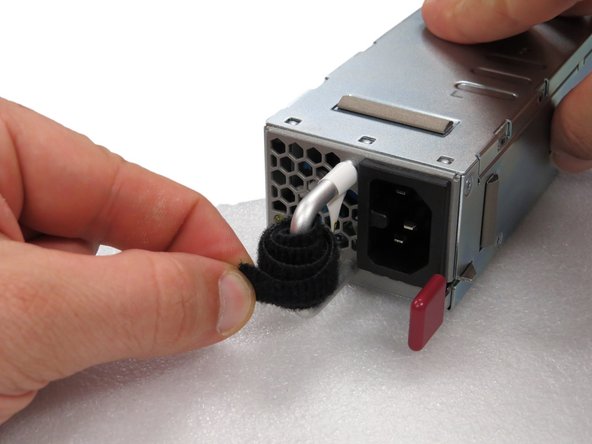
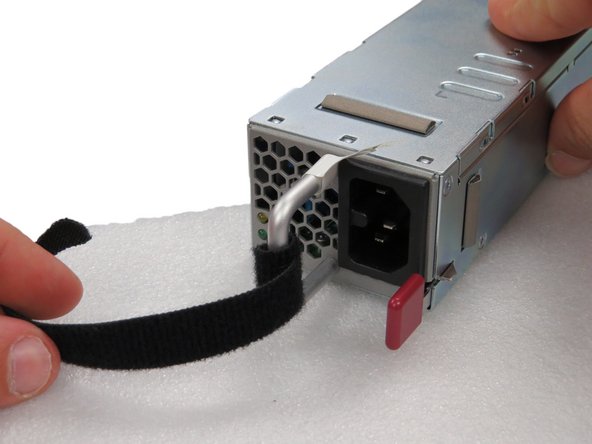
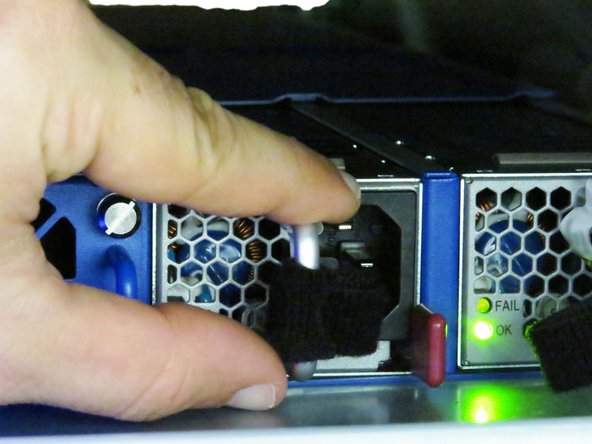
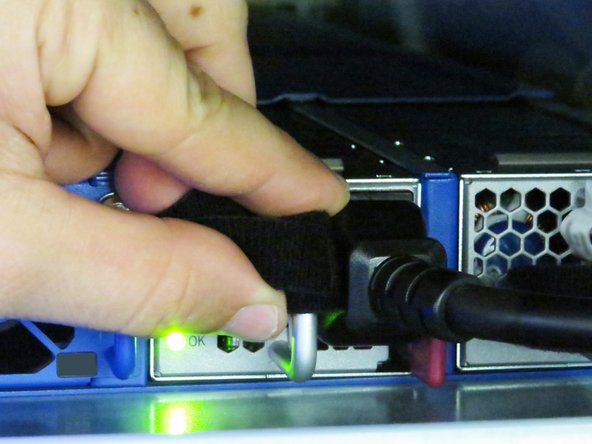
This guide demonstrates how to replace (swap) the Power Supply Unit (PSU). == Acronyms and Terms == * AC - Alternating Current * PSU - Power Supply Unit
-
-
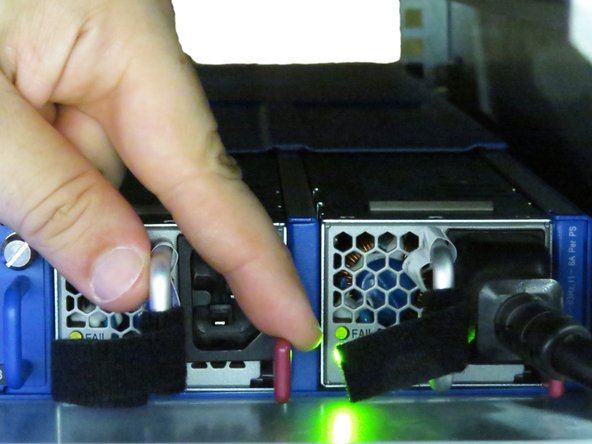
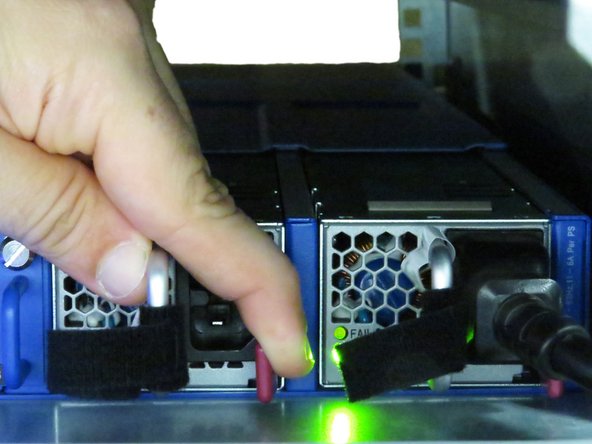
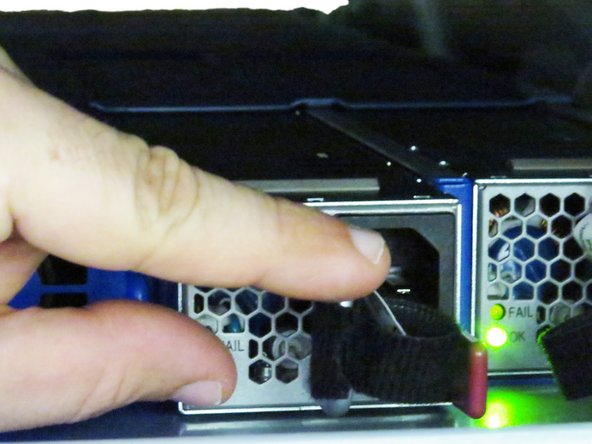
Power supply units (power modules) can be identified as follows:
-
Left PSU: PSU 1
-
Right PSU: PSU 2
-


Almost done!
This work is licensed under a Creative Commons Attribution 4.0 International License.
Conclusion
This work is licensed under a Creative Commons Attribution 4.0 International License.
