Introduction

This guide demonstrates how to replace the SATA 510MM cable in an Open Compute Server v2.. == Acronyms and Terms == * SATA - Serial Advanced Technology Attachment

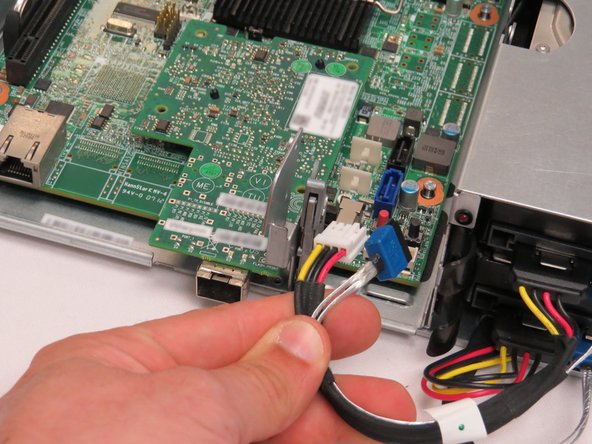
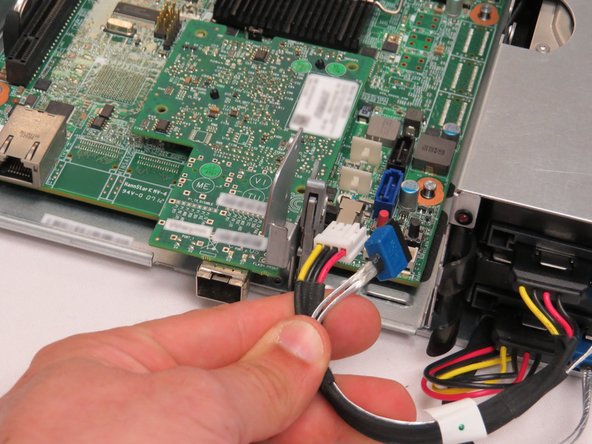
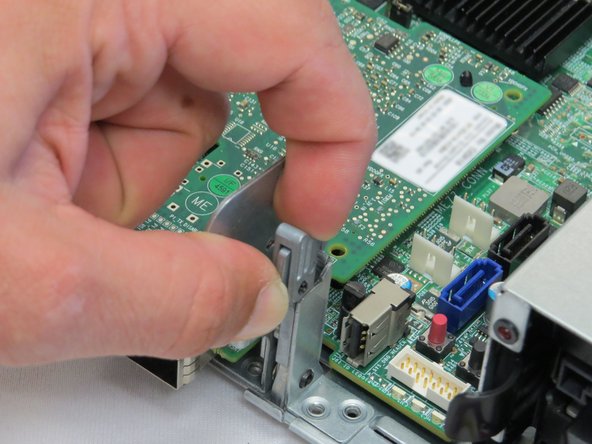
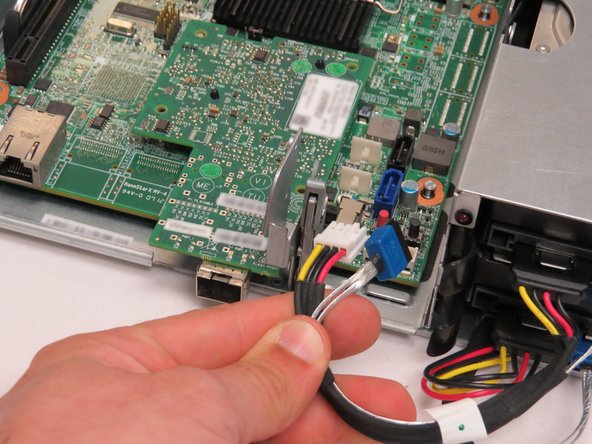
  1. Disconnect the SATA / power cable from from the server motherboard. Pinch the sled retention lever and pull it forward. Slide the server node out of the chasiss.
    • Disconnect the SATA / power cable from from the server motherboard.

    • Pinch the sled retention lever and pull it forward.

    • Slide the server node out of the chasiss.

    • Repeat these actions for the adjacent server node.

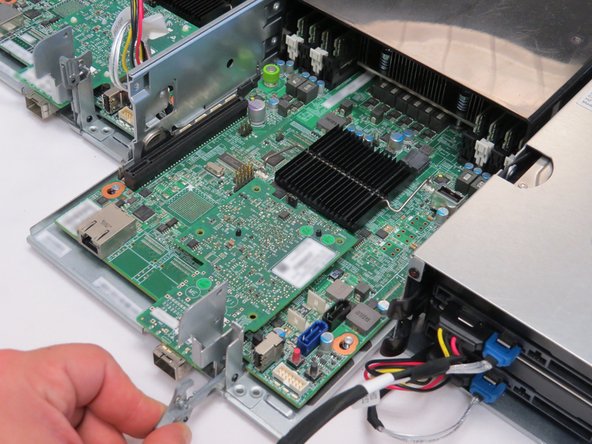
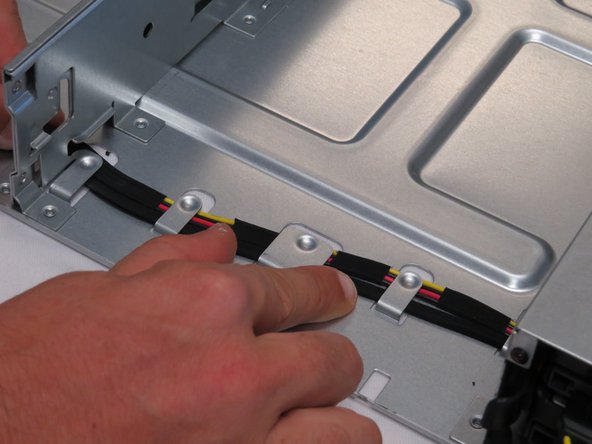
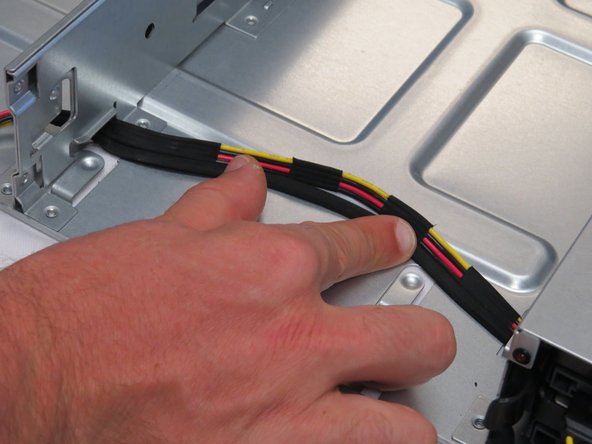
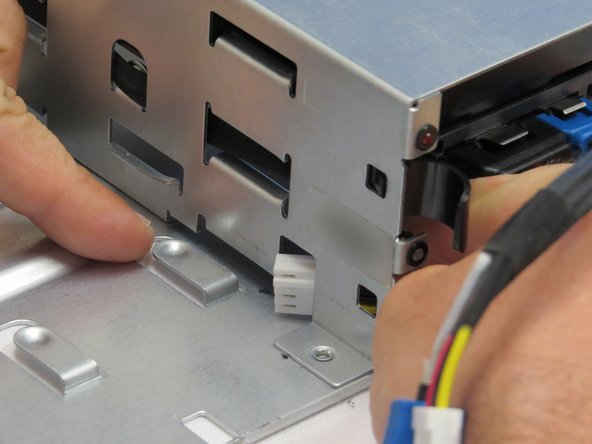
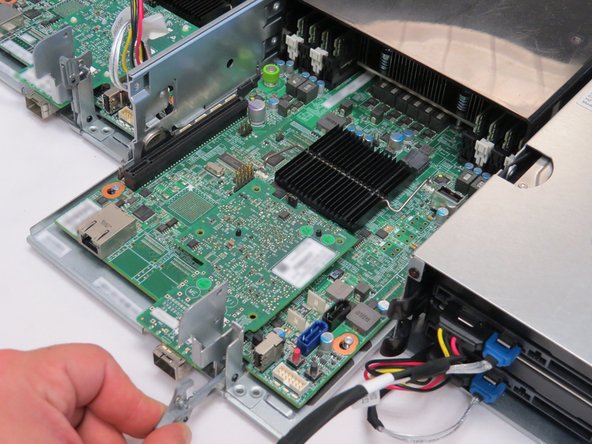
  2. Push the SATA / power cable out from the chassis cable guides. Push the left-most node SATA / power connector towards the right of the chassis, as shown. Push the left-most node SATA / power connector towards the right of the chassis, as shown.
    • Push the SATA / power cable out from the chassis cable guides.

    • Push the left-most node SATA / power connector towards the right of the chassis, as shown.

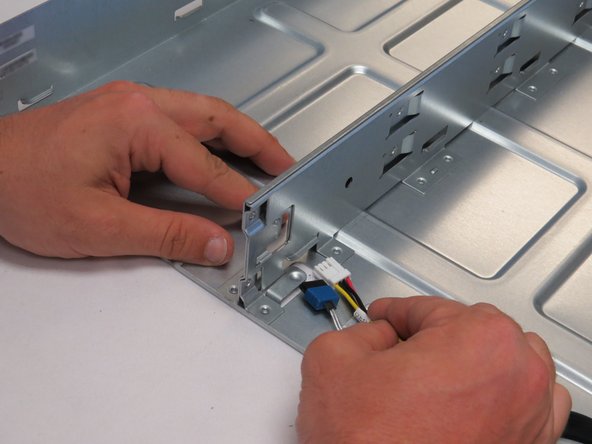
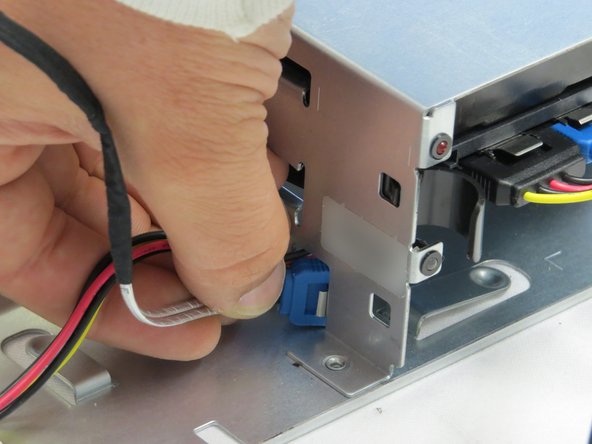
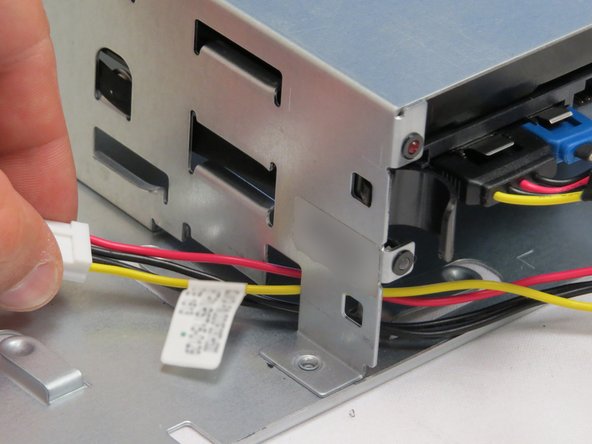
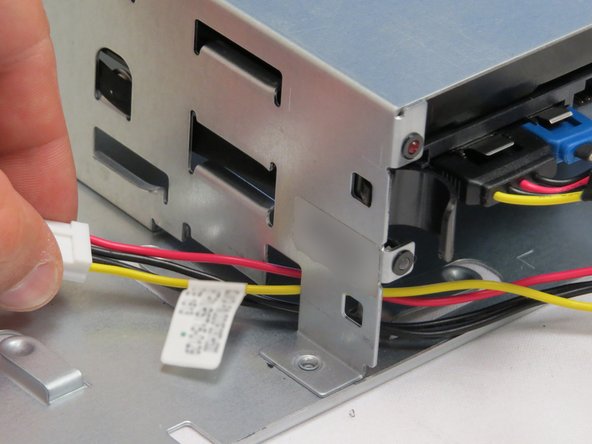
  3. Pull the HDD connection end of the SATA / Power cable towards the server hard disk drives, as shown. Pull the power connection end of the SATA / Power cable towards the server hard disk drives, as shown. Pull the power connection end of the SATA / Power cable towards the server hard disk drives, as shown.
    • Pull the HDD connection end of the SATA / Power cable towards the server hard disk drives, as shown.

    • Pull the power connection end of the SATA / Power cable towards the server hard disk drives, as shown.

  4. Route the new SATA / power cable through the chassis near the HDD tray.
    • Route the new SATA / power cable through the chassis near the HDD tray.

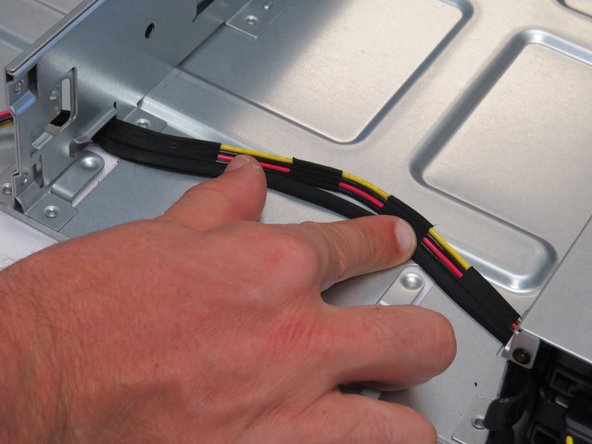
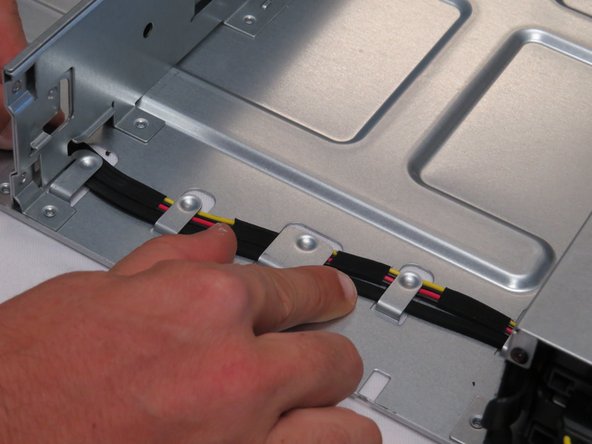
  5. Position the SATA / power cable in the chassis cable guide, as shown. Position the SATA / power cable in the chassis cable guide, as shown.
    • Position the SATA / power cable in the chassis cable guide, as shown.

  6. Slide each server sled back into the chassis. Lock the sleds by rotating the sled retention lever to the vertical position.
    • Slide each server sled back into the chassis.

    • Lock the sleds by rotating the sled retention lever to the vertical position.

    • Once locked, the sleds should not be able to move without actuating the sled retention lever.

Conclusion

Dozuki System

Member since: 9/24/09

1 Reputation

142 Guides authored

0 Comments

Add Comment


View Statistics:

Past 24 Hours: 0

Past 7 Days: 2

Past 30 Days: 3

All Time: 4