
Difficulty
Moderate
Steps
17
Time Required
- Riser Card - PCIE Replacement 17 steps

Unnecessary Steps
This guide contains steps that are not necessary.
Introduction
This guide describes how to replace the PCIE riser card in the ORV1 Leopard server.
-
-
Perform a warm shut down on the server. Run:
-
ssh -l root <hostname> shutdown -h now
-
-
-
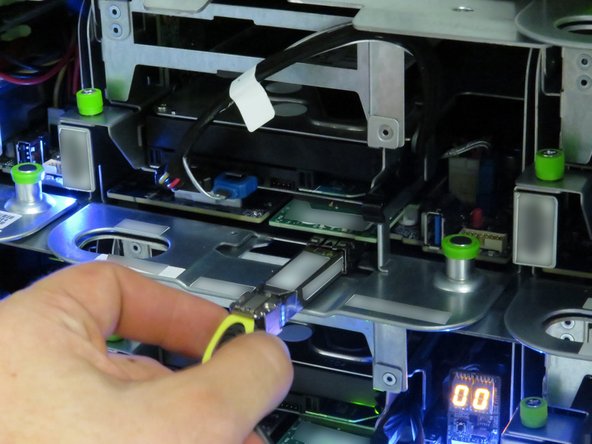
Disconnect the 10G network interface cable.
-
Pull the 10G network interface cable pull-tab.
-
-
-
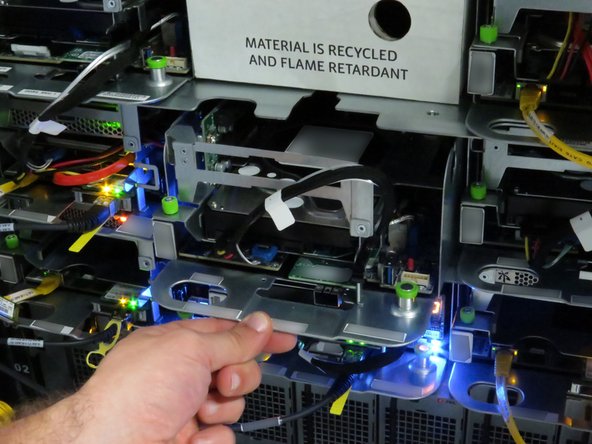
Pull the green retention plunger upwards.
-
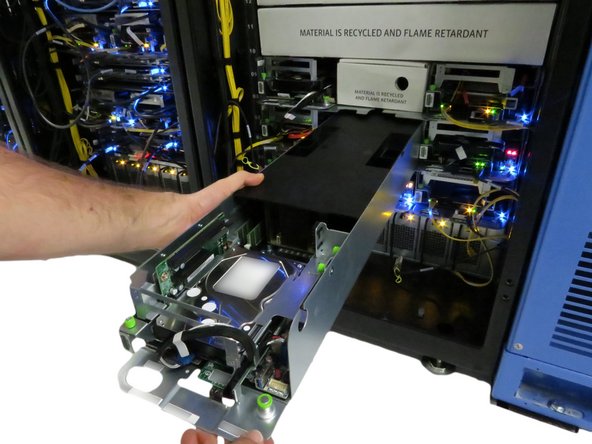
Pull the server away from the rack, as shown.
-
Pull the server until about (2) inches of the black lid is exposed.
-
-
-
Move the server on the crash cart for transportation or out of rack repairs.
-
-
-
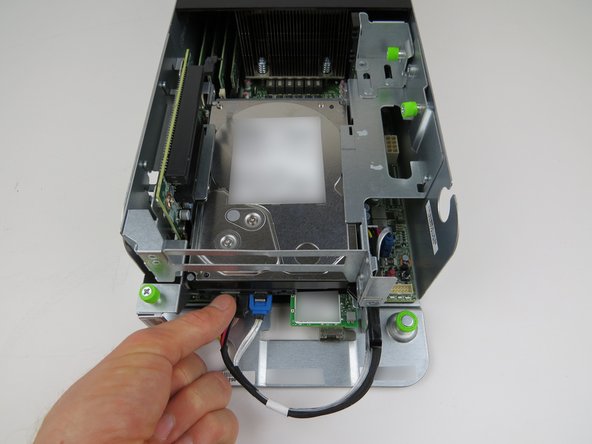
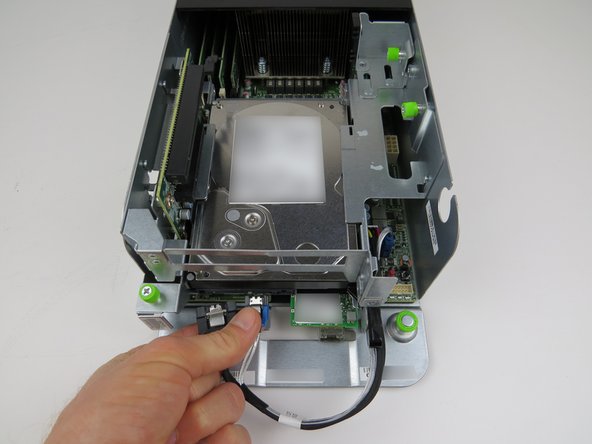
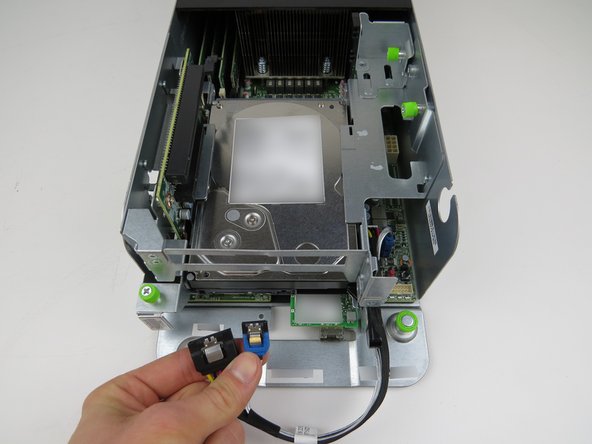
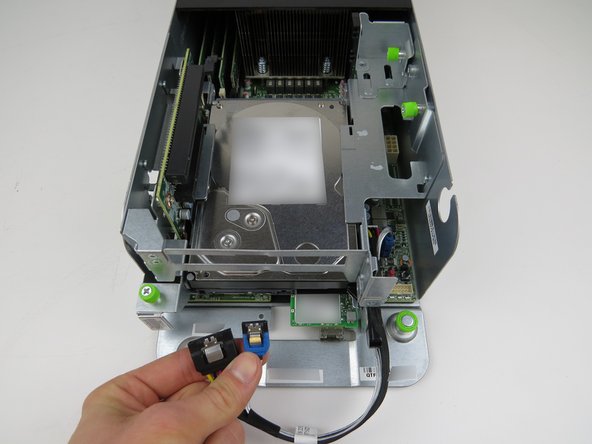
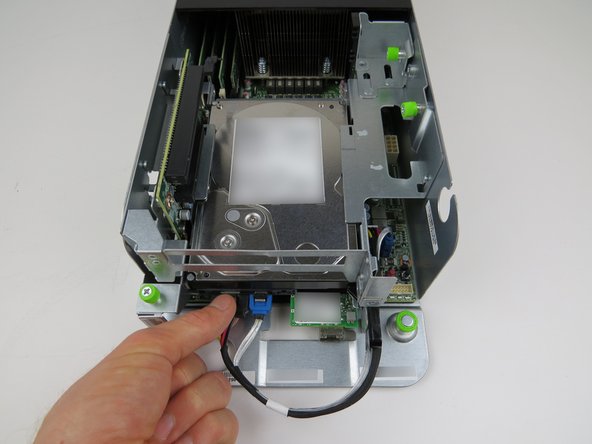
Disconnect the following cables by pressing down on the metal retention tabs pulling away from the HDD.
-
Power Cable
-
SATA Cable
-
-
-
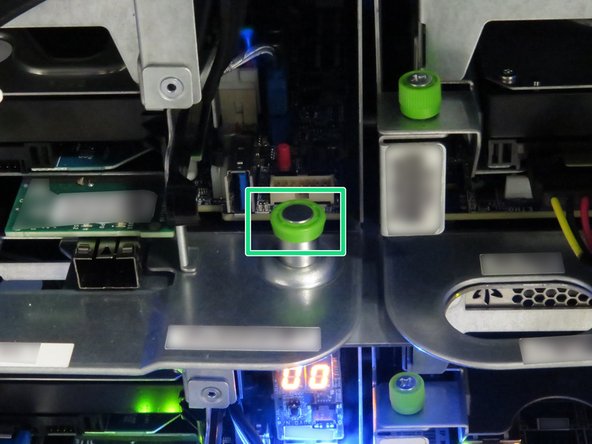
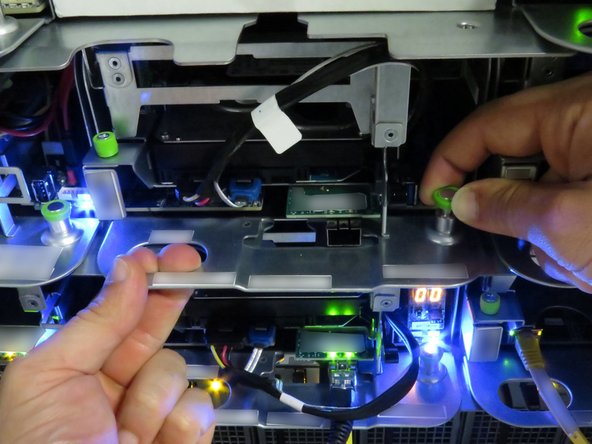
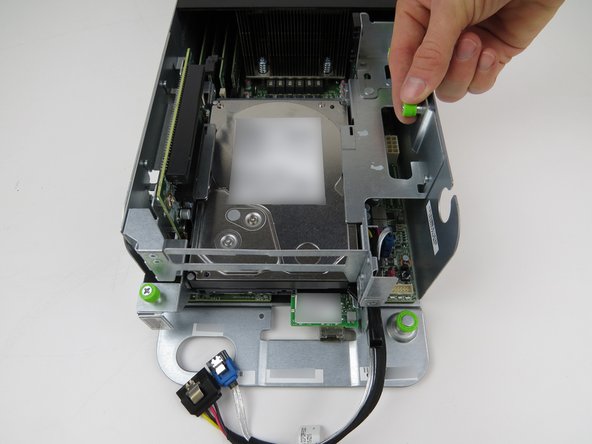
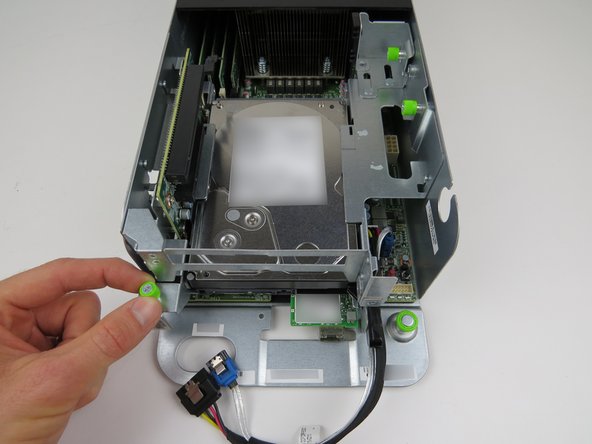
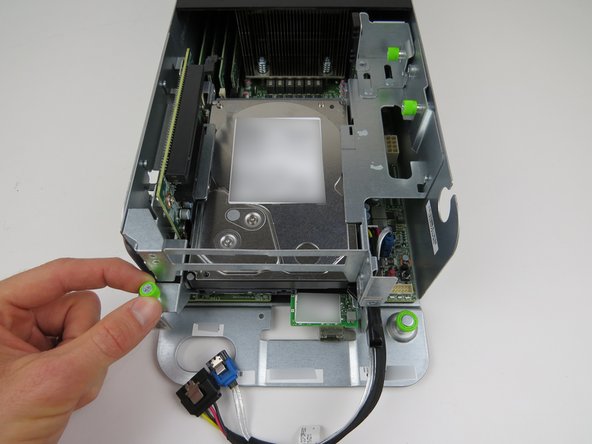
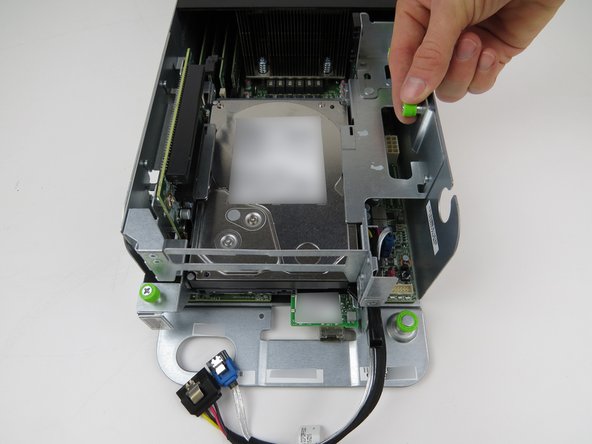
Loosen the (2) green thumbscrews, shown.
-
-
-
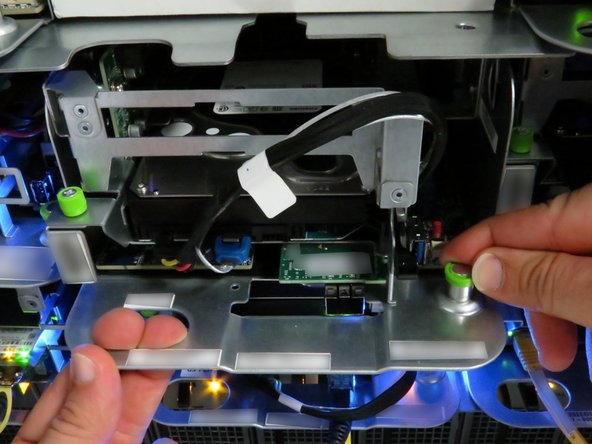
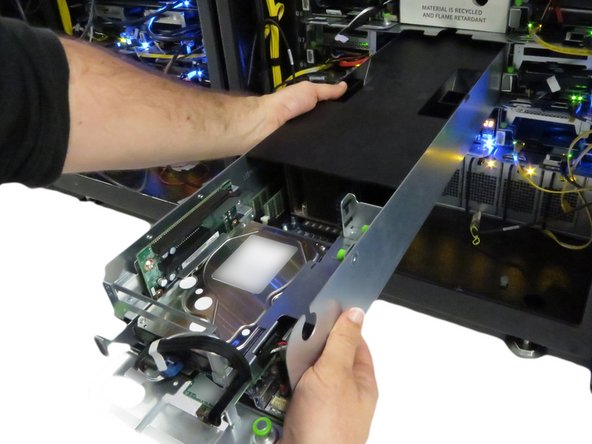
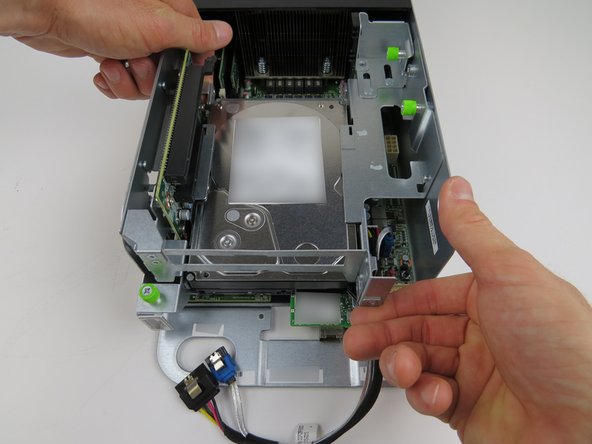
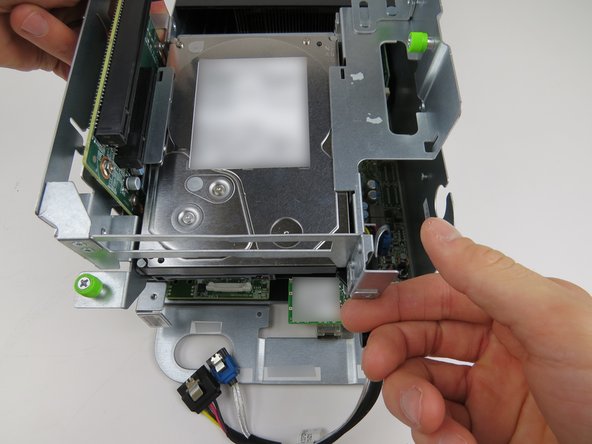
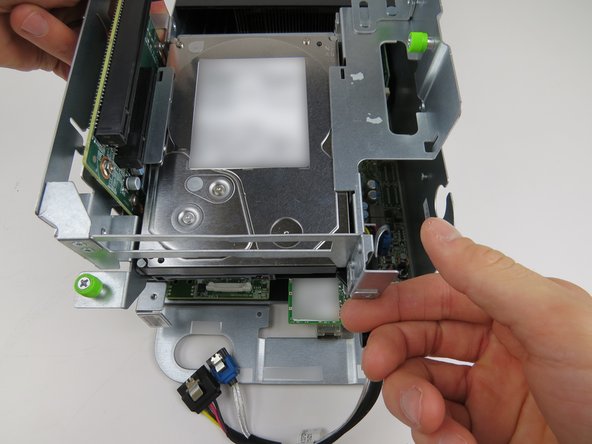
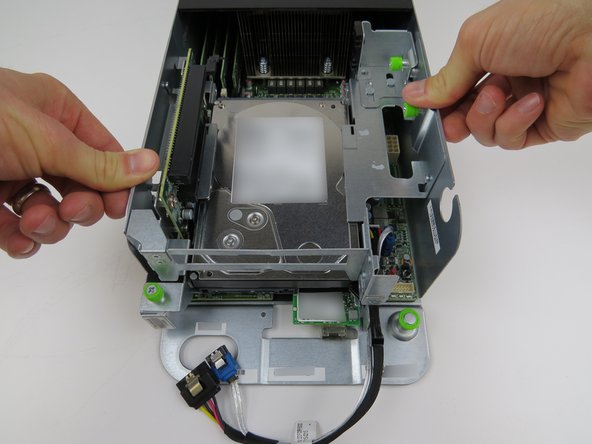
Pull the PCI riser card assembly upwards and remove the assembly from the server.
-
-
-
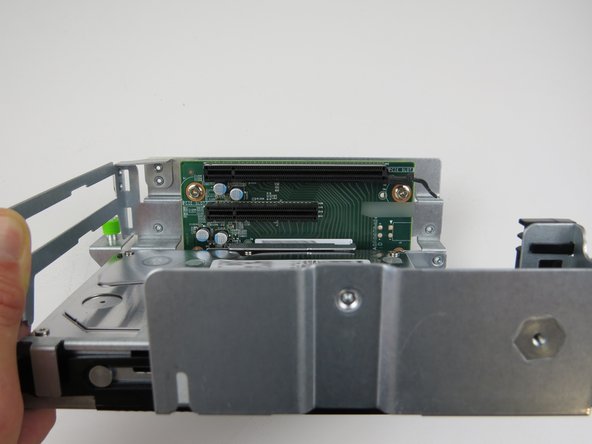
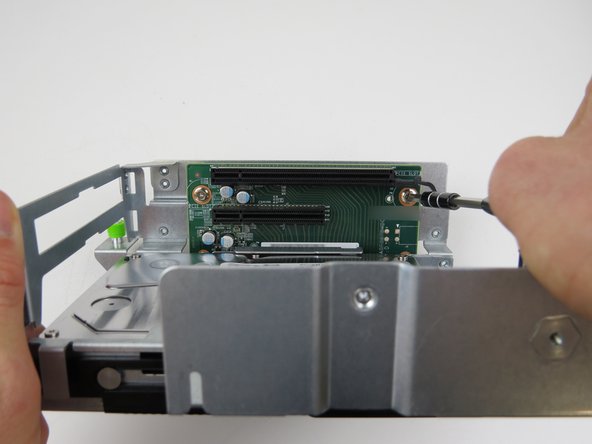
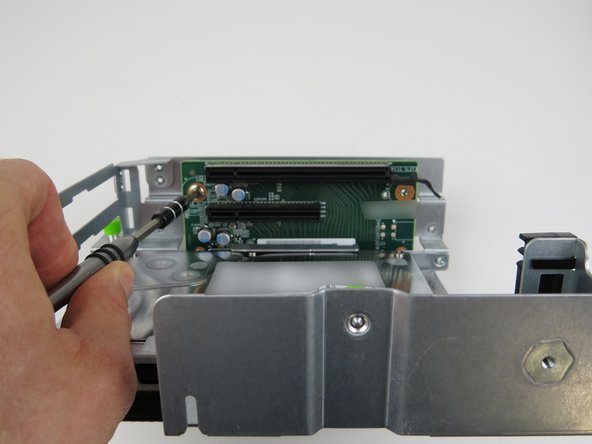
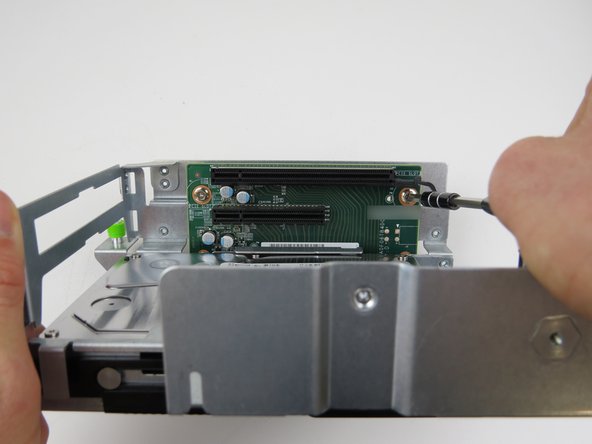
Remove (2) phillips head screws which secure the riser card to the cage.
-
-
-
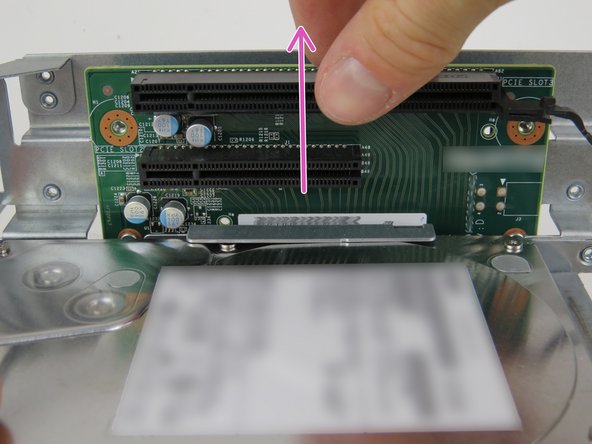
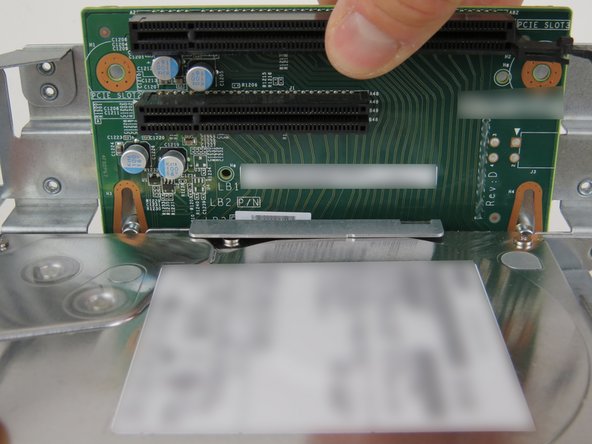
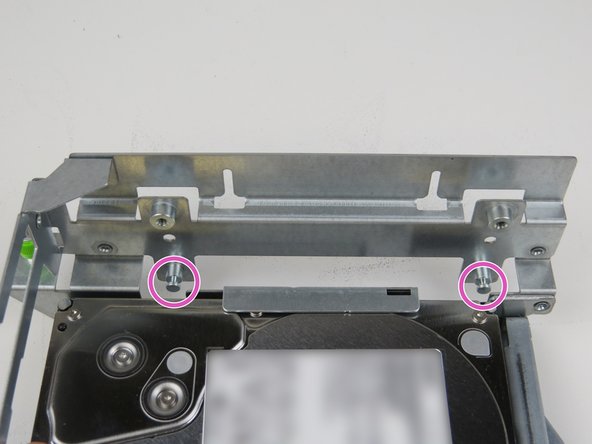
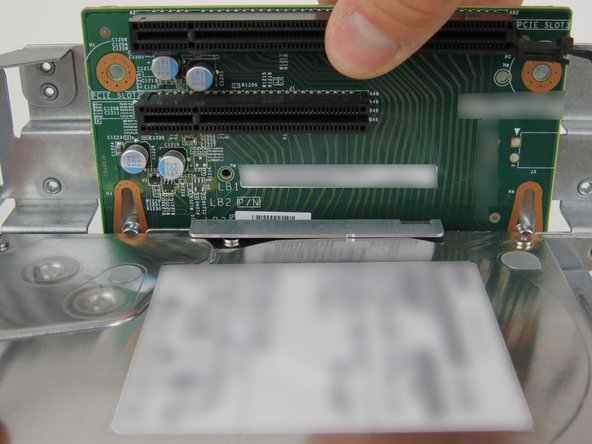
Slid the riser card upwards to release it from the metal cage studs.
-
Remove the failed riser card.
-
-
-
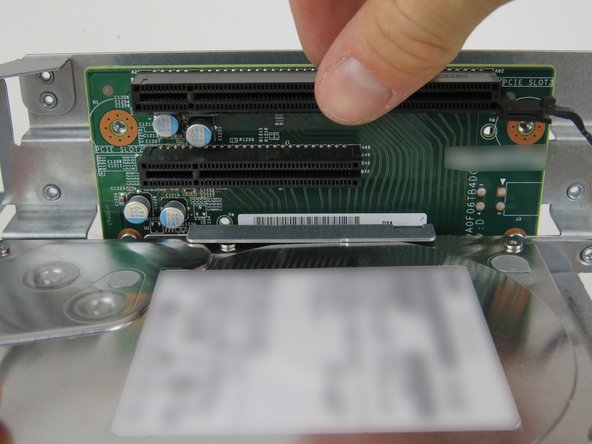
Align the riser card guides with the (2) metal studs on the riser cage.
-
Slide the riser card downwards until it has seated on the studs.
-
-
-
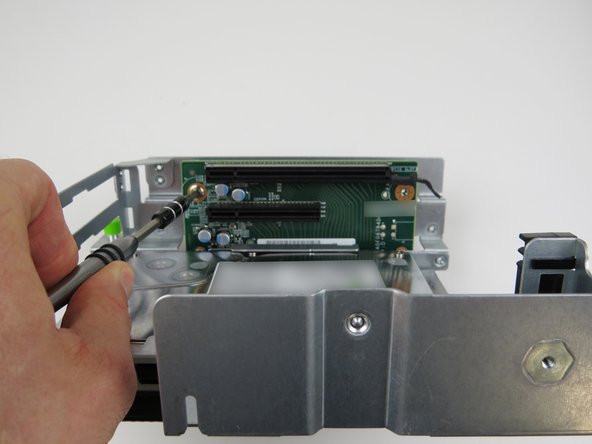
Install (2) phillips head screws.
-
-
-
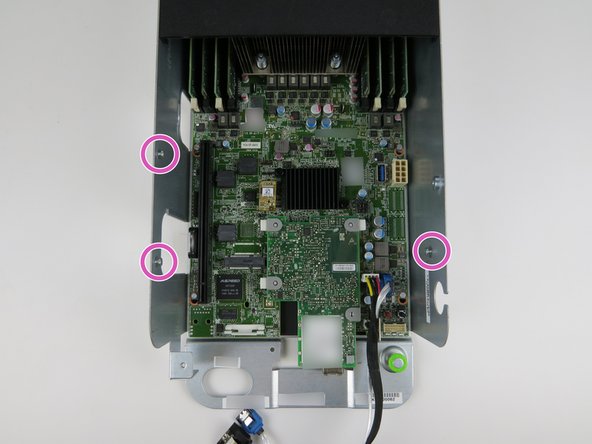
Align the riser cage assembly with the (3) metal studs on the ORV1 Leopard chassis.
-
Lower the assembly on to the server chassis studs.
-
Press firmly to seat the PCIE riser card.
-
-
-
Tighten the (2) green thumbscrews, shown.
-
-
-
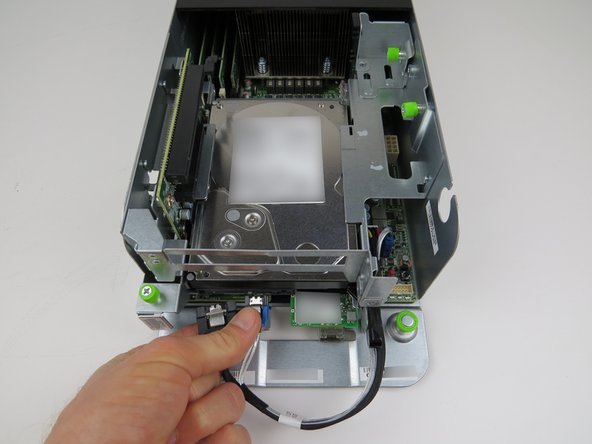
Connect the boot hard disk drive (HDD) SATA and power cables.
-
-
-
Slide the server back into the rack.
-
Continue pushing the server until the server chassis pin secures the server.
-
A distinctive 'click' will be felt when the pin secures the server in the rack.
-
-
-
Connect the 10G network interface cable.
-
-
-
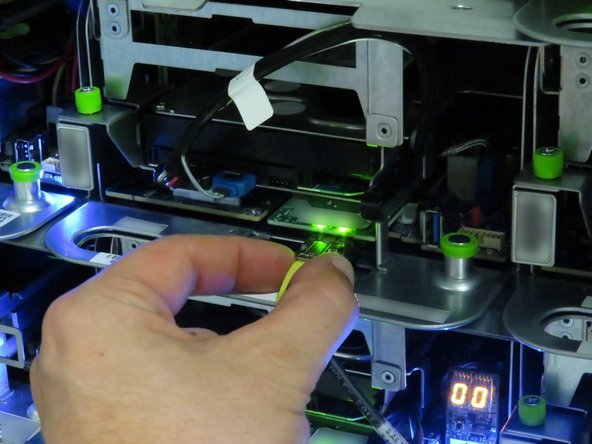
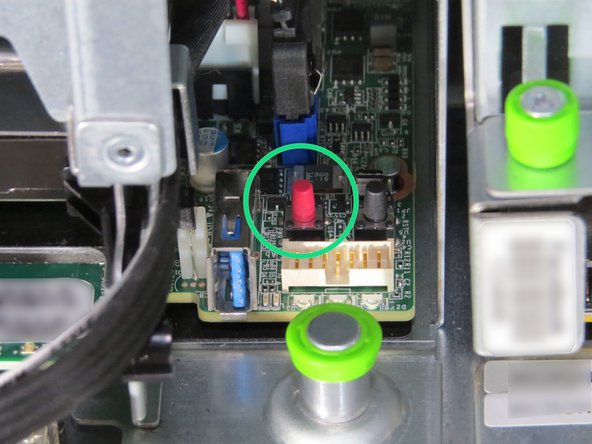
Press the power button.
-


This work is licensed under a Creative Commons Attribution 4.0 International License.
This work is licensed under a Creative Commons Attribution 4.0 International License.
