
Introduction
This guide demonstrates Leopard - Open Rack V1 solid state drive installation techniques.
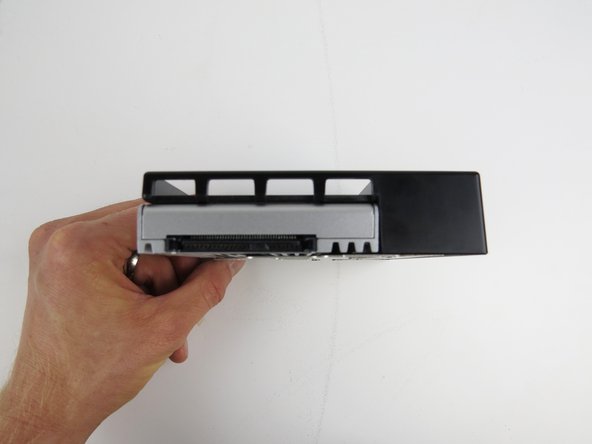
The solid state drive adapter/carrier is designed to replace a standard 3.5" hard disk drive with the smaller 2.5" storage form factor
-
-
Note:
-
(2) standoffs which lock the SSD in place.
-
SSD locking handle.
-
-
-
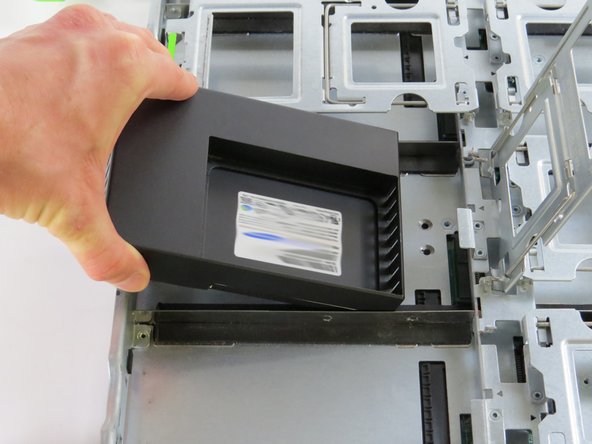
Use caution when inserting the Solid State Drive (SSD) into the adapter as the foam strip edge can catch on the SSD.
-
Press and hold the SSD locking handle, then insert the SSD. Continue sliding the SSD into the adapter at an angle until fully seated in the unit.
-
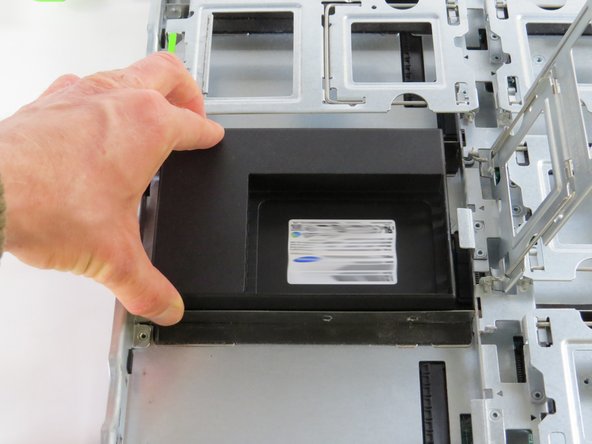
Release the locking handle which will secure the SSD.
-
-
-
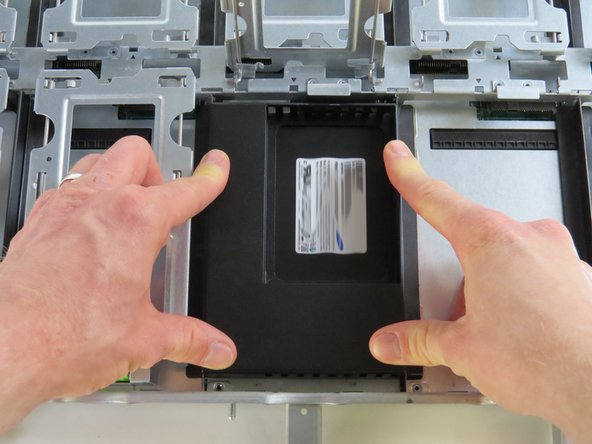
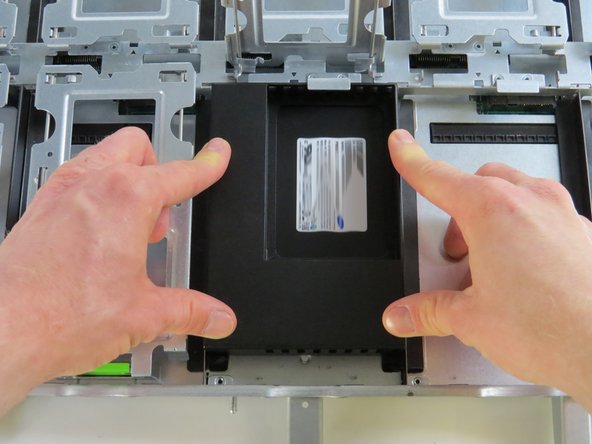
Press down firmly to ensure both sockets align properly.
-
Slide the unit forward until fully seated.
-


This work is licensed under a Creative Commons Attribution 4.0 International License.
This work is licensed under a Creative Commons Attribution 4.0 International License.
