
Introduction
This guide demonstrates how to replace a solid state drive in an Open Vault tray.
-
-
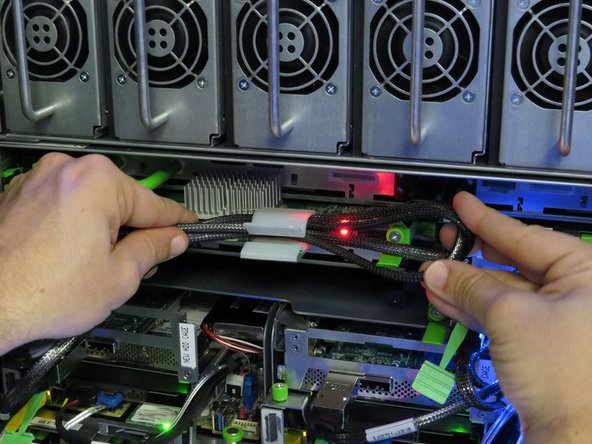
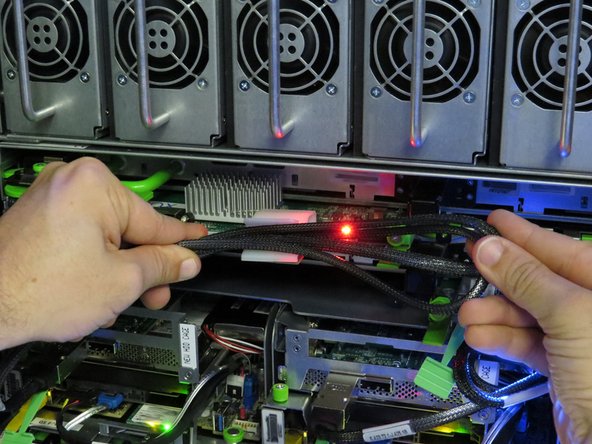
Unfasten the SAS cable from the nylon cable management clip, shown.
-
-
-
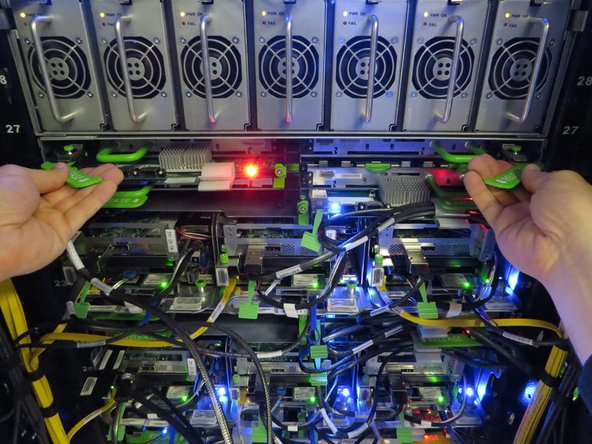
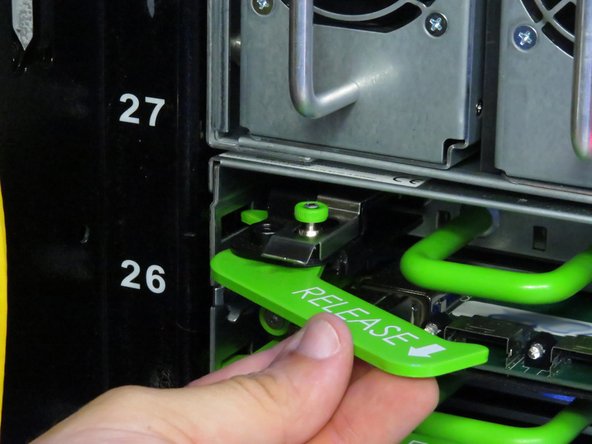
Locate (2) Open Vault retention handles labeled 'Release', on the sides of the tray.
-
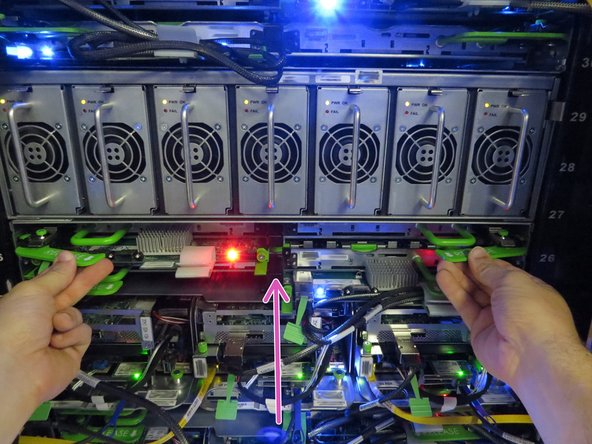
Push (2) silver tabs upward to release the Open Vault tray handles.
-
These tabs are metallic in color, however they are annotated green for illustrative purpose.
-
The Open Vault handles will snap outward.
-
-
-
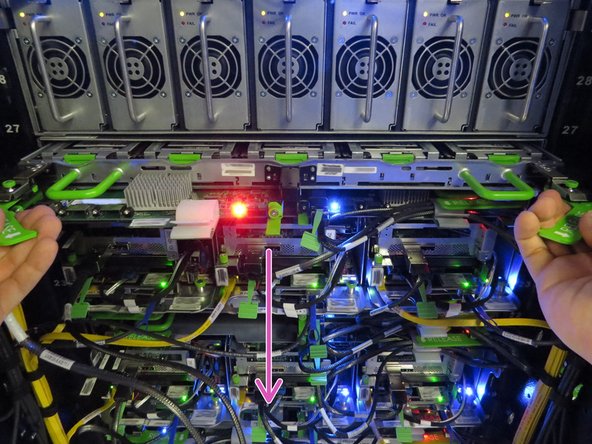
Engage the pull handles, as shown.
-
Pull the Open Vault out from the chassis.
-
-
-
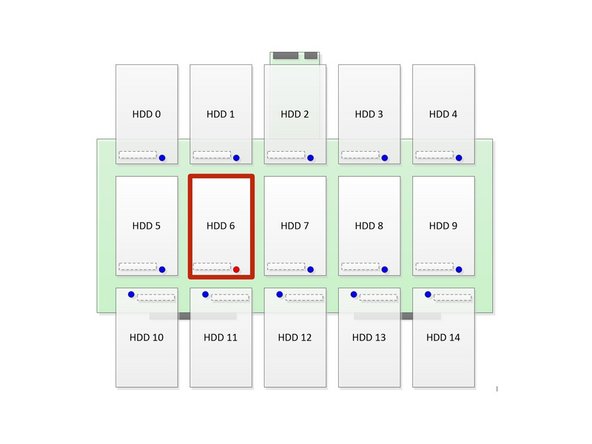
Find the failed SSD. The red LED will be adjacent to the failed SSD.
-
-
-
Identify the drive to be replaced from lit LEDs.
-
In the image shown, the red LED indicates SSD 6 is a degraded drive.
-
-
-
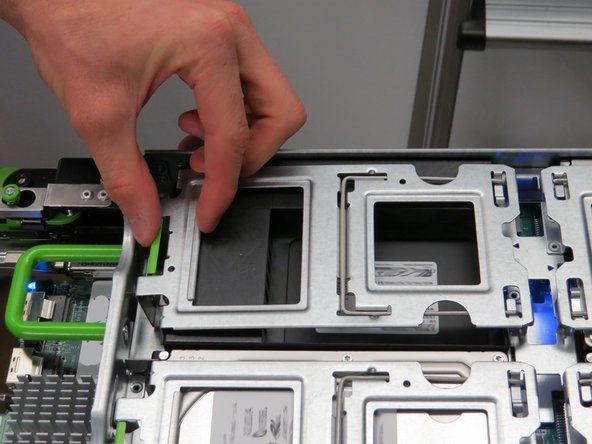
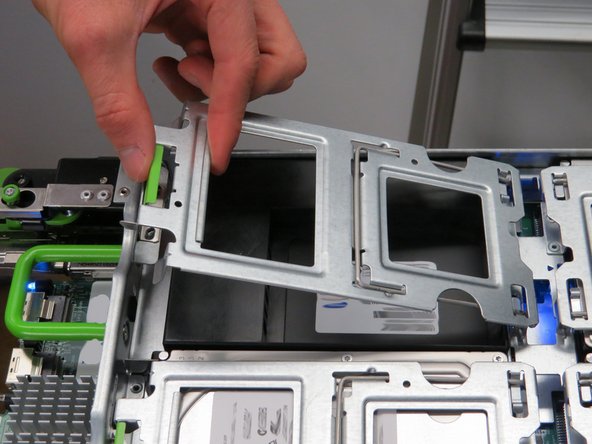
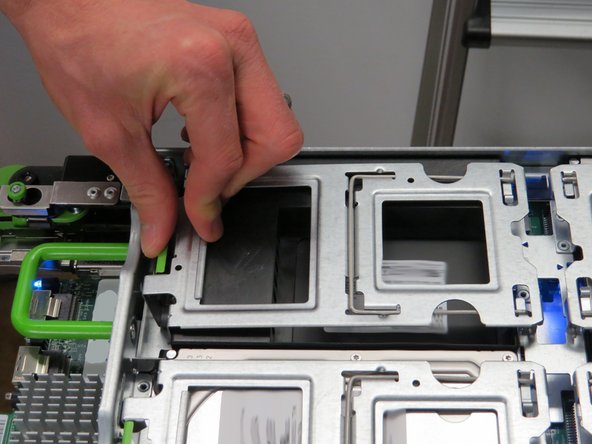
Lift the HDD locking gate by pressing the green tab, as shown.
-
Pivot the HDD locking gate until it rests in a vertical position.
-
-
-
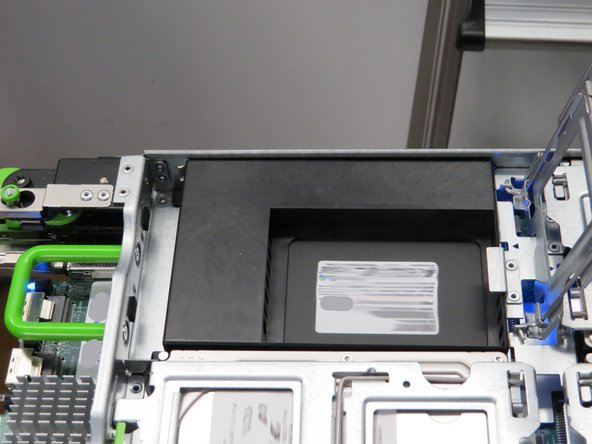
Lightly pull the SSD away from its connector.
-
Avoid pushing the SSD to the extent of it hitting the tray.
-
After disconnecting the SSD, wait (10) seconds.
-
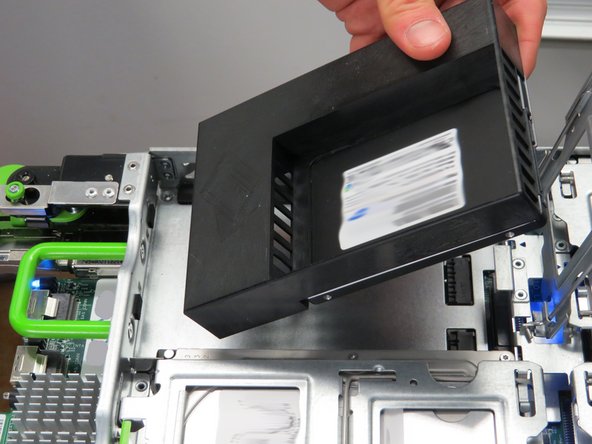
Lift the SSD from the tray.
-
-
-
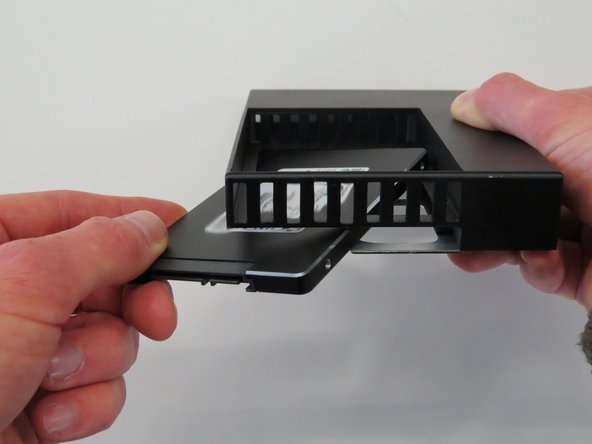
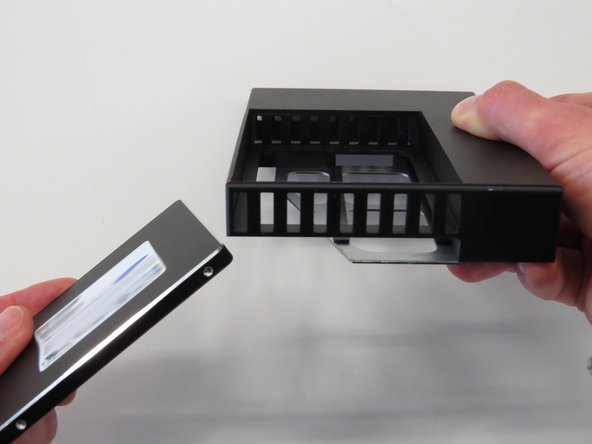
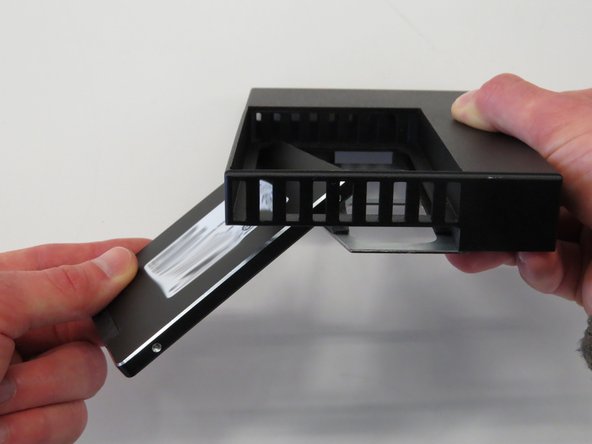
Remove the SSD from the adapter, as shown.
-
-
-
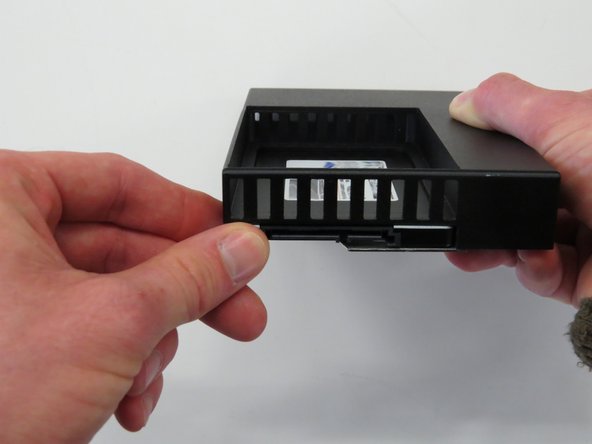
Insert a new SSD into the adapter, as shown.
-
-
-
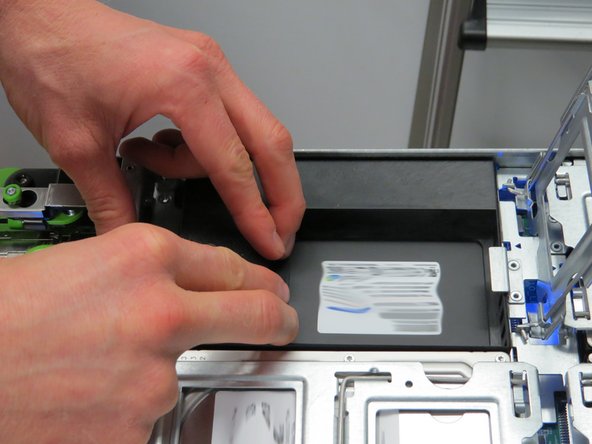
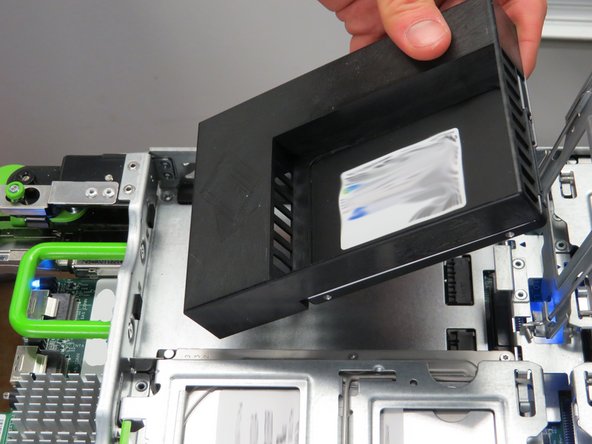
Do not drop the SSD into the tray. Gently lower the SSD until contact is made with the tray.
-
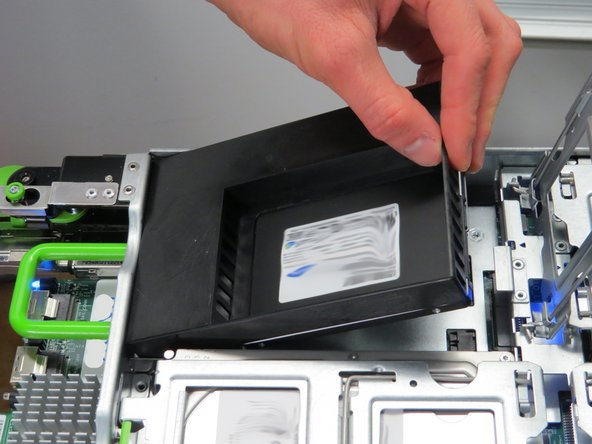
Lower the SSD into the vacant slot.
-
-
-
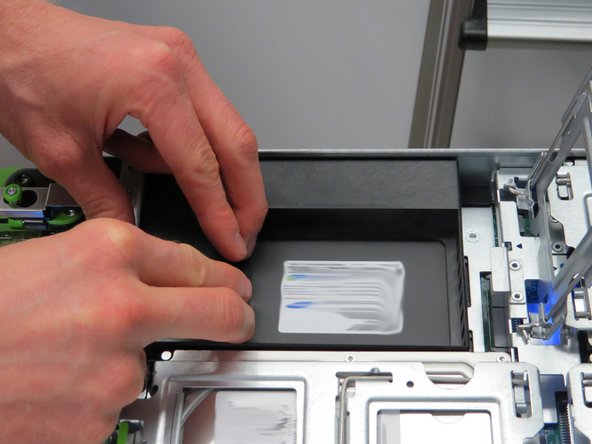
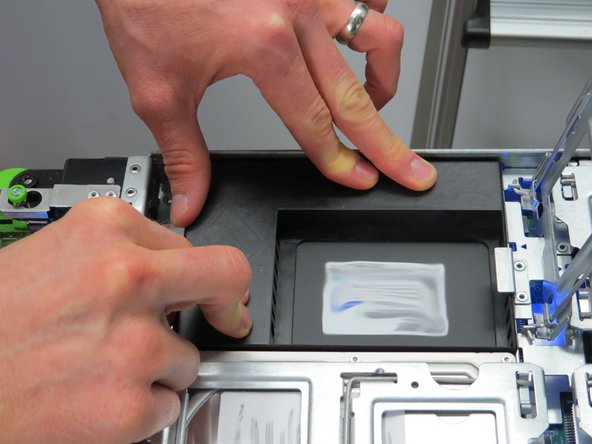
Push the SSD toward the HDD locking gate to connect the SSD.
-
-
-
Close and secure the HDD locking gate.
-
-
-
Push the Open Vault back into the Open Vault chassis.
-
-
-
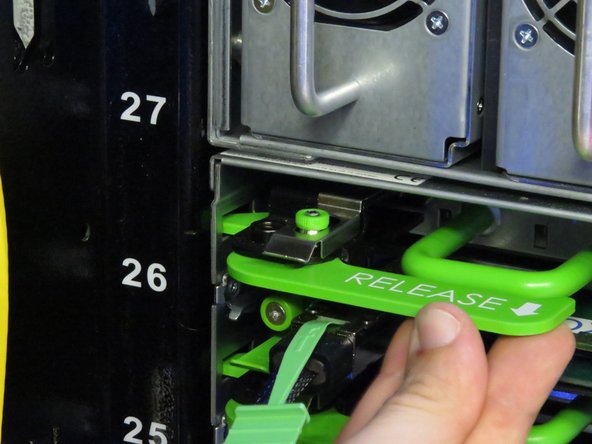
Close (2) Open Vault retention levers.
-
Only (1) Open Vault retention lever is shown for detail. However, (2) must be closed.
-
The Open Vault is secure when a distinctive 'click' is felt.
-
-
-
Secure the SAS cable in the nylon cable management clip.
-







This work is licensed under a Creative Commons Attribution 4.0 International License.
This work is licensed under a Creative Commons Attribution 4.0 International License.
