
Introduction
Overview
This guide demonstrates how to replace a hard disk drive in an Open Vault storage system. == Acronyms and Terms == * HDD - Hard Disk Drive * SAS - Serial Attached SCSI * SCSI - Small Computer System Interface
-
-
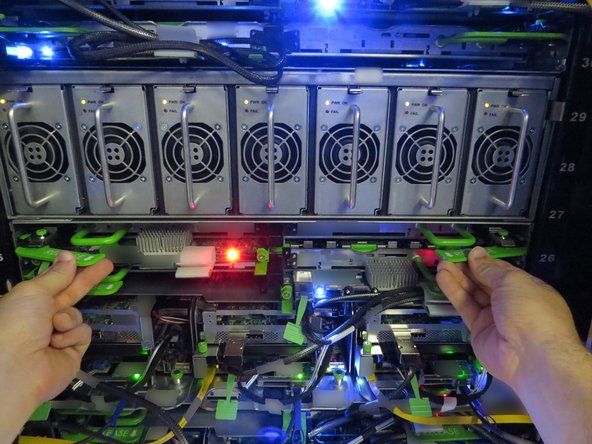
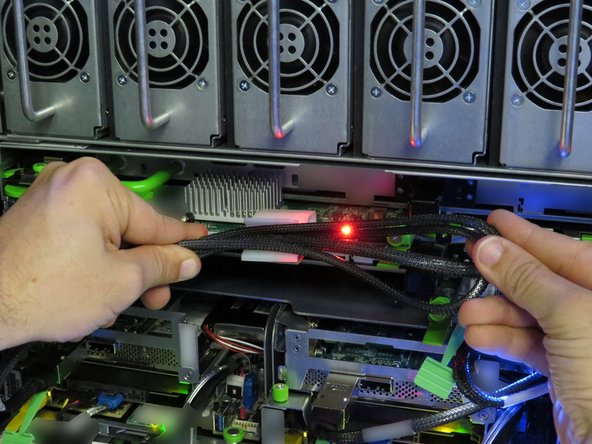
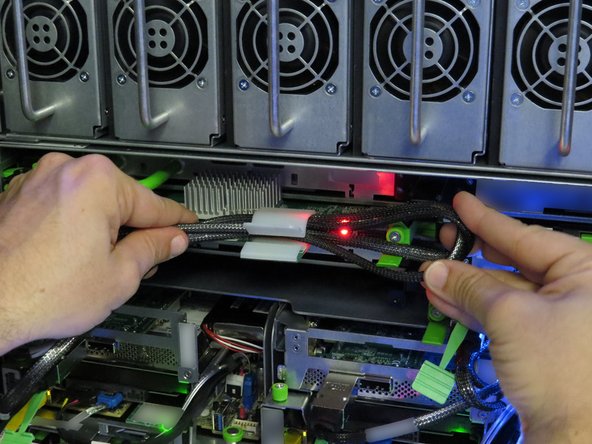
Untether the SAS cable from the nylon cable management clip, shown.
-
-
-
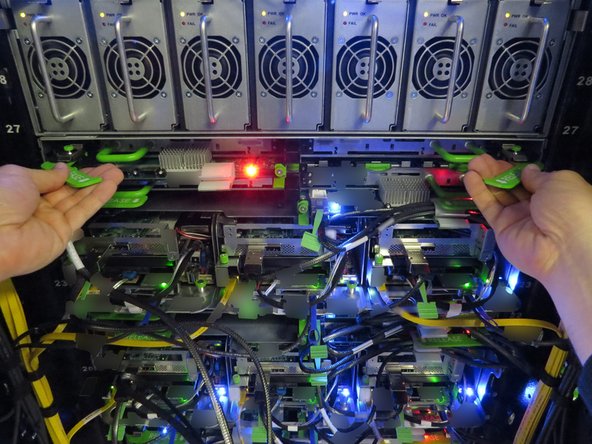
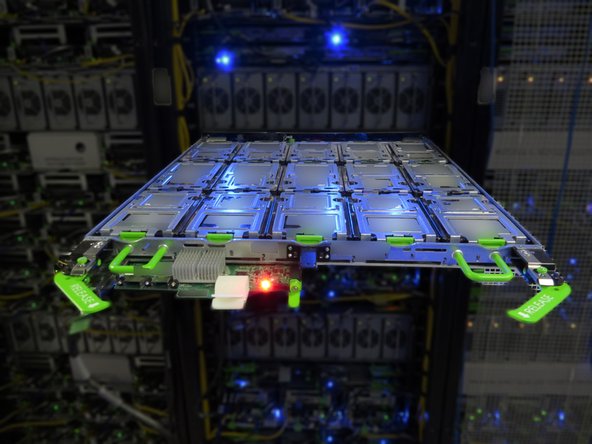
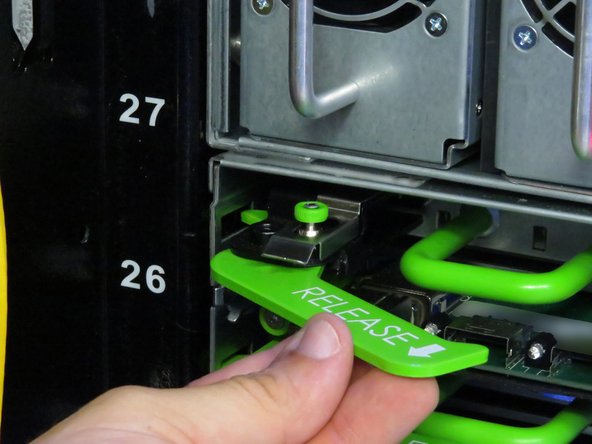
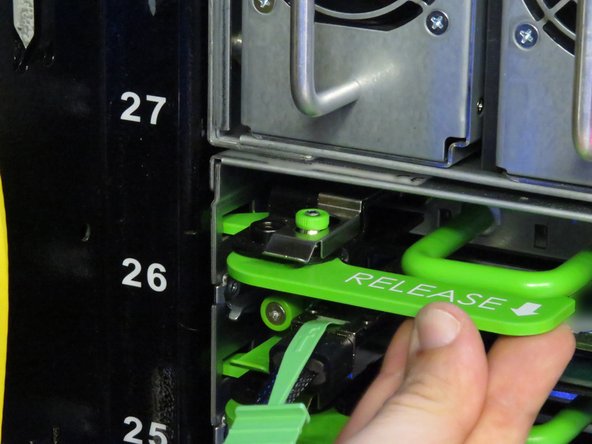
Locate the two pull handles labeled RELEASE on both sides of the Open Vault tray.
-
Push the two tabs upwards to release the tray handles.
-
It may be necessary to lightly push the handles inwards to release the tabs.
-
The tray handles will release.
-
-
-
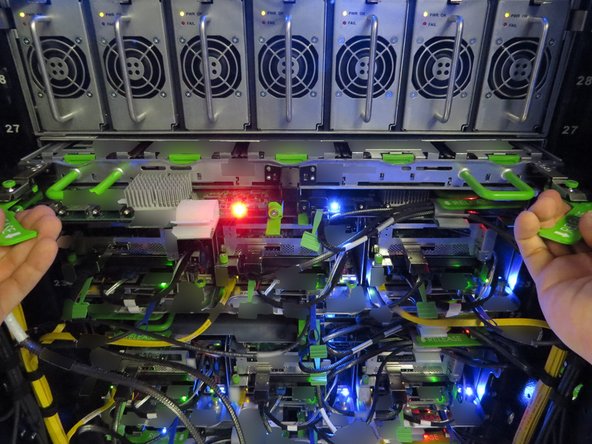
Engage the pull handles as shown.
-
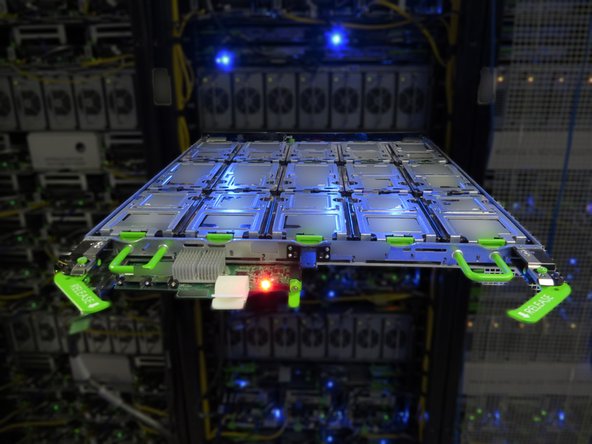
Pull the storage tray away from the chassis.
-
-
-
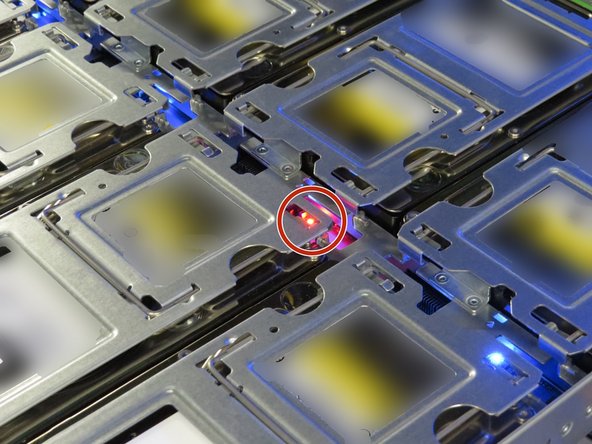
Find the failed hard disk drive by locating a the red LED next to the drive.
-
The LED associated with a particular hard drive is located in the drive tray.
-
-
-
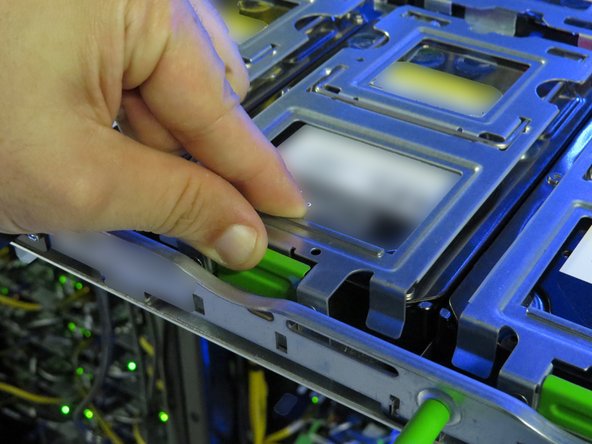
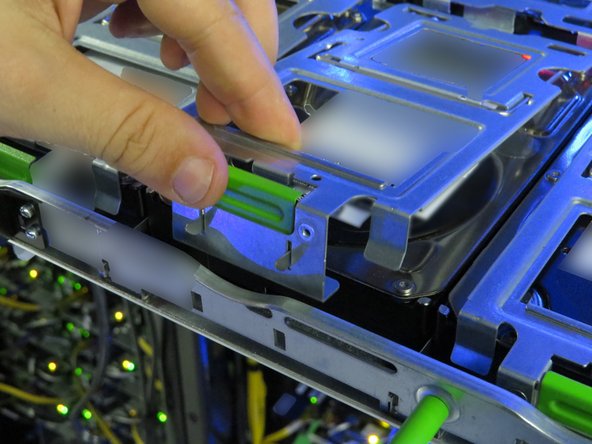
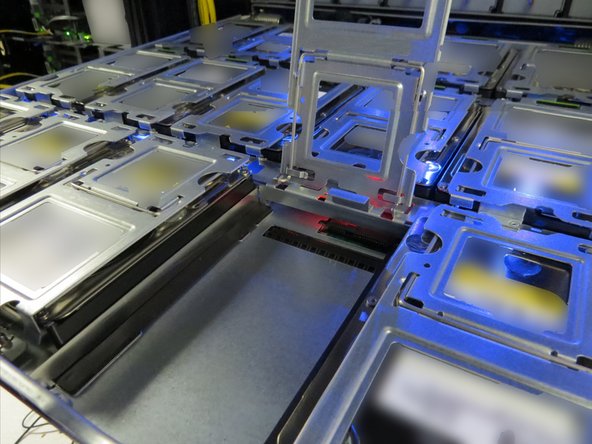
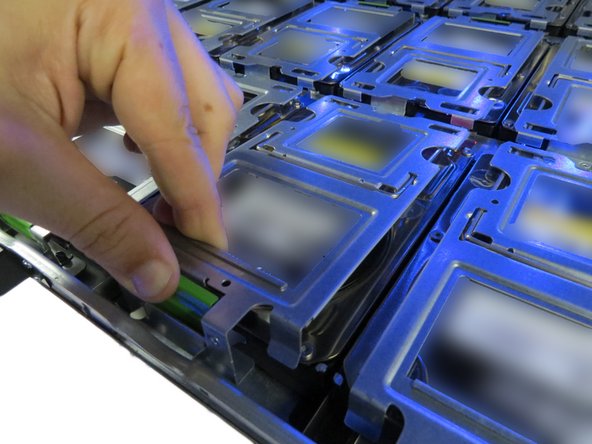
Press the green tab on the HDD tray gate containing the failed HDD.
-
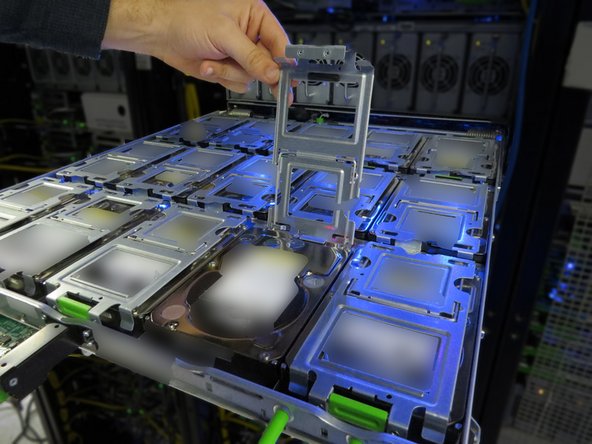
Lift and rotate the gate.
-
-
-
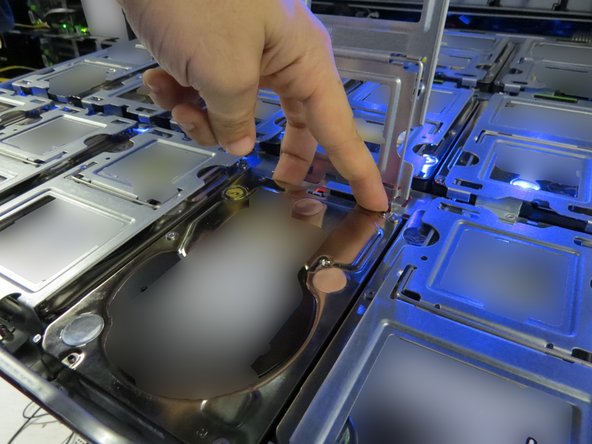
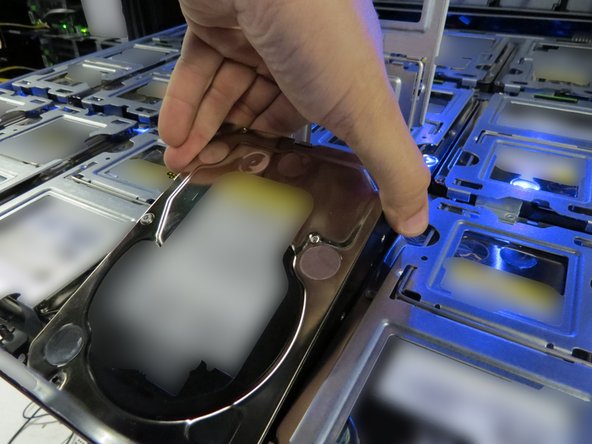
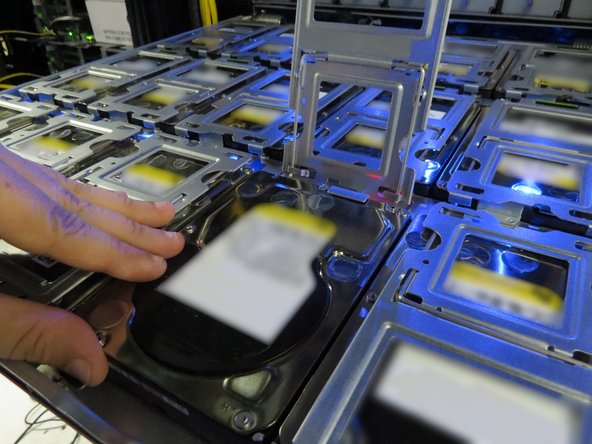
Lightly push the HDD away from its connector.
-
Avoid pushing the HDD to the extent of it contacting the tray chassis.
-
After disconnecting the HDD, wait ten seconds to allow the spinning disk to come to rest.
-
Remove the HDD from the tray.
-
-
-
Be gentle when handling a HDD. Rough handling could damage the disk.
-
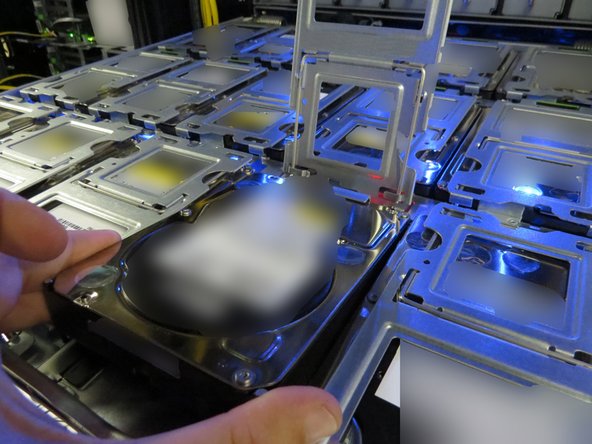
Lightly place the new HDD into the vacant tray slot.
-
-
-
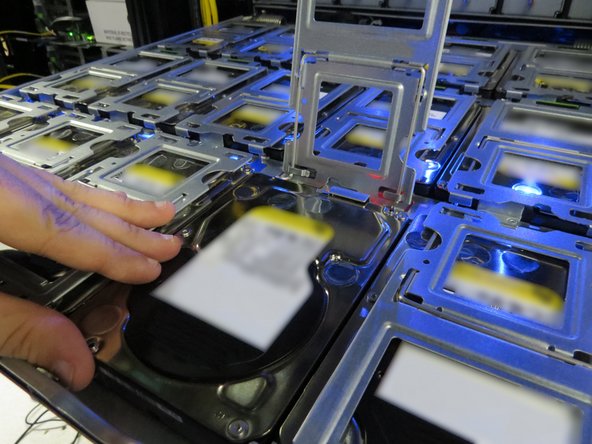
Push the HDD toward its socket to connect the HDD.
-
-
-
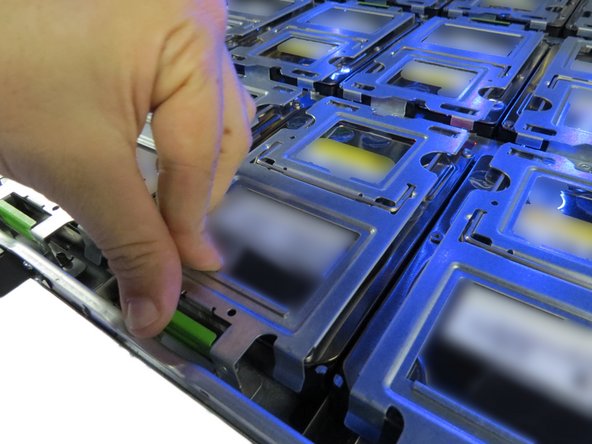
Pinch the HDD tray gate.
-
Close the and secure the HDD tray gate.
-
-
-
Push the storage tray back into the Open Vault chassis.
-
-
-
Rotate the handles labeled RELEASE towards the chassis to lock the tray.
-
Only one storage tray retention lever is shown. Make sure to lock both handles.
-
The storage tray is locked and secure when a distinctive 'click' is heard.
-
-
-
Secure the SAS cable in the nylon cable management clip.
-


This work is licensed under a Creative Commons Attribution 4.0 International License.
This work is licensed under a Creative Commons Attribution 4.0 International License.
Cancel: I did not complete this guide.
One other person completed this guide.
