
Introduction
Overview
This guide demonstrates how to replace a Wedge switch system. == Acronyms and Terms == * AC - Alternating Current * DAC - Direct-Attach copper * DC - Direct Current * PSU - Power Supply Unit * QSFP - Quad Small Form-factor Pluggable; a type of hot-pluggable data communications transceiver.
-
-
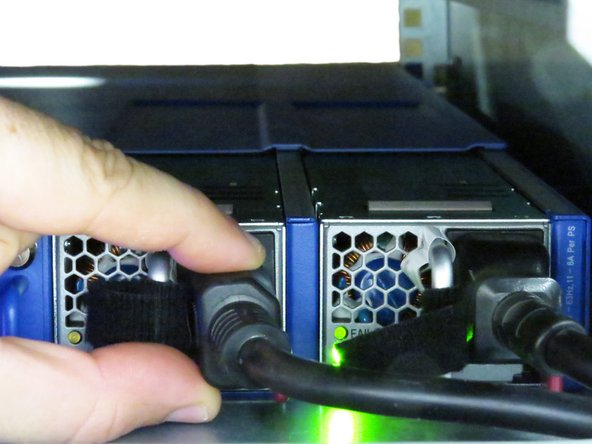
Grasp the AC power supply cable, as shown.
-
Disconnect the AC power supply cables from the Wedge.
-
-
-
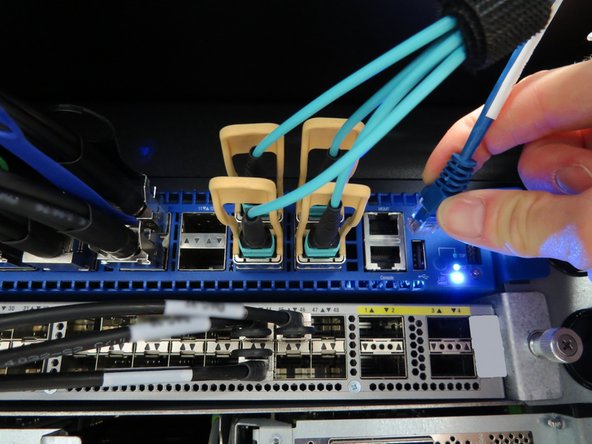
Disconnect cables connected to the console server.
-
Disconnect the cable connected to the management network interface.
-
Label the cables with their respective port connections.
-
-
-
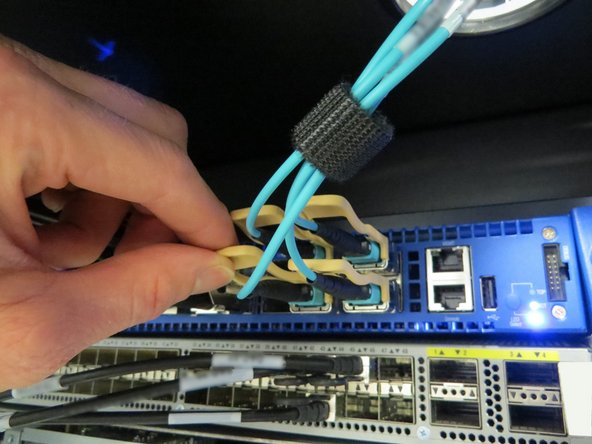
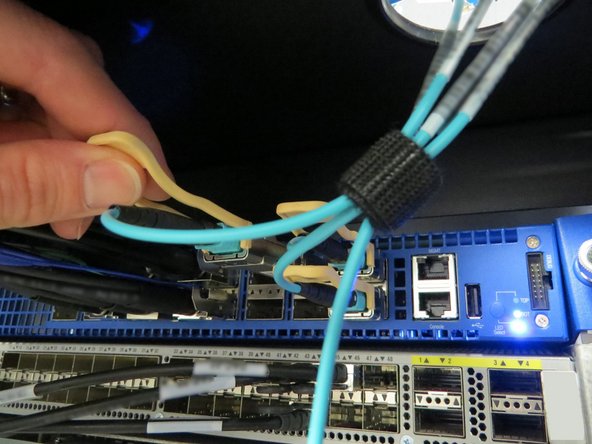
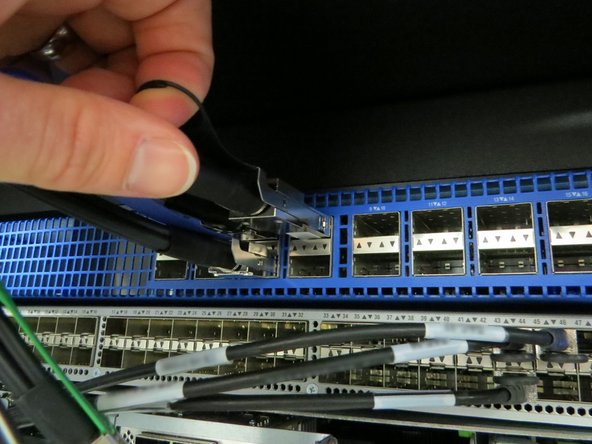
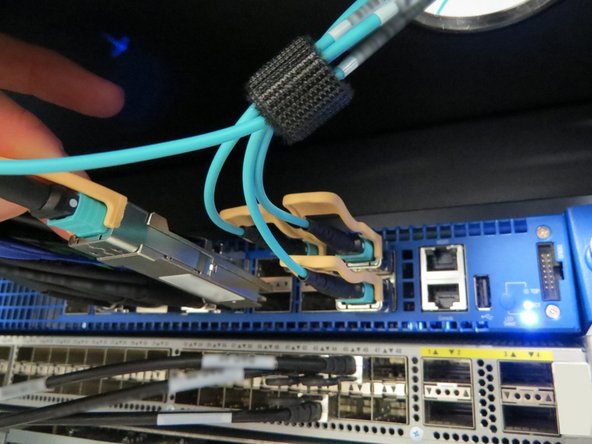
Disconnect the QSFP uplink cables.
-
Label the cables with their respective port connections.
-
-
-
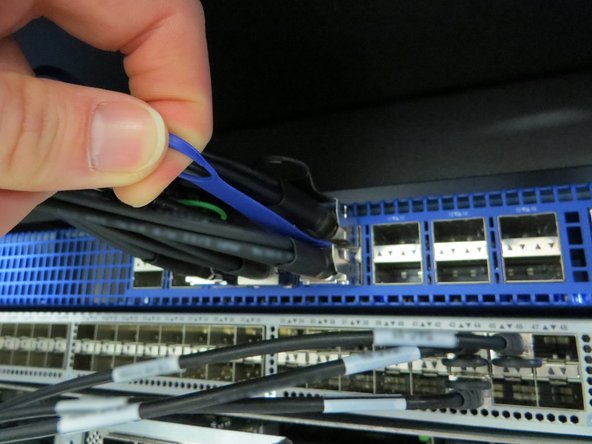
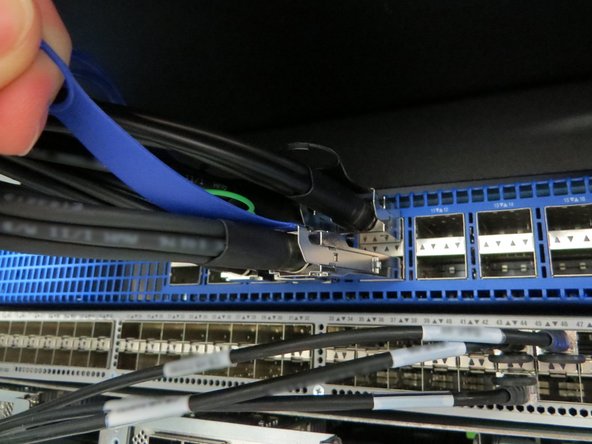
Disconnect the QSFP cables and direct-attach copper (DAC) breakout cables.
-
Label the cables with their respective port connections.
-
-
-
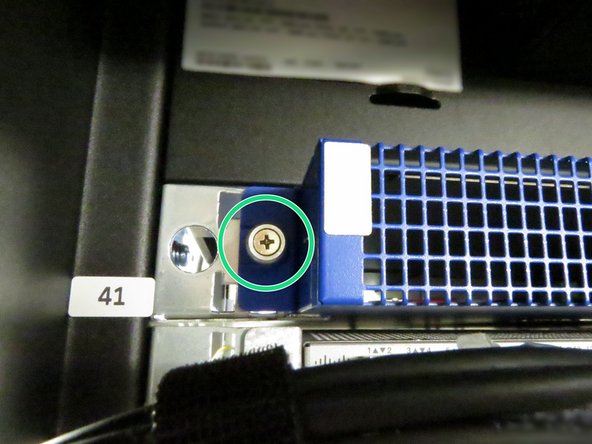
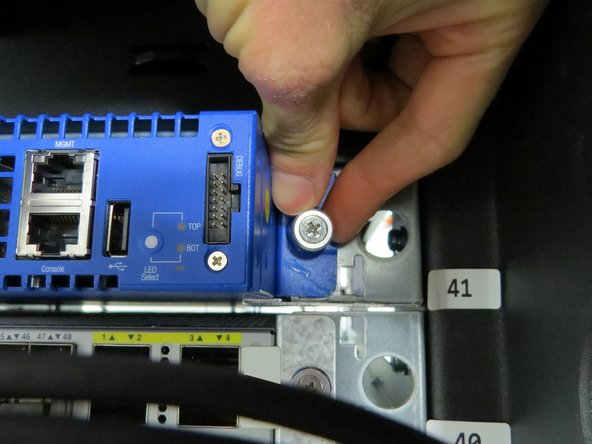
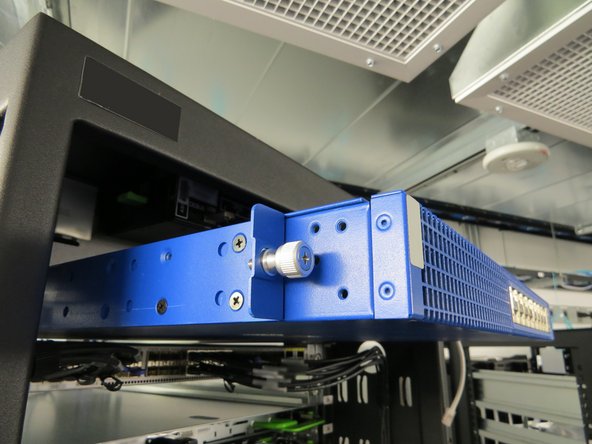
Loosen the two thumbscrews located on each side side of the switch.
-
A Phillips #2 screwdriver may be necessary if the this is the first time the Wedge has been serviced.
-
-
-
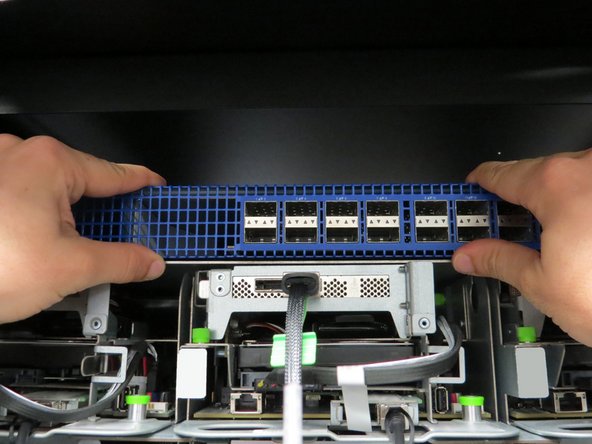
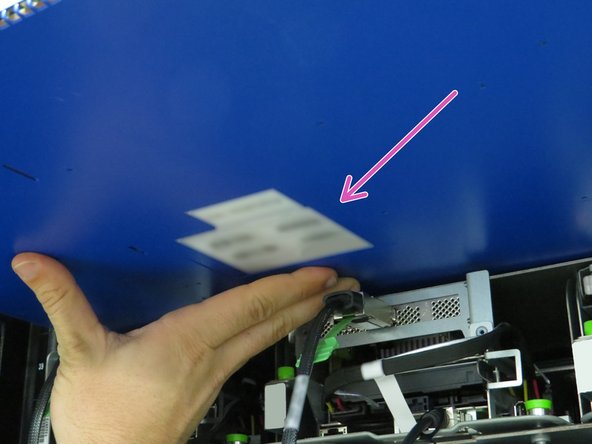
Grasp the Wedge, as shown.
-
Pull the Wedge forward.
-
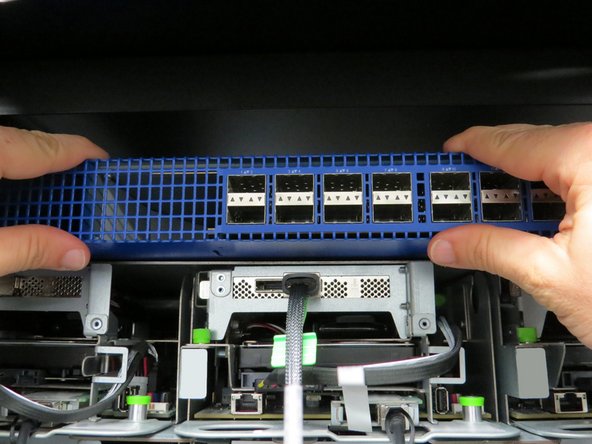
Once the sticker is visible (as shown), use your hand to support the Wedge weight.
-
Be prepared to counter the weight of the Wedge switch.
-
Continue sliding the Wedge out from the rack.
-
-
-
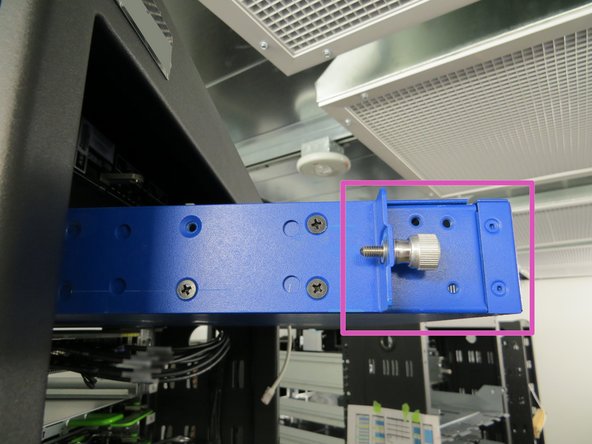
The Wedge mounting brackets are placed about 51mm (fifty one millimeters) back from the front of the switch to provide clearance during power supply unit (PSU) removal.
-
Check the bracket location prior to installation.
-
-
-
Push the Wedge switch into the rack.
-
Tighten (2) thumbscrews located on each side of the switch.
-
-
-
Connect the QSFP cables and direct-attach copper (DAC) breakout cables to the switch.
-
-
-
Connect the QSFP uplink cables.
-
-
-
Connect the cable connected to the management network interface.
-
Connect the console server cable.
-
-
-
Connect the Wedge power cables.
-


This work is licensed under a Creative Commons Attribution 4.0 International License.
This work is licensed under a Creative Commons Attribution 4.0 International License.
