
-
-
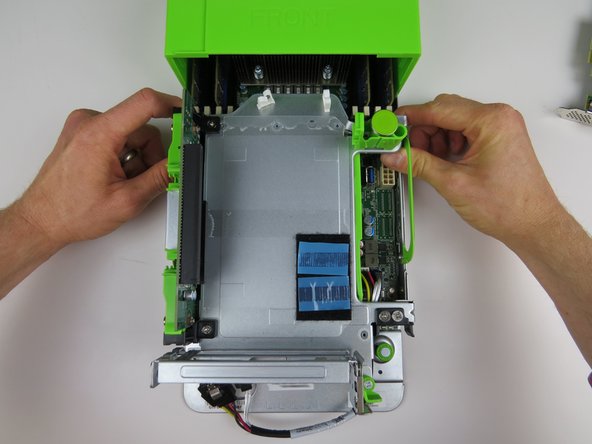
Perform a warm shut down on the server. Run:
-
ssh -l root <hostname> shutdown -h now
-
-
-
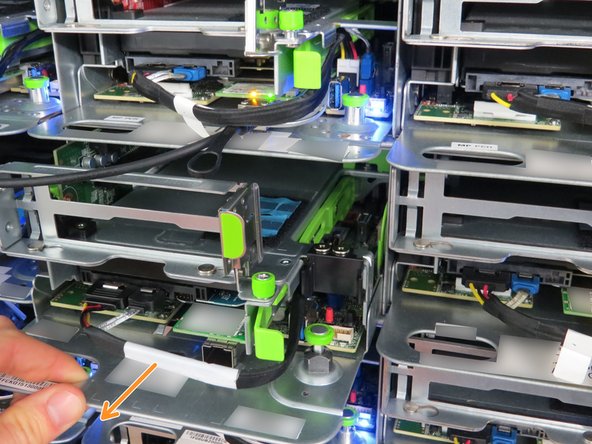
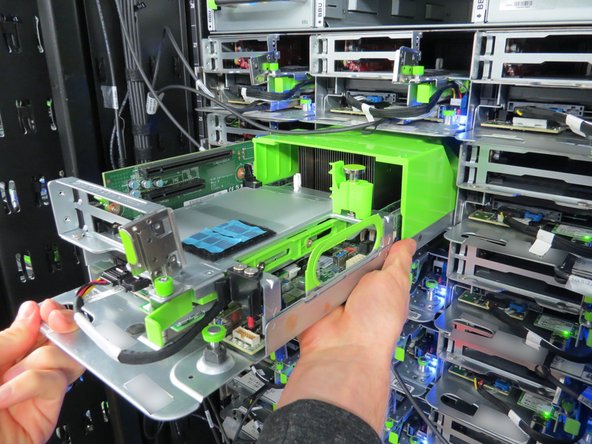
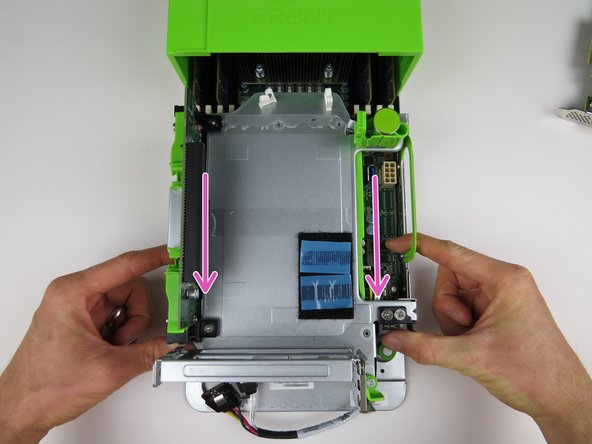
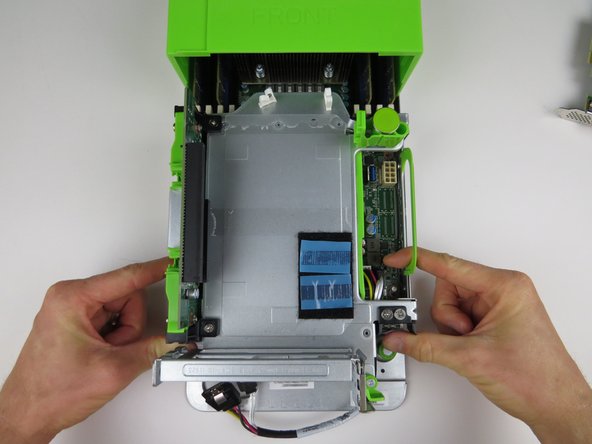
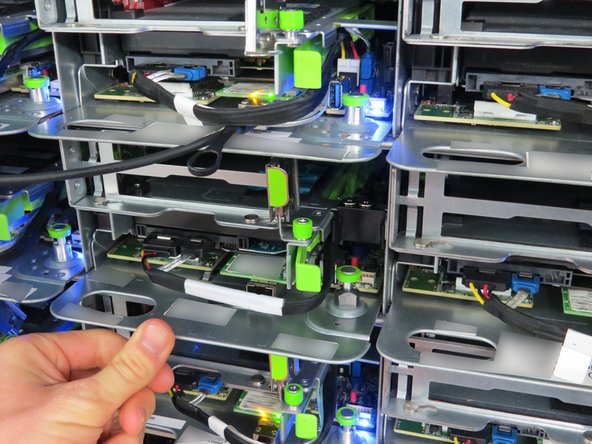
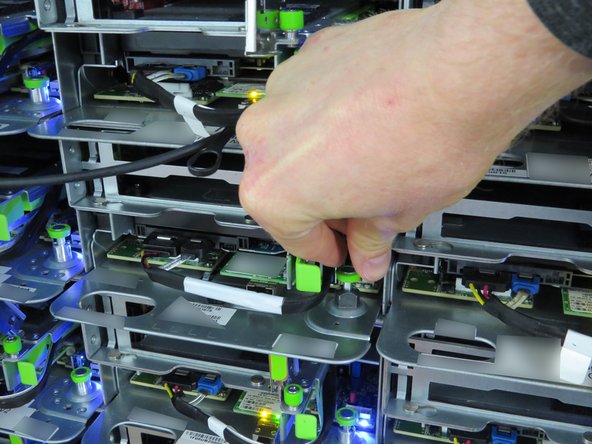
Insert the server sled into the rack as shown.
-
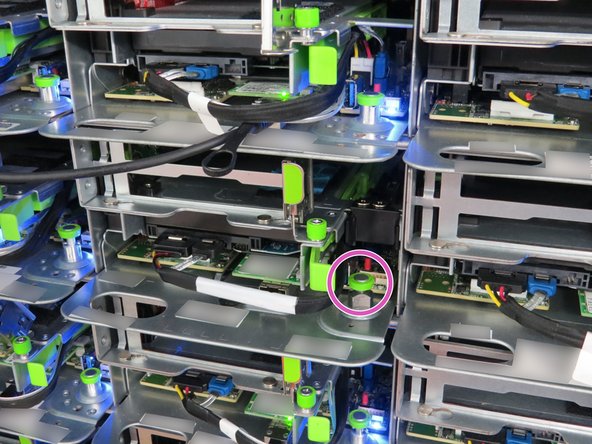
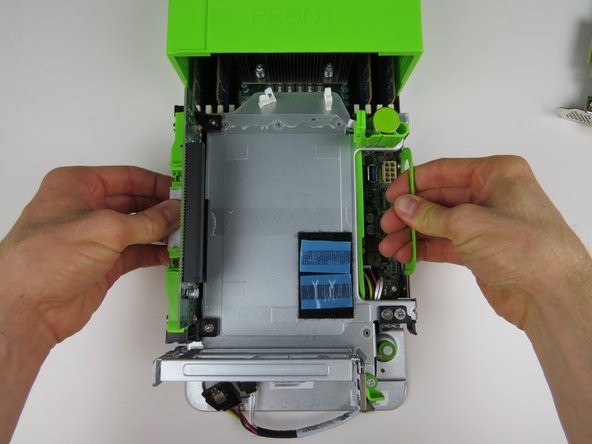
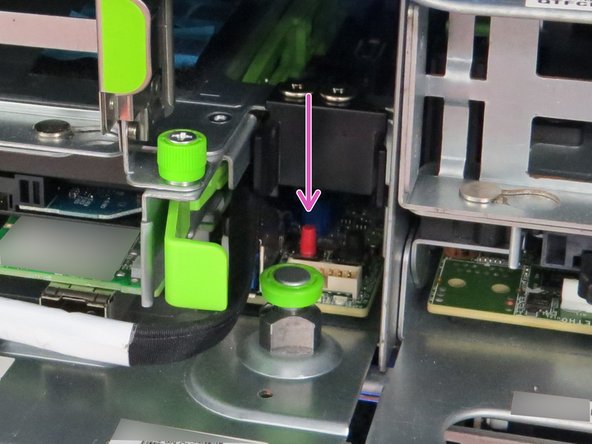
If the green retention plunger is still in the upright position, twist it 90 degrees to release it. This will secure the server.
-


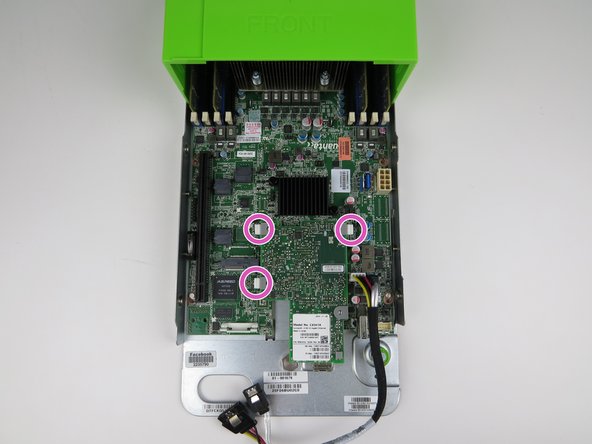


Almost done!
This work is licensed under a Creative Commons Attribution 4.0 International License.
Conclusion
This work is licensed under a Creative Commons Attribution 4.0 International License.
